Using a receipt template online can save you time and ensure your transactions are documented properly. These templates are easy to fill out, ensuring that all the necessary information is included without the hassle of creating a receipt from scratch each time.
Choose a template that fits your business needs, whether it’s for a simple transaction or a more detailed sale with tax breakdowns. Many platforms allow customization, so you can adjust fields for different products, services, and payment methods.
For those who need frequent receipts, having an online template streamlines the process. You can simply input the transaction details, and the template automatically generates a professional-looking receipt that’s ready to be shared with customers or kept for your records.
Make sure to store your receipts securely and keep a digital backup to avoid any loss of important documentation. Using online templates reduces the risk of errors and guarantees a consistent format every time.
Here is the corrected version with minimized repetitions:
Ensure each section of your receipt template is concise, presenting only necessary details. Avoid repeating the same information across different fields. For example, instead of listing contact information multiple times, include it in a dedicated section at the top. In the itemized section, list products or services with their respective prices clearly, without unnecessary descriptions. This reduces clutter and makes the template easier to follow. When providing payment methods, list only the relevant options for the transaction at hand.
By eliminating redundancy, your receipt will look cleaner and more professional, focusing the reader’s attention on important details. Adjust spacing and layout for easy readability, keeping each section distinct yet cohesive. Avoid overuse of headers or bold text, as this can lead to visual overload. Simplifying the structure helps prevent confusion and keeps the focus on the core information.
- How to Select the Right Online Receipt Template for Your Business
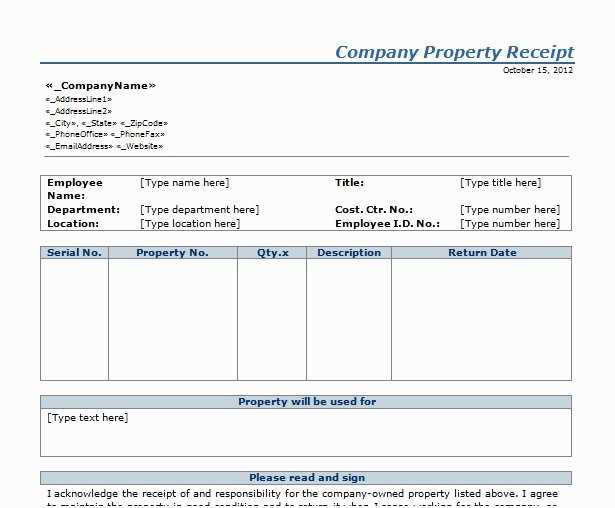
Choose a template that reflects your brand’s identity. Select one with clear fields for the necessary information such as business name, date, itemized list, taxes, and total amount. Make sure the design is clean and easy to read for customers.
Consider templates that allow customization. You may want to add a logo, modify colors, or adjust font styles. Look for platforms that offer flexibility without overwhelming you with complex features.
Pick a template that meets legal requirements. Check if it includes any mandatory details like tax ID or business registration number, depending on local laws.
Ensure the template is compatible with your payment methods. Some templates allow integration with popular payment processors, which simplifies the process and saves time.
Test the template before using it regularly. Generate a few sample receipts to verify that all fields work as intended and the format remains professional.
Begin by selecting a receipt template that aligns with your business style. Many online tools offer customizable templates, so choose one that suits your needs. This will save you time and effort, while ensuring consistency across your receipts.
Customize Your Brand Elements
Add your business logo and name at the top of the receipt. Ensure the text is clear and easy to read. Adjust font sizes, colors, and layout to match your branding. This creates a professional and recognizable look that reflects your identity.
Edit Transaction Details
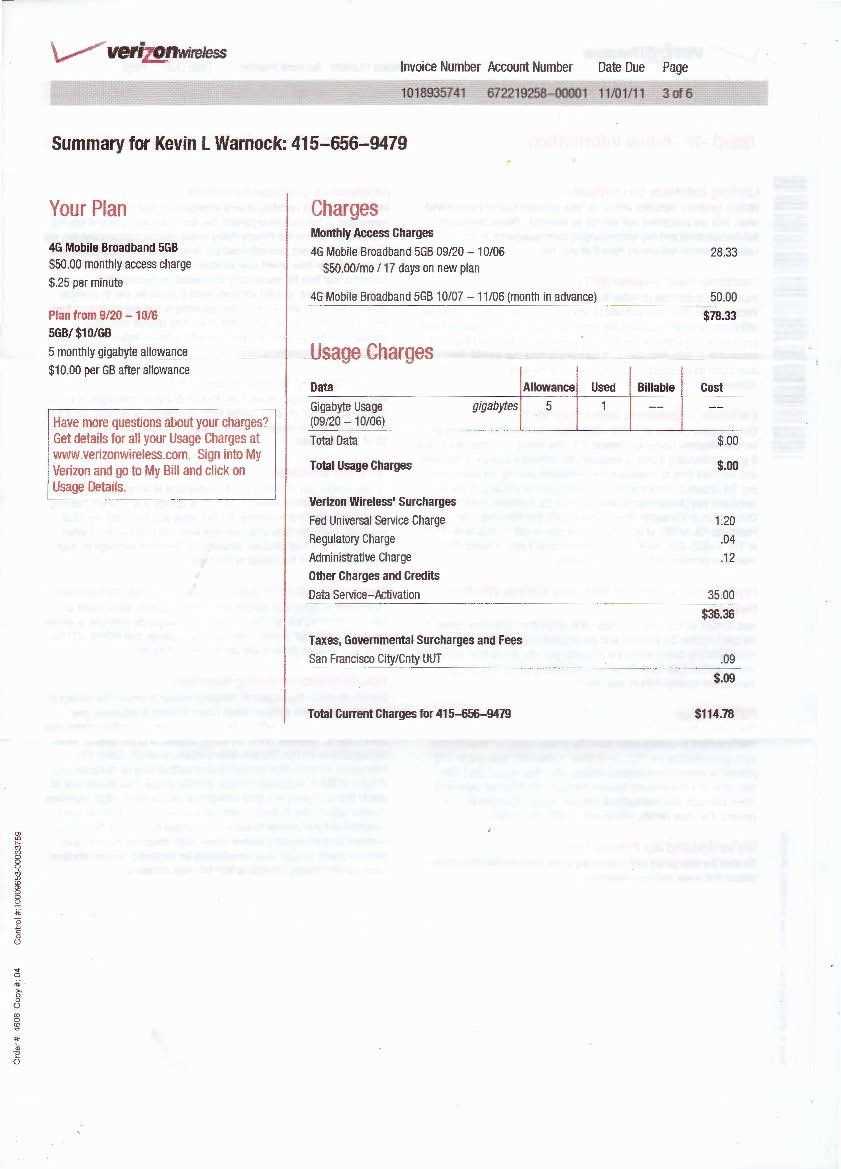
Update the transaction details such as date, item descriptions, quantities, and prices. Ensure the format is clean and accurate. For added clarity, you can include product codes or order numbers. Check that the totals are correct and display any applicable taxes or discounts clearly.
Finally, add payment method details and terms of service at the bottom. This ensures transparency and helps prevent disputes. Save your customized template and test it by generating a few receipts. Adjust as necessary to improve the design and functionality.
Include your business name, logo, and contact details at the top of the receipt. This establishes recognition and professionalism right away. Make sure the font and colors match your brand’s style guide for consistency. If you have a slogan or tagline, consider adding it just below your business name.
Business Details
Provide your full business address, phone number, and email. This helps customers reach you easily for any inquiries. Ensure the text is legible, and don’t overcrowd the receipt with unnecessary information. Keep it simple and clear.
Branding Elements

Add your business logo or a small visual element that represents your brand. A logo positioned at the top left or right corner works best without overwhelming the receipt. Use colors that match your branding to create a seamless and polished look.
To stay compliant, customize your receipt templates to meet specific local regulations. Include mandatory details such as the business name, address, and tax identification number (TIN) to satisfy legal requirements. Also, make sure the template includes clear information about the products or services provided, including prices and taxes.
- Always include a unique transaction number to easily track purchases for audit purposes.
- Ensure the receipt template accounts for local tax rates and includes them clearly for customers.
- Maintain a section that describes the return or refund policy, which may be required by law.
- If dealing with international transactions, make sure to include currency information and adhere to international standards.
Check local tax authorities’ guidelines to ensure the template includes all necessary components. Regularly update the template to reflect any changes in tax rates, company policies, or government mandates. This will reduce the risk of non-compliance and avoid penalties.
Use cloud-based tools to store receipts. These platforms allow you to quickly upload and categorize receipts for easy access and sharing. Google Drive, Dropbox, and OneDrive are popular choices for secure cloud storage. Ensure that you name files descriptively, such as including the date or client name, to make searching simple.
For sharing, create a folder with the receipts your client needs. You can either share the entire folder or send individual links to specific files. Most platforms offer direct sharing options via email or link generation. It’s an efficient way to keep everything organized and accessible.
Another useful approach is to use apps that generate receipts. Many invoice tools allow you to create, save, and send receipts directly from the application. Services like FreshBooks and QuickBooks can be great for this. This option offers the advantage of direct integration with payment systems, reducing the risk of errors.
Ensure that receipts are saved in universally accepted formats, such as PDF or image files (JPG/PNG). These formats are easy to open across all devices and maintain high quality for clarity when sharing. Avoid using file types that may require specific software to open.
If you are working with clients across different platforms or regions, verify that the method you use for sharing is compatible with their preferences. Some clients may prefer email, while others might prefer instant messaging services like WhatsApp or Slack for quicker communication.
| Platform | Storage Type | Sharing Method |
|---|---|---|
| Google Drive | Cloud | Link Sharing or Folder Sharing |
| Dropbox | Cloud | Link Sharing |
| FreshBooks | App-based | Direct Client Invoice Delivery |
| QuickBooks | App-based | Direct Client Invoice Delivery |
By utilizing the right platforms and tools, saving and sharing receipts becomes a streamlined process that ensures both you and your client remain organized and efficient.
Start by selecting a template tool that suits your needs. Look for features like customizable fields, data sorting, and automated filing. Popular tools often allow you to upload receipts directly or enter them manually, which helps keep everything in one place.
Organize Your Receipts Efficiently
After collecting your receipts, categorize them into sections like “Personal,” “Business,” or by date. This saves time and allows for easy retrieval when you need to reference them. Most template tools have drag-and-drop features or automatic categorization options to streamline this process.
Track Expenses and Manage Tax Filing
Use the receipt template tool to track expenses. Many tools integrate with accounting software, which can automatically generate expense reports. This simplifies tax filing and helps avoid any discrepancies when submitting your financial documents.
| Expense Type | Amount | Date |
|---|---|---|
| Office Supplies | $120.50 | January 15, 2025 |
| Travel | $250.00 | January 20, 2025 |
| Meals | $60.75 | January 22, 2025 |
By setting up your template tool to automatically categorize these expenses, you’ll save time and ensure accuracy in tracking your spending.
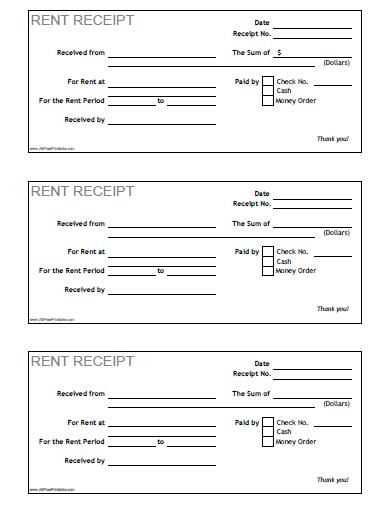
Using Receipts Templates Online

Customize your receipts by choosing a template that fits your needs. Online platforms offer a variety of pre-designed formats that allow quick edits for personalization. Simply input your business details, transaction amounts, and any other specifics. This makes generating receipts fast and hassle-free. Consider templates that include company logos, itemized lists, and total summaries for clarity and professionalism.
Choosing the Right Template

Focus on the template that matches your business style. Look for ones that clearly display transaction details and provide ample space for necessary information. Simple, clean designs often work best for clear communication. Choose templates that allow customization to align with your branding, including font style, colors, and logo placement.
Review the templates’ compatibility with different file formats, such as PDF or Excel, to ensure smooth download and printing. Some platforms also allow you to save templates for future use, making it easier to create receipts consistently without re-entering the same data each time.