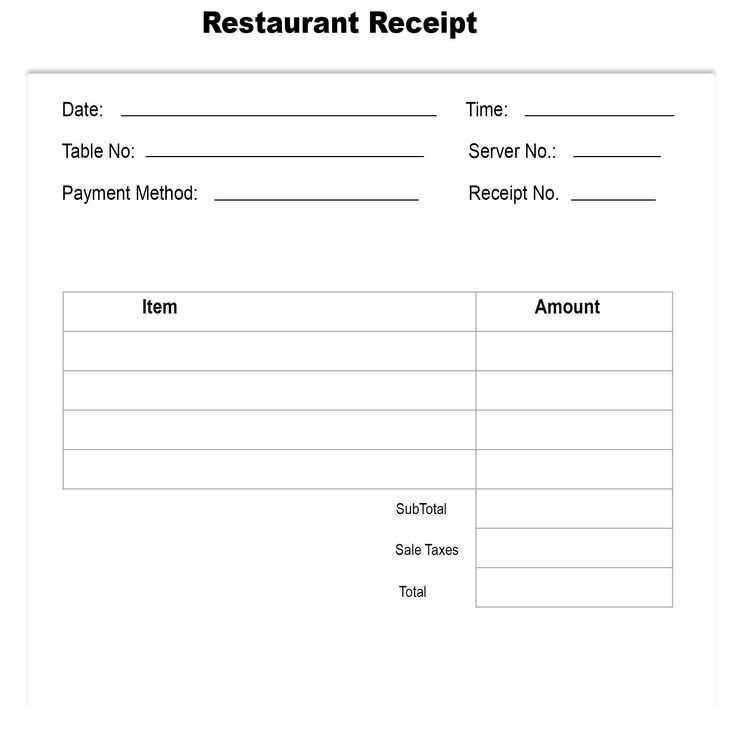
If you’re looking to create a simple and professional A4 receipt, a well-structured template will save you time and ensure consistency. You can start by focusing on the key elements: the business name, transaction details, and contact information. Clear organization is key for a seamless experience for both the seller and the buyer.
Include essential transaction information, such as the date, items purchased, and the total amount. Make sure to list the item names, quantity, price per item, and applicable taxes. This gives customers a transparent breakdown of their purchase.
Don’t forget to add your contact details at the bottom, including your email and phone number. This makes it easier for customers to reach you in case they have questions or need further assistance. For a more personalized touch, consider including your business logo at the top of the receipt.
Once you have the layout, keep your font size legible and your spacing even. This will make the receipt easy to read and professional-looking. You can adjust the template based on your business needs, adding sections for discounts, payment methods, or terms of service if necessary.
Choosing the Right Template for Your Business
Pick a template that aligns with your branding and clearly communicates your business values. Focus on clean design, readable fonts, and enough space to present essential details. If you frequently process payments, a template with fields for taxes, discounts, and totals can simplify transactions.
Consider the type of service or product you offer. A template designed for retail will differ from one suited for consulting or freelancing. Tailor the structure and layout to your needs: include your logo, contact information, and a clear breakdown of services or items sold.
Test templates that allow for quick customization. A flexible design lets you modify content without wasting time on reformatting. Look for features such as the ability to add custom fields, change colors, and adjust font sizes easily.
Keep the end-user experience in mind. Choose templates that are easy to navigate and don’t overwhelm with too much information. If you work with international clients, ensure the template supports multiple currencies and languages.
Lastly, ensure the template is compatible with your invoicing software or can be easily integrated into your existing system. Choose one that helps you stay organized without complicating the workflow.
Customizing Layouts to Match Your Brand
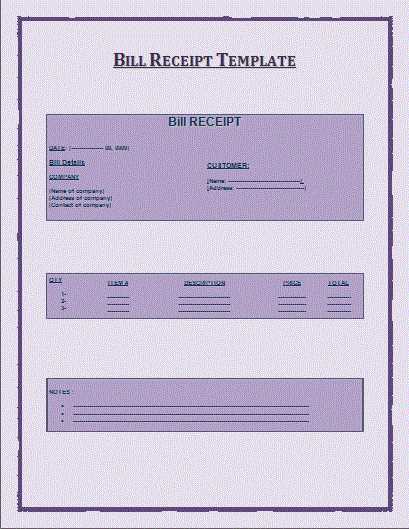
Use your brand’s colors and logo consistently across your A4 receipt template. This creates a cohesive look that customers easily associate with your business. Choose colors that reflect your brand identity and avoid overloading the design with too many shades. Stick to two or three main colors for clarity and visual impact.
Font Style and Size
Pick a font that aligns with your brand’s tone. For formal businesses, opt for clean, serif fonts; for modern brands, go with sleek sans-serif styles. Ensure the font size is legible, especially for important details like the total amount and contact information. A size of 10-12pt for body text and slightly larger for headings works well.
Spacing and Alignment
Maintain clear and consistent margins. Proper spacing between sections improves readability and gives your receipt a neat appearance. Align text to the left for easy reading, and use bold or larger fonts for key information, such as the date, total price, or company name. This ensures essential details stand out without cluttering the layout.
Essential Fields to Include in an A4 Receipt
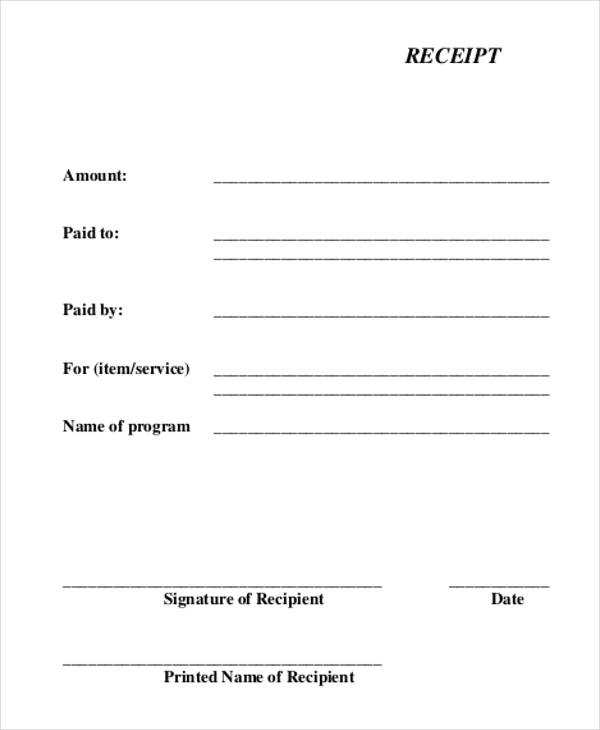
Include the following fields on your A4 receipt to ensure clarity and transparency for both the business and the customer:
1. Business Information
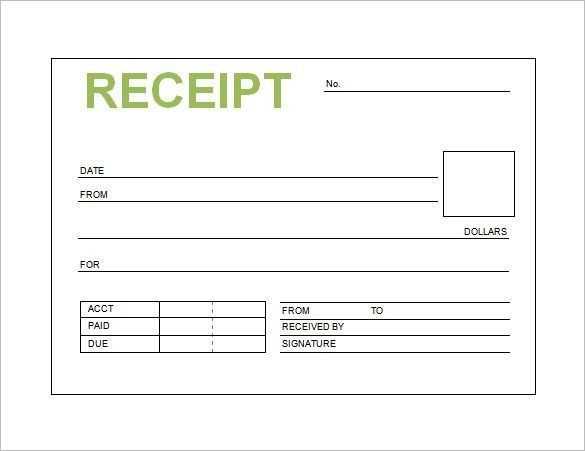
Provide the company’s name, address, contact number, and email. This helps customers reach you for follow-ups or inquiries.
2. Transaction Details
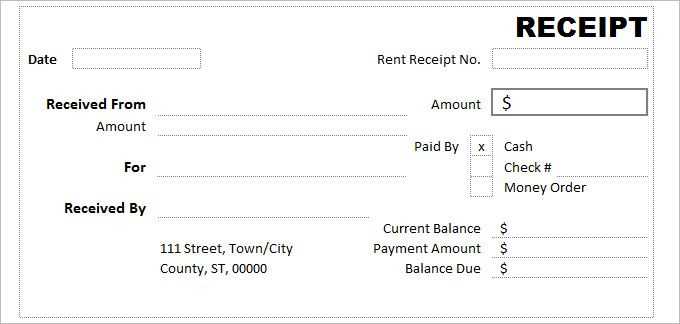
List the items or services purchased, along with their quantities and prices. Ensure the subtotal and any applicable taxes are clearly shown before the total amount due.
Including these fields will make your receipt professional and easy to understand, reducing potential disputes.
How to Adjust Margins and Spacing in Templates
To adjust margins and spacing in your A4 receipt template, follow these steps:
- Set Page Margins: Go to your document’s page setup settings. Adjust the top, bottom, left, and right margins according to your desired layout. Typically, 1-inch margins work well for most receipts, but you can make them smaller for more compact designs.
- Modify Line Spacing: To control the space between lines, select the text or section you want to adjust. Use the line spacing options in your editing tool to increase or decrease the spacing. A line height of 1.15 to 1.5 is common for clarity and readability.
- Adjust Paragraph Spacing: To control the space before and after paragraphs, access the paragraph formatting options. Increase or decrease the spacing to ensure each section of your receipt is well-separated and easy to read.
- Use Custom Padding for Elements: If your receipt template contains tables or other elements, adjust the padding within those elements. This helps maintain consistency in spacing between text and borders. Padding of around 5px to 10px works well for most templates.
- Ensure Consistent Spacing Across Sections: Check each section of your receipt to make sure margins and spacing are consistent. Use the same margin and padding settings throughout to ensure a neat, uniform look.
By fine-tuning these settings, you can create a clean, professional layout that makes the receipt easy to read and visually appealing.
Printing Tips for Professional-Quality Receipts
Ensure your printer uses high-quality thermal or inkjet paper for clear text and sharp logos. Poor paper quality can result in smudging, affecting the readability of the receipt.
Printer Settings
Adjust your printer’s resolution to at least 300 dpi for crisp text and clear images. This ensures that fonts and logos are sharp, which is especially important for branding on receipts.
Font and Layout Choices
Use legible fonts like Arial or Helvetica, and maintain a font size between 10-12 points for easy readability. Keep the layout simple with well-spaced elements to avoid clutter. Align text consistently to maintain a professional look.
Integrating Digital Signatures and Payment Information
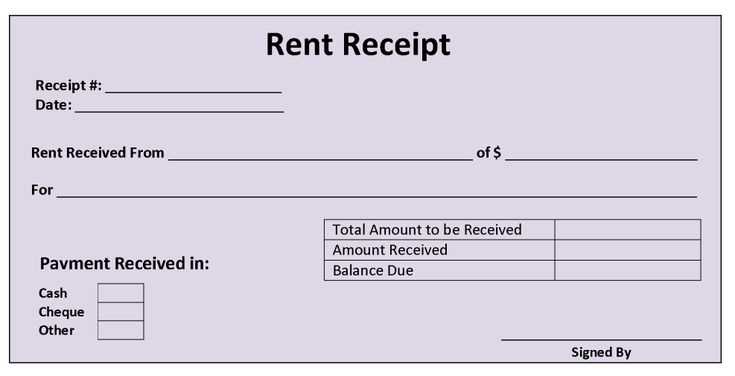
To integrate digital signatures and payment information into your A4 receipt template, start by embedding a secure digital signature field that can be electronically signed by the customer. Utilize encryption standards like RSA or ECDSA to ensure authenticity and prevent tampering.
For the payment information, ensure that details like transaction ID, payment method, and total amount are clearly displayed. It’s important to use secure channels to transmit this data, such as HTTPS or tokenization, to protect sensitive customer information.
| Field | Example |
|---|---|
| Transaction ID | #123456789 |
| Payment Method | Credit Card |
| Amount | $49.99 |
| Signature | Digitally Signed |
For added security, consider implementing a two-factor authentication process for digital signatures, where users must verify their identity via a separate device or method before completing the signature. This minimizes the risk of fraud or unauthorized transactions.
Finally, keep all records of digital signatures and payment information encrypted and stored in compliance with data protection laws, such as GDPR, to ensure both security and legal compliance.


