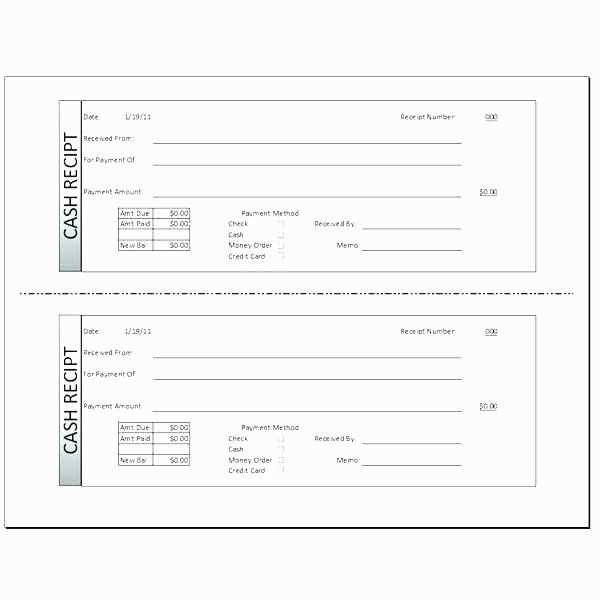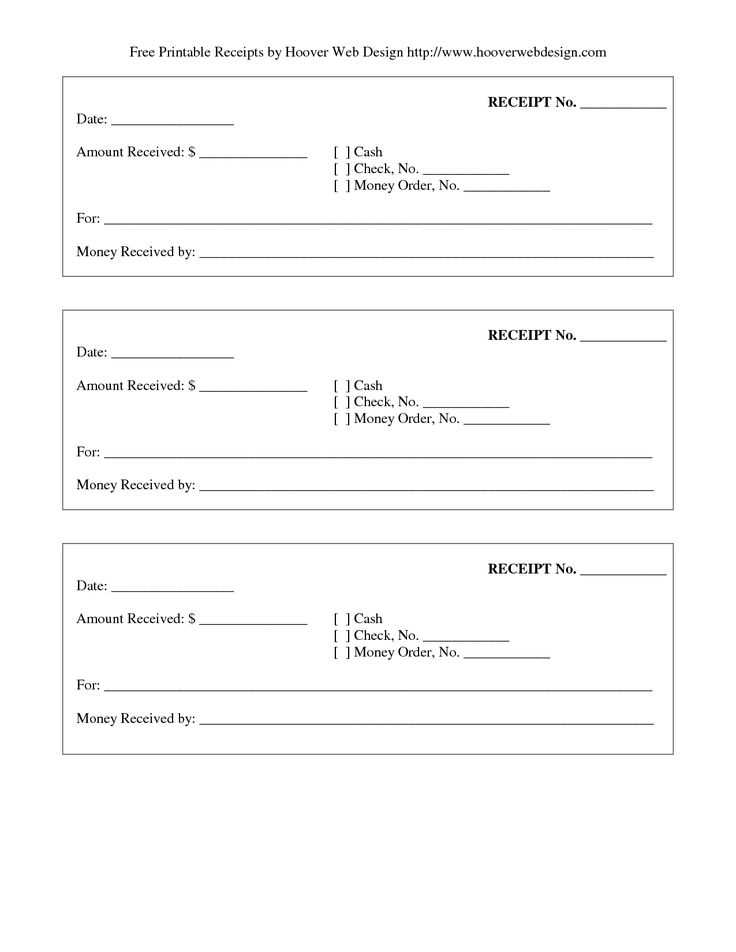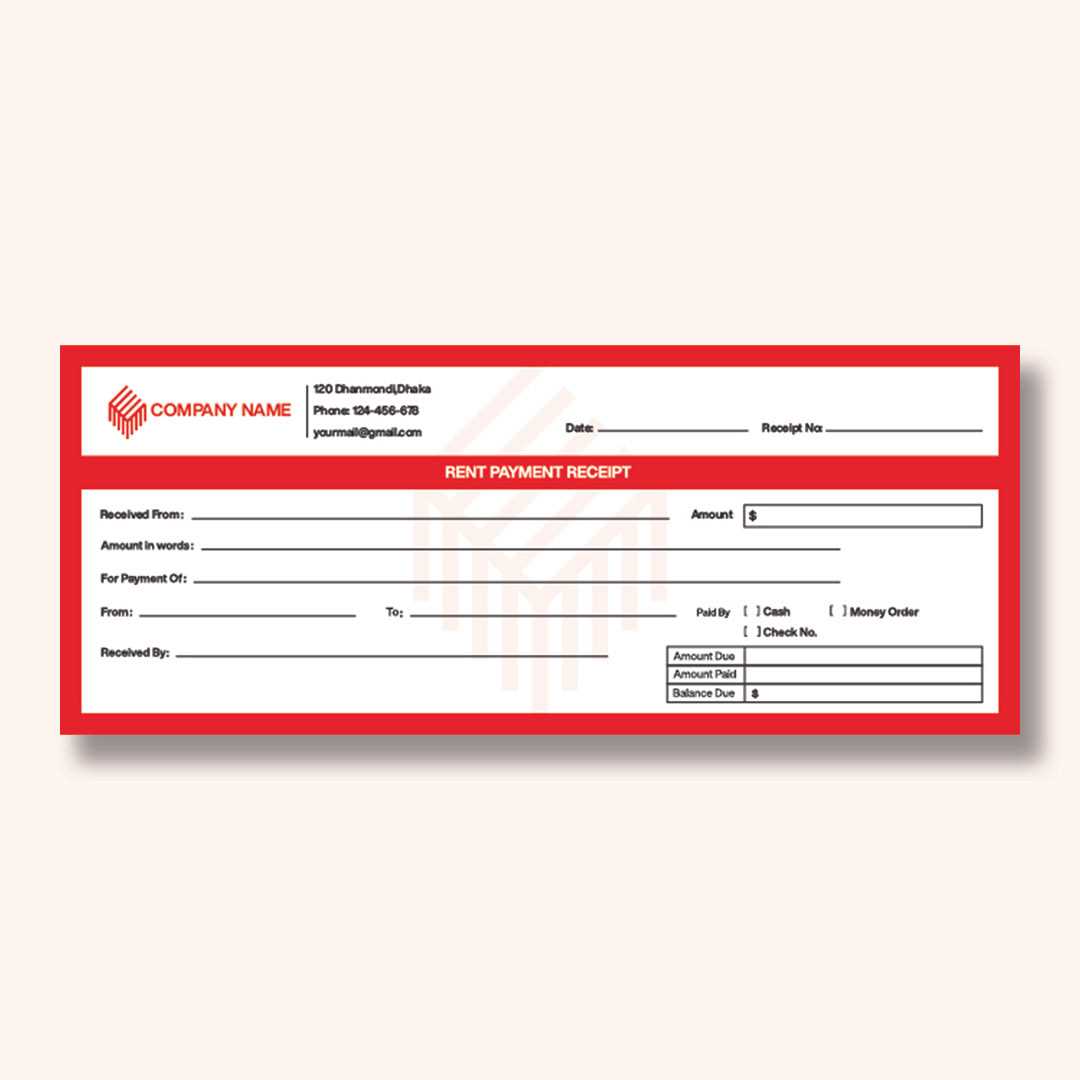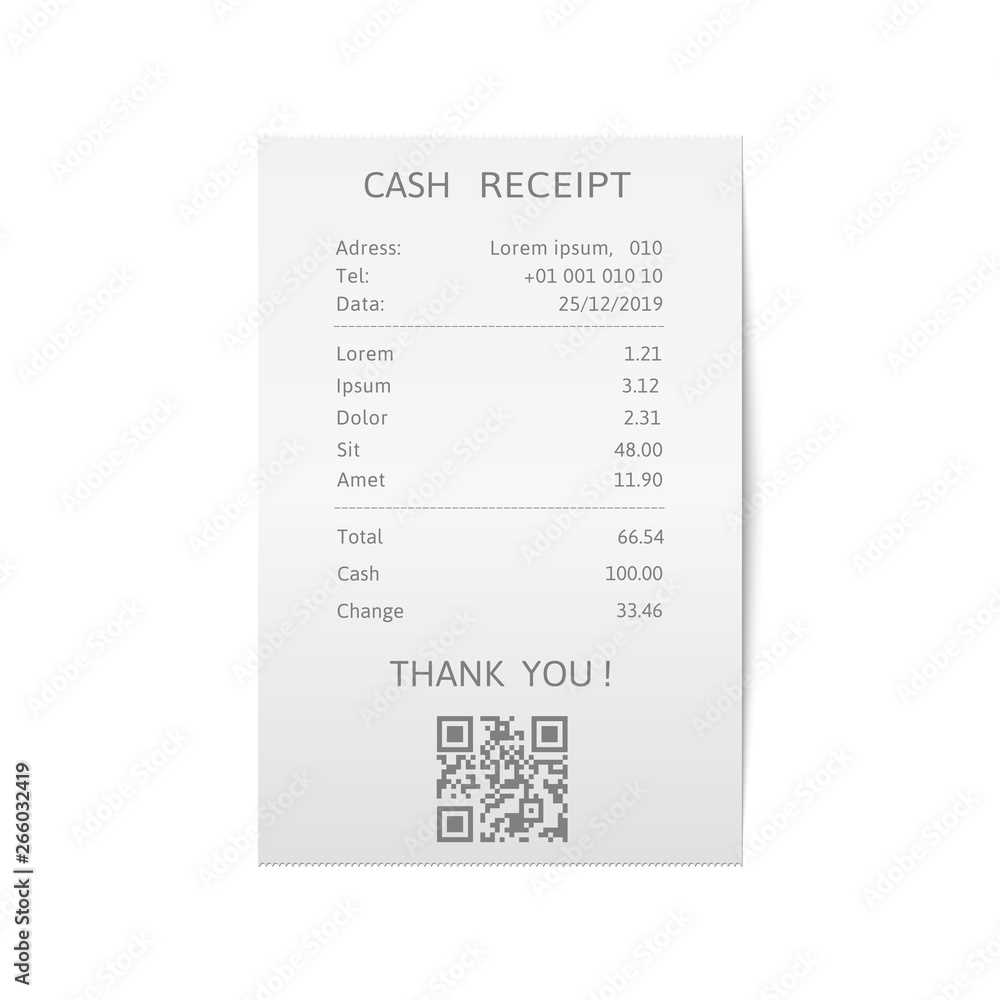
If you need to create a professional-looking receipt, an Adobe receipt template is a practical tool. It allows you to easily generate documents with a clean and polished layout without any design experience. Adobe offers a variety of templates that can be customized according to your business needs, ensuring the receipt reflects your brand’s identity.
To get started, choose a template that aligns with your requirements. You can select from simple designs to more complex ones that include space for itemized lists, taxes, and additional details like payment methods. Once you’ve picked the right template, fill in the necessary information such as customer details, items purchased, and the date of transaction. It’s easy to adjust fields and text sizes to accommodate the specific needs of each transaction.
With Adobe’s intuitive interface, modifying receipts is straightforward. You can change fonts, colors, and logos to match your business style. If you’re handling multiple transactions, save time by creating a standardized template and reuse it for each sale. This ensures consistency and accuracy in your records, which is especially useful for accounting purposes.
Using an Adobe receipt template helps streamline your business operations and maintain a professional image. Whether you’re a small business owner or part of a larger organization, having an efficient system for issuing receipts is key to improving customer experience and keeping track of financial data.
Choosing the Right Adobe Software for Receipt Templates

For creating receipt templates, Adobe InDesign is the most suitable choice. Its layout and design tools are perfect for organizing text and images in a professional manner. You can create customizable fields for buyer and seller information, product descriptions, and totals with ease.
Adobe Illustrator is another option if you prefer working with vector graphics. It provides precise control over design elements and is ideal for creating unique, visually appealing receipt templates. However, it lacks some of the text layout features found in InDesign.
Adobe Acrobat can be useful if you need to finalize the receipt template into a PDF format. You can add form fields for interactive receipts, making it easier for clients to fill out digital copies. However, Acrobat’s design tools are limited compared to InDesign and Illustrator.
If you require a simpler, more straightforward approach without advanced layout tools, Adobe Spark offers templates that can be quickly customized. While not as versatile as InDesign or Illustrator, Spark is user-friendly and ideal for creating basic receipts.
Ultimately, the best software depends on your design needs. InDesign excels for complex layouts, Illustrator is great for vector-heavy designs, and Acrobat is excellent for creating fillable PDFs. Spark is perfect for quick and easy templates.
Customizing the Layout and Design of Your Receipt

Choose a clean, intuitive layout that reflects your brand identity. Place your logo at the top left or center to ensure it’s the first thing the customer sees. This helps reinforce your brand and gives a professional touch. For text alignment, keep key details like the date, transaction number, and itemized list clearly organized in a left-aligned or centered format for easy reading.
Consider adjusting font sizes to create a clear hierarchy. Use larger fonts for the title and smaller fonts for secondary information like terms and conditions. Maintain consistent spacing between sections to avoid clutter. If your receipt includes discounts or promotions, highlight them with bold or colored text to draw attention to these details.
Margins are another critical aspect. Keep them wide enough to avoid cramping text, but not so wide that they waste space. If your receipt is long, group related information together, such as customer info, transaction details, and payment methods. This keeps everything compact without losing clarity.
Adding visual elements such as borders or separators between sections can help organize information, but don’t overdo it. The goal is clarity, not decoration. A simple line or spacing can be enough to distinguish sections without overwhelming the design.
Lastly, ensure your receipt is mobile-friendly. If it’s being printed from a digital platform, test the layout on various devices to make sure everything fits correctly on smaller screens. This step is particularly crucial for e-receipts or those sent via email.
Exporting and Printing Your Adobe Receipt Template
To export your Adobe receipt template, select “Export” from the file menu. Choose your preferred file format, such as PDF or JPEG, depending on the output you need. Make sure to specify the resolution for print if required.
Exporting as PDF

For a standard PDF, select “PDF” from the export options. This ensures high quality for printing. After selecting PDF, adjust any settings related to page size or margins if necessary. Click “Export” to save the file to your desired location.
Printing Your Template

To print, open your exported file and click the print icon. Adjust the printer settings to match your paper size and orientation. For best results, use a high-quality printer with the correct settings for documents that require fine detail.


