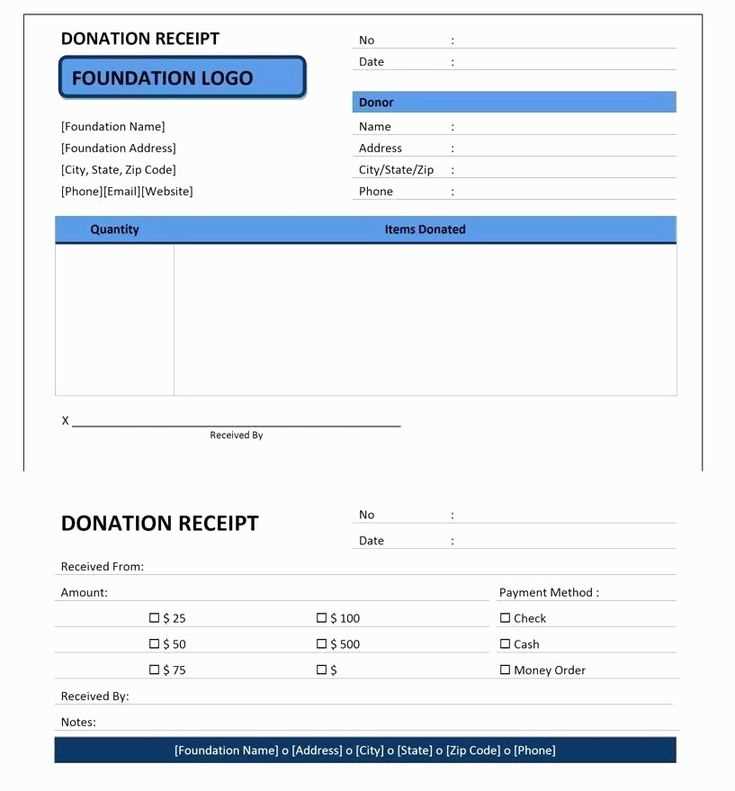
To create an auction receipt, ensure that all key transaction details are clearly outlined. Begin by including the seller’s and buyer’s full names and contact information, as well as the auction item description. List the auction date, lot number, and final bid amount to avoid any confusion in the future.
Don’t forget to add tax information if applicable. Many jurisdictions require sales tax on auction purchases. Provide the tax rate used and the total amount of tax charged. This helps both parties comply with local regulations and keeps the transaction transparent.
To finalize, include a unique receipt number and payment details. Clearly state the payment method–whether it was via credit card, cash, or another form–and indicate whether the payment was received in full. This simple yet important information will help maintain an accurate record of the auction transaction.
Here’s a detailed plan for an informational article on the topic “Auction Receipt Template” in HTML format, with three distinct headings:

The auction receipt template should include specific sections for clarity and proper documentation. A clear header with the auction title and date sets the context, followed by details of the item sold, including its description and price. These elements help in ensuring both parties have accurate records.
Basic Structure of an Auction Receipt

A well-organized receipt starts with the title of the auction and its location, followed by the buyer’s and seller’s details. Include a unique transaction ID to differentiate receipts. The item description, including its auction number, condition, and final price, should be listed clearly. Always specify whether taxes are included or excluded from the price.
Key Information to Include
Each auction receipt should have the following elements:
- Auction details: Date, location, and auction name.
- Seller and buyer information: Full names, contact information, and addresses.
- Item description: Detailed description, item number, and final bid price.
- Payment details: Total amount, payment method, and any applicable taxes.
- Signatures: Signatures of both the buyer and the seller to confirm the transaction.
Formatting Tips for a Professional Template
Use a simple and clean layout. Ensure readability by maintaining proper spacing between sections. Incorporate a clear font, such as Arial or Times New Roman, and avoid clutter. Include a footer with your business details or auction house’s information, and provide a duplicate copy for both parties. This ensures transparency and accountability for both the buyer and the seller.
- Auction Receipt Template Guide
For a clear and accurate auction receipt, include the following key details:
Required Information

Begin with the auction name and date of sale. Follow up with the buyer’s full name, contact details, and the purchased item description. Include the auction lot number, if applicable, to link the receipt directly to the item. The final bid amount and any applicable taxes or fees should be clearly stated. This ensures transparency and provides the buyer with a complete record of their purchase.
Format and Structure
Make sure the receipt is well-organized. The top section should contain the auction house or seller’s details, followed by the transaction information. A brief summary of the item, including its description, condition, and any identifiers like serial numbers or special notes, should be in the middle. The bottom of the receipt should include payment methods used and a thank-you note, if desired.
Begin with the auction title and the date of the auction to establish the context. This ensures both the buyer and seller can easily track the transaction. Follow with the item description, including its condition, any relevant identification numbers, and the final hammer price. It’s important to be clear and precise about these details, as they are central to validating the transaction.
Next, include the buyer’s and seller’s information, including their full names and contact details. This ensures accountability and transparency. Afterward, list any applicable fees or taxes that were part of the auction process. Clearly state the total cost, including the hammer price and all associated charges.
Lastly, specify the payment terms and deadlines. Mention whether the transaction was paid in full or if any outstanding balances remain, as well as the accepted payment methods. If applicable, note any guarantees or conditions attached to the sale. This structure helps keep the receipt clear, accurate, and legally sound.
Clearly list tax rates and payment methods. Break down the total cost into categories such as product price, applicable taxes, and payment processing fees. This transparency helps both the seller and buyer track the financial flow accurately.
- Ensure tax is calculated based on the buyer’s location and the applicable rate in that jurisdiction.
- Specify the currency used for the transaction, including any exchange rates if applicable.
- List the payment methods accepted (credit card, PayPal, bank transfer) and any associated processing fees.
- Clearly state the payment due date and any penalties for late payments.
By breaking down tax and payment details in this way, both the seller and buyer can reference exact amounts, avoiding misunderstandings. Make sure all fees, including tax, are calculated and listed before finalizing the auction receipt.
Each auction type requires unique elements on the receipt. For an online auction, include the website name, bidder’s username, and auction date. For live auctions, focus on the physical location, auctioneer details, and any specific item numbers relevant to the event.
Ensure the item description matches the auction details. For example, if the auction is focused on collectibles, include the provenance or condition of items. Adjust the receipt layout for clarity, especially if dealing with bulk items, and break down each lot separately for better tracking.
If your auction includes multiple currencies, offer clear distinctions between amounts and exchange rates. This helps bidders understand their payment obligations more easily. Always add taxes and fees applicable to each auction type, as they may differ depending on the auction rules or country.
Customize payment instructions based on auction format. For instance, if it’s a timed online auction, outline the exact time frame for payments and any penalties for delays. Live auctions should have a more immediate payment schedule and options for direct payments or bank transfers.
| Auction Type | Receipt Elements to Include |
|---|---|
| Online Auction | Website name, username, auction date, item numbers, payment methods |
| Live Auction | Location, auctioneer details, item numbers, immediate payment terms |
| Specialty Auction (e.g., collectibles) | Provenance, item condition, detailed descriptions, exchange rates |
Tailor your receipt template for the specific auction audience. This way, all necessary information is clear, and the buyer’s experience is seamless from bidding to payment.
Ensure that your auction receipt includes all the required details. This includes the item sold, the buyer’s information, and the final auction price. Also, include the date and time of the auction for future reference. This is the foundation of a clear and legal receipt.
Details to Include
- Item Description: Specify the name, model, and any unique identifying features of the item sold.
- Buyer Information: Include the buyer’s full name and contact details.
- Transaction Amount: List the total price paid for the item, including any taxes or fees.
- Date and Time: Make sure to include the exact date and time of the auction.
Keep these components clear and well-organized to avoid any confusion in the future.