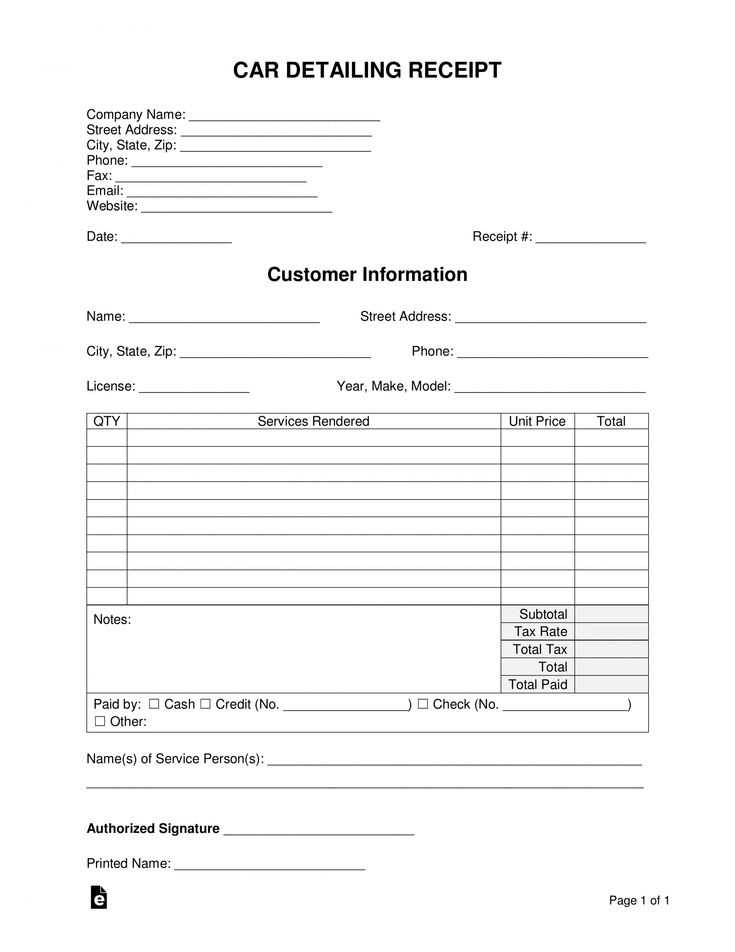
Providing clear and well-organized receipts is a key part of any auto detailing service. A well-crafted receipt not only helps maintain transparency with customers but also ensures smooth business operations. Start by including all necessary service details–this includes a breakdown of the services provided, prices, and any applicable taxes or fees.
For an easy-to-read layout, arrange the information in a logical order. The top section should display the business name, contact information, and date of the service. Below that, list each service rendered, itemized with clear descriptions and prices. Don’t forget to highlight the total amount due and any discounts, if applicable.
Including a section for payment method ensures clarity on how the transaction was completed. Consider adding a spot for customer feedback or a thank-you note to enhance customer experience. A well-organized receipt strengthens the trust between your business and clients, encouraging repeat visits and positive reviews.
Auto Detail Receipt Template
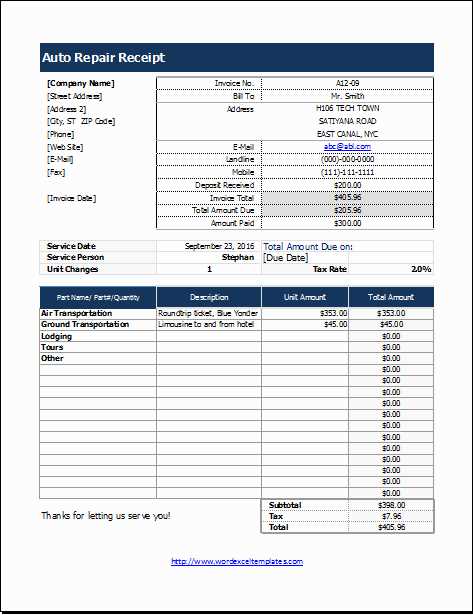
Creating a clear, well-organized auto detail receipt helps both businesses and customers keep track of services rendered. Include the customer’s name, vehicle make and model, and the date of service at the top. For each service provided, list the specific tasks completed, such as exterior wash, interior vacuum, waxing, or engine cleaning. Next to each service, note the cost associated with it. Ensure the total amount is clearly stated at the bottom, along with any taxes or fees. It’s also helpful to provide a space for payment method details, such as cash, credit card, or check. Always include your business name, contact information, and space for customer feedback or additional notes at the footer. This template can be easily adapted to fit different service offerings and pricing structures. Regularly updating your template will help maintain clarity for both your team and clients.
Customizing Fields for Service Details
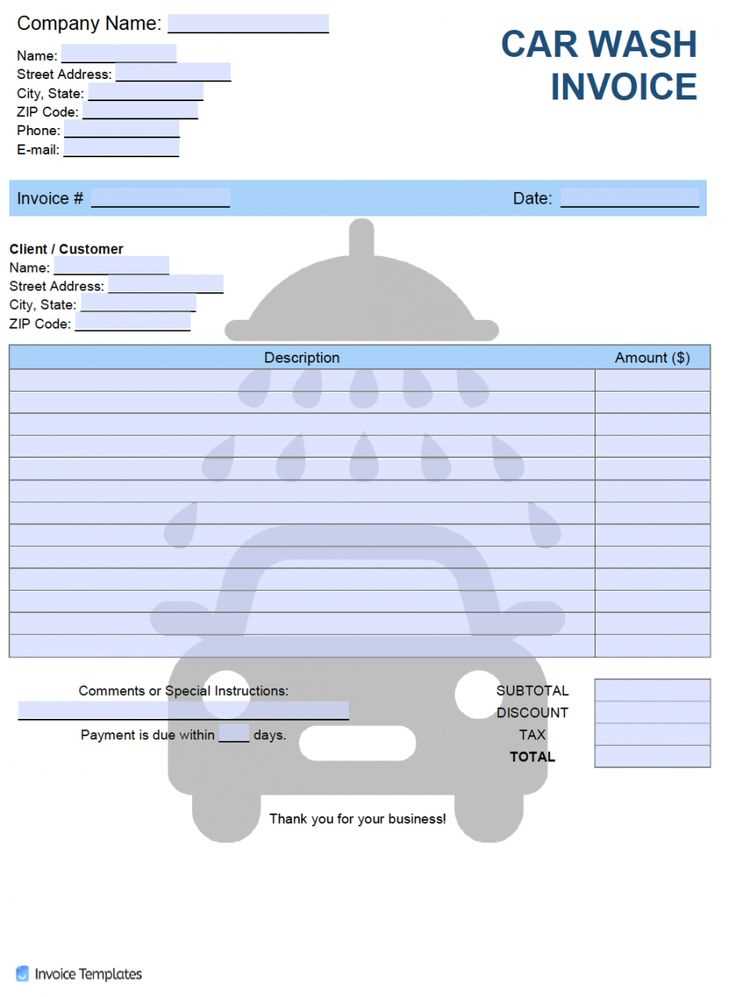
Tailor your service receipt template to reflect the specifics of your offerings by adjusting the fields to fit the needs of your customers. Begin by adding sections that cover the exact services provided, such as labor hours, materials used, and parts replaced. These categories should have clear labels to avoid ambiguity.
Adjust Field Labels
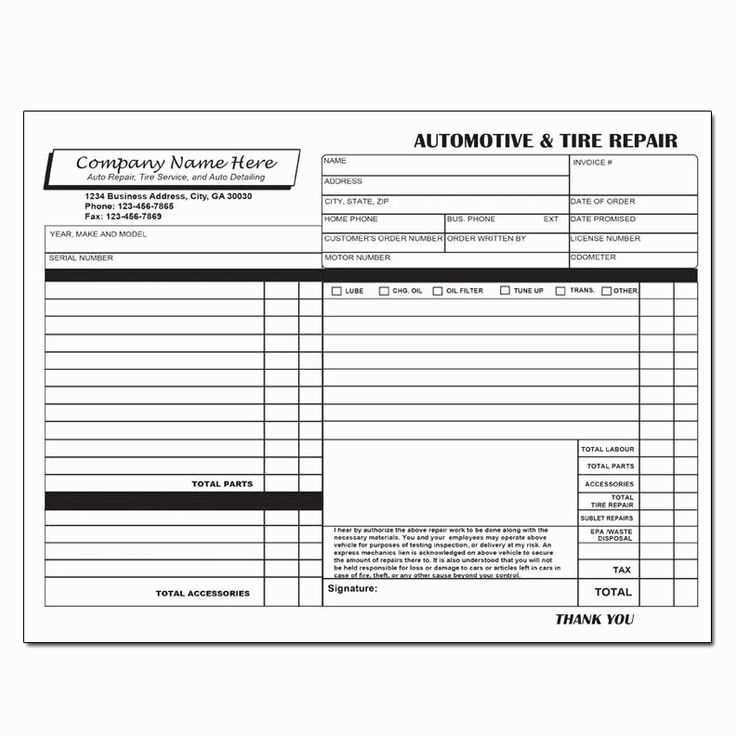
Consider customizing the labels for each field to reflect your business operations. For instance, if your services vary in scope, create custom labels like “Exterior Cleaning” or “Engine Detailing” to make it easier for both you and your client to understand the services provided. This improves the clarity and professional appearance of your receipts.
Include Pricing Details
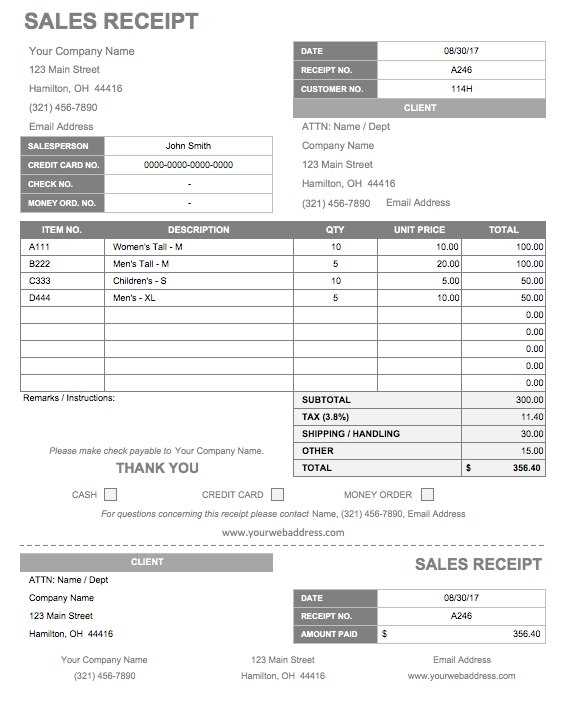
Be specific with pricing details. Include fields for unit cost, quantity, and total cost for each service. This transparency helps avoid confusion and builds trust with your clients. For more accurate billing, consider incorporating fields for discounts or promotions applied, which can further clarify the pricing breakdown.
Incorporating these customized fields ensures your receipts reflect the unique nature of your services, improving both organization and customer satisfaction.
Incorporating Payment Methods and Totals
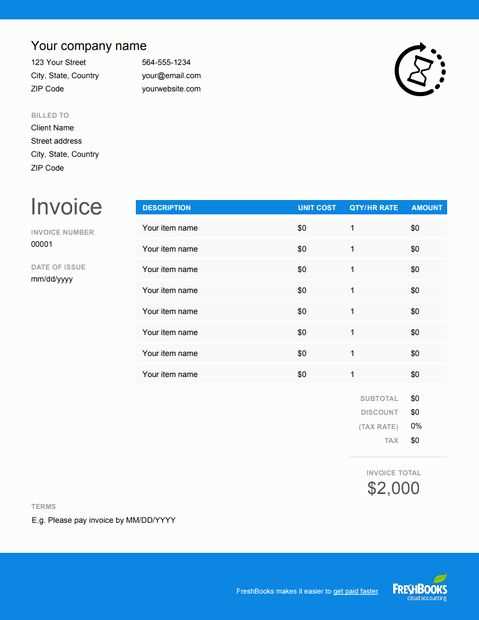
Include clear sections for payment methods and totals to ensure transparency and accuracy in the receipt. Display the types of payments accepted, such as credit cards, cash, or mobile payments, along with any relevant payment IDs or transaction numbers for reference.
- List each payment method separately for clarity.
- Provide totals for each payment method, as well as a final sum that includes all payments.
- Consider showing any discounts or additional charges to avoid confusion later.
Ensure that the total is easy to find and correctly reflects all amounts. Break down the total into categories like labor, parts, taxes, or any other applicable charges. If applicable, include a “Paid in Full” note to signal that the transaction has been completed.
It’s helpful to offer space for notes or a payment reference number for future inquiries or disputes. This keeps records clear and simplifies tracking for both the business and the customer.
Creating a User-Friendly Layout
Place the most important information at the top of the receipt, such as the business name, contact details, and transaction summary. This allows the user to quickly access the key details without scanning the entire document.
Organize Information Logically
Group related items together, such as services, products, and charges. Use clear headings or section dividers to separate them. This minimizes confusion and helps users find what they need fast.
Choose Readable Fonts
Use clean, simple fonts like Arial or Helvetica. Make sure the font size is large enough for easy reading, especially for key sections like the total amount and contact information.
Ensure there’s enough white space between sections to give the receipt a clean and uncluttered look. This will help prevent the document from feeling overwhelming or hard to follow.


