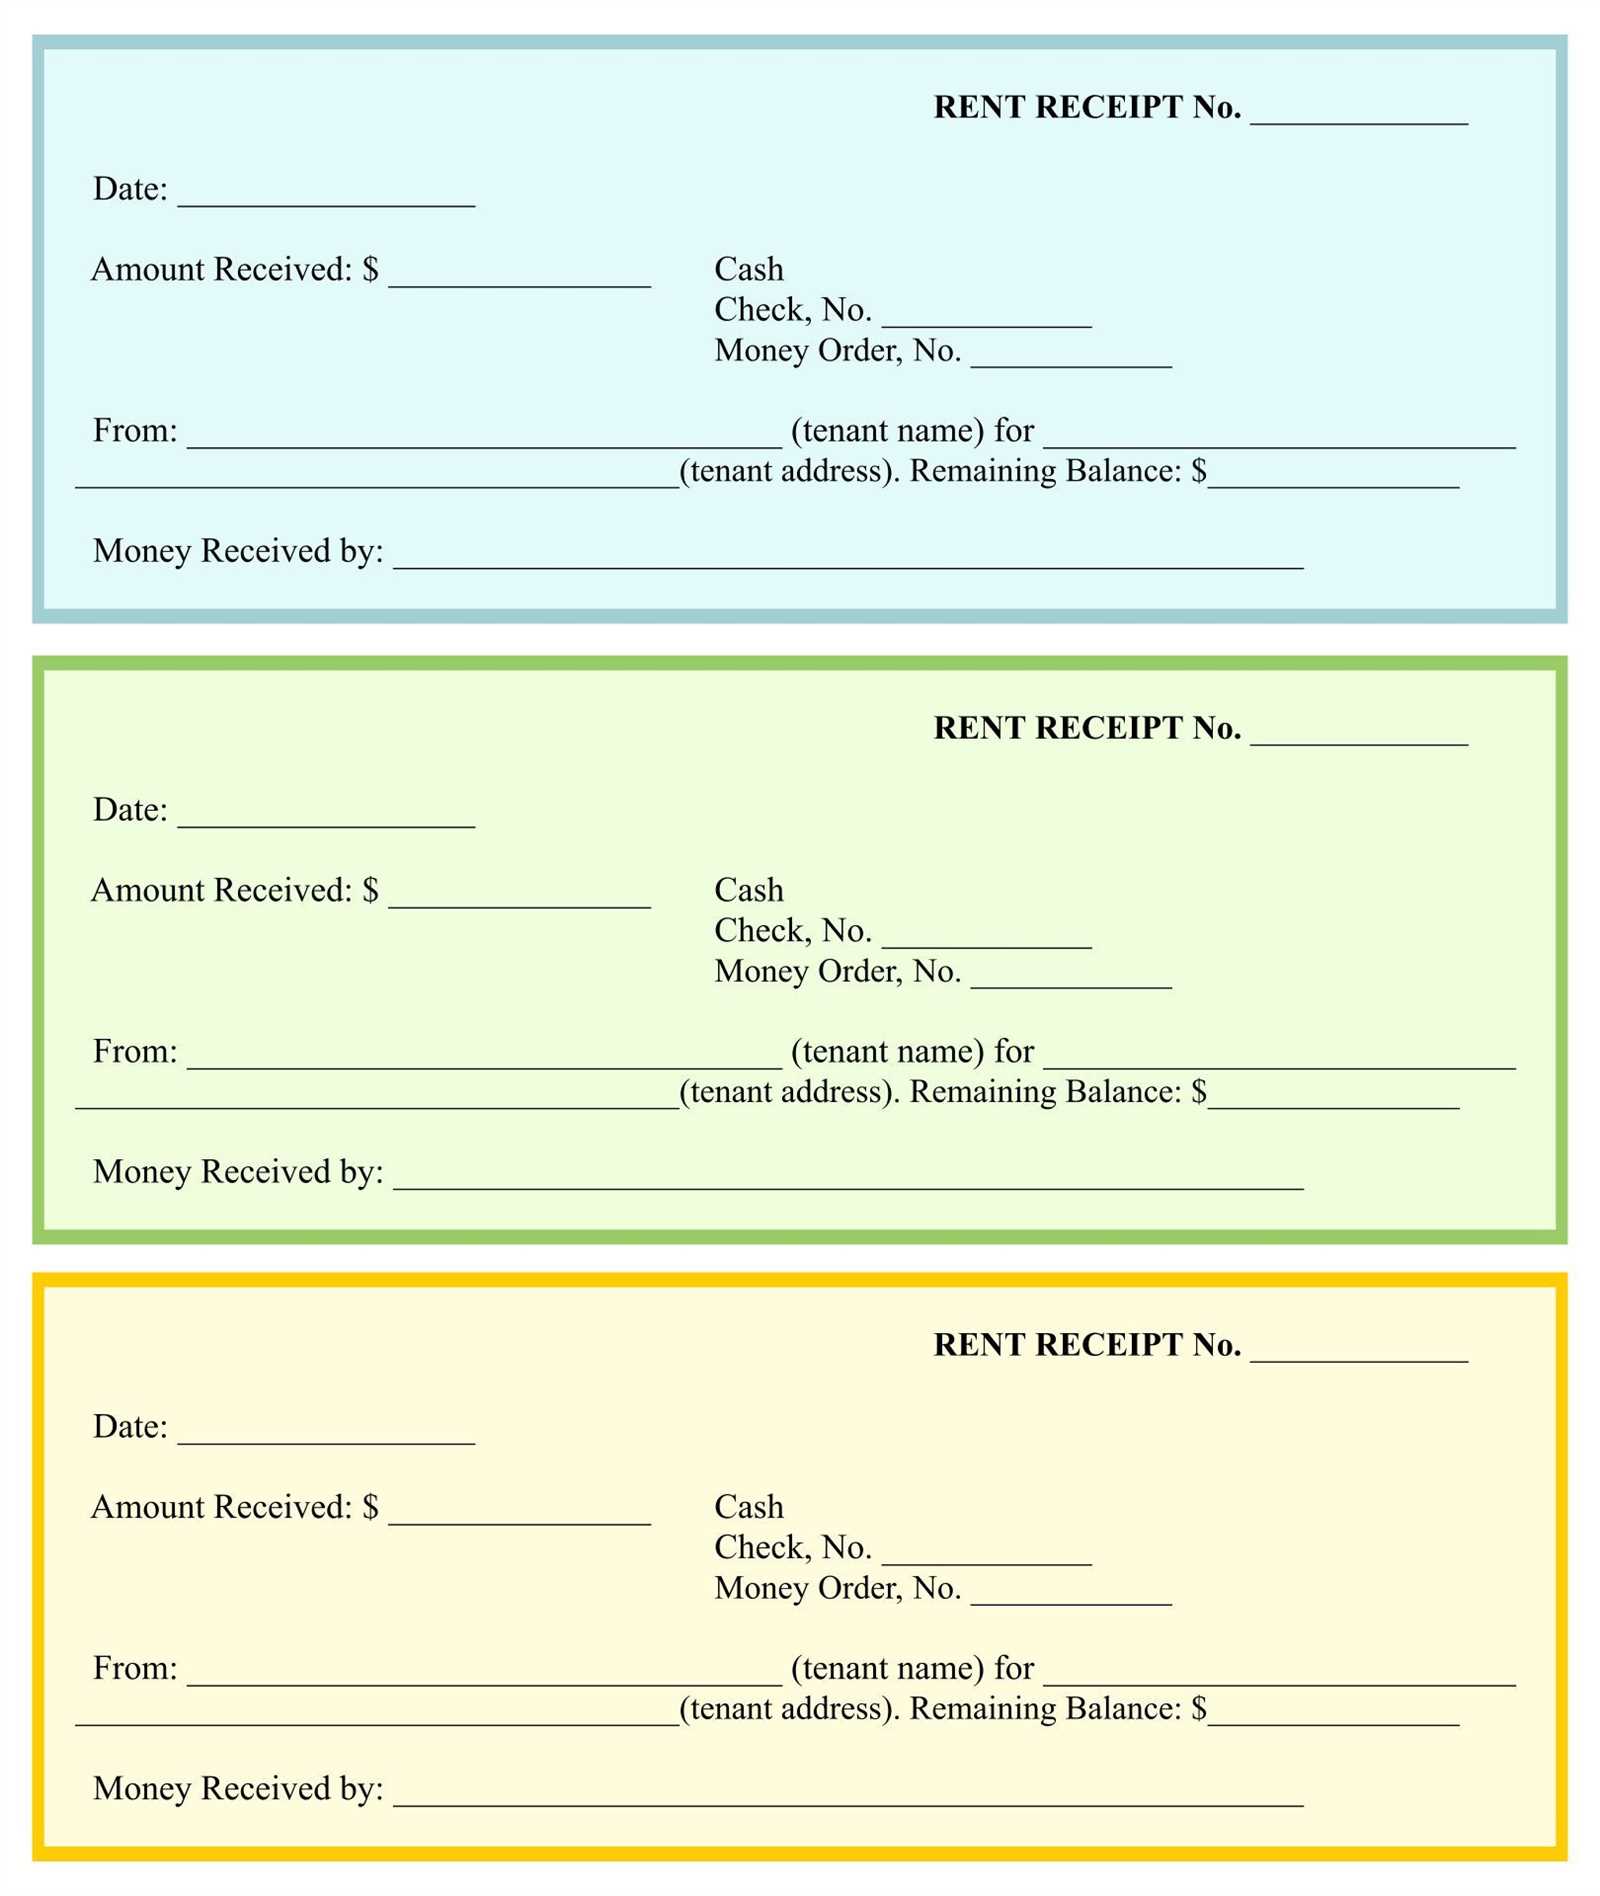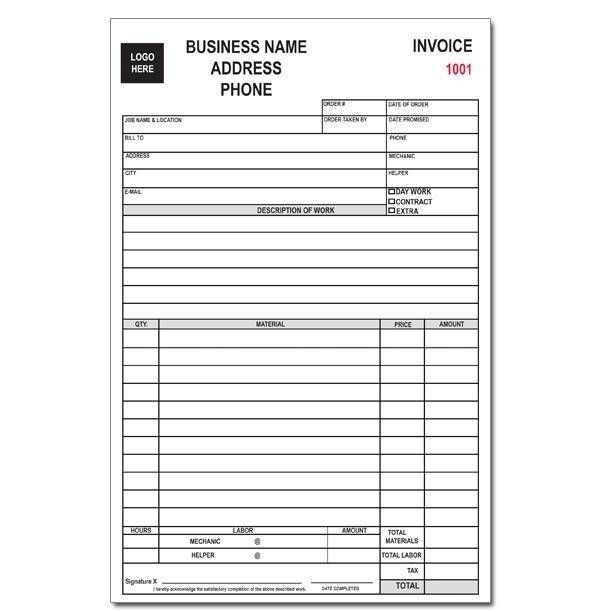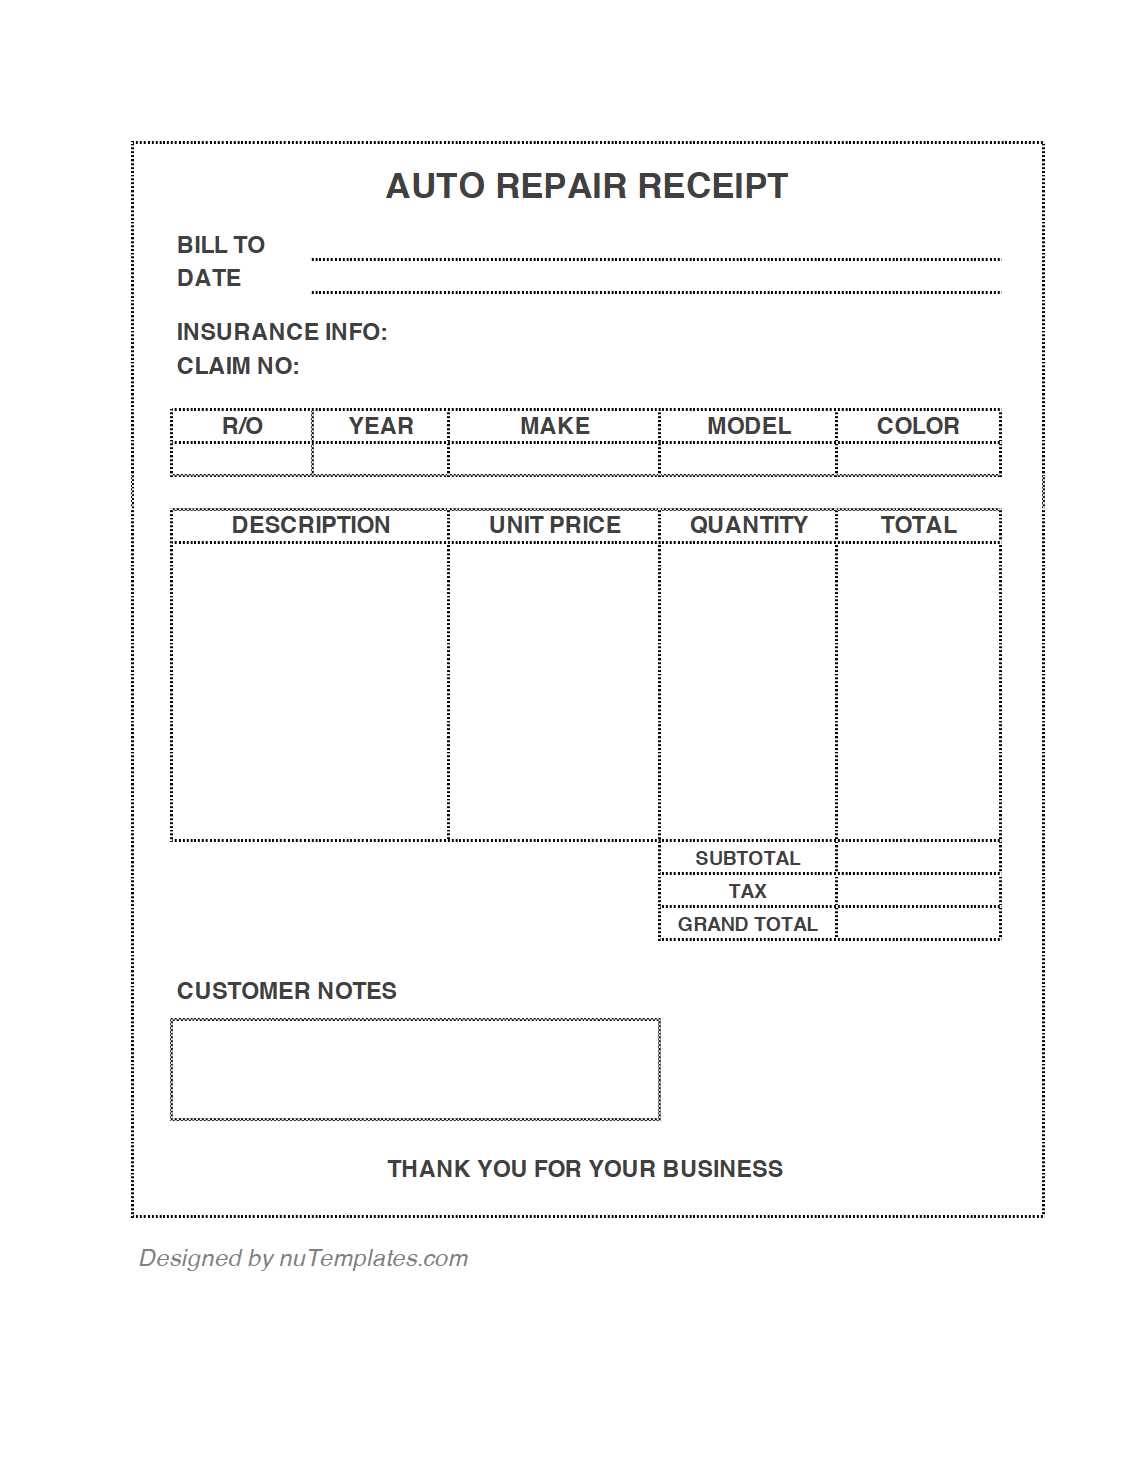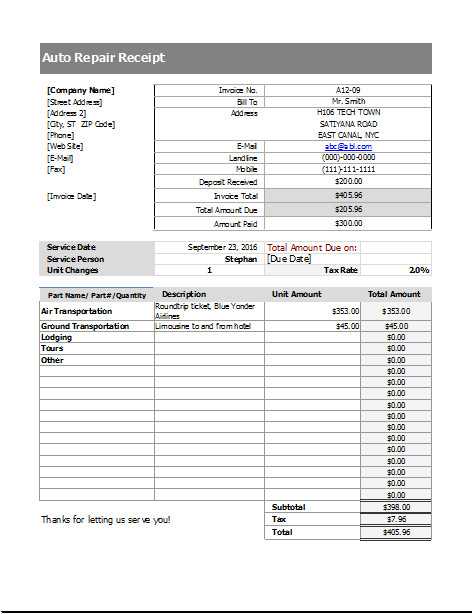
A well-structured auto glass receipt provides clarity for both service providers and customers. It should include key details such as company information, customer details, service description, and payment breakdown. A properly formatted receipt helps with record-keeping, tax reporting, and warranty claims.
Key elements to include:
- Business Information: Company name, address, phone number, and email.
- Customer Details: Name, contact information, and vehicle details.
- Service Breakdown: Description of work performed, parts replaced, and labor costs.
- Pricing and Payments: Itemized costs, taxes, total amount, and payment method.
- Terms and Notes: Warranty details, refund policy, and additional remarks.
A digital or printed template should be easy to customize, ensuring compliance with local tax regulations. Using a standardized format improves professionalism and customer trust while streamlining business operations.
Auto Glass Receipt Template
A well-structured receipt ensures transparency in auto glass services. Include the business name, contact details, and a unique receipt number for easy tracking.
Key Details to Include

- Customer Information: Full name, phone number, and address.
- Service Description: Specify the type of glass replaced or repaired, including the vehicle make and model.
- Itemized Costs: List parts, labor, and taxes separately to avoid confusion.
- Payment Method: Indicate whether the transaction was made by cash, card, or insurance claim.
- Warranty Information: Clearly outline coverage terms and duration.
Best Practices for Accuracy

Double-check calculations before issuing the receipt. Ensure clarity by using legible fonts and structured formatting. A digital version with a scannable QR code can simplify record-keeping.
Key Information to Include in an Auto Glass Receipt
Business Details: Include the company’s name, address, phone number, and tax identification number. This ensures the receipt is legally valid and allows customers to reach out if needed.
Customer Information: List the customer’s full name, phone number, and address. Accurate details help with warranty claims and future service requests.
Invoice Number and Date: Assign a unique receipt number and include the transaction date. This simplifies record-keeping and tracking payments.
Vehicle Details: Specify the make, model, year, and VIN. These details confirm the service was performed on the correct vehicle.
Service Description: Clearly outline the work completed, such as windshield replacement, chip repair, or tint installation. Mention materials used, including glass type and adhesive brand.
Pricing Breakdown: List the cost of parts, labor, and any additional fees separately. A clear breakdown helps prevent disputes and ensures transparency.
Warranty Terms: State any warranties provided, including coverage period and conditions. This reassures the customer and sets expectations for future claims.
Payment Details: Indicate the total amount paid, payment method, and any outstanding balance. If applicable, note installment plans or financing terms.
Authorized Signature: Include a signature from the technician or business representative. This verifies the service completion and agreement to the terms.
Formatting and Layout Best Practices

Use a clean, structured layout that enhances readability. Keep sections well-defined and spaced for quick scanning.
- Consistent Font and Size: Use a standard, legible font (e.g., Arial, Helvetica) at 10-12 pt for body text. Headings should be slightly larger for hierarchy.
- Clear Section Headings: Label each part of the receipt distinctly, such as “Customer Details,” “Service Description,” and “Payment Summary.”
- Logical Column Alignment: Arrange data in a grid format. Align text to the left and numbers to the right for easy reading.
- Adequate White Space: Avoid clutter by ensuring enough spacing between elements, making key information stand out.
- Consistent Date and Currency Format: Standardize formats (e.g., MM/DD/YYYY, USD 1,250.00) to prevent misinterpretation.
- Readable Line Spacing: Keep line height at 1.2–1.5 times the font size for clarity.
- Highlighted Totals: Use bold text for total amounts, taxes, and final charges to draw attention.
A well-formatted receipt not only looks professional but also ensures all details are easy to verify at a glance.
Common Mistakes to Avoid When Creating a Receipt
Omitting key details leads to disputes. Always include the business name, address, contact information, date, itemized charges, taxes, and total amount. Missing elements create confusion and reduce credibility.
Using vague descriptions makes tracking transactions difficult. Specify the service or product with clear names, quantities, and unit prices. Avoid generic terms like “repair” or “glass service” without additional details.
Ignoring formatting affects readability. Use consistent spacing, aligned columns, and legible fonts. A cluttered layout makes verification harder and increases processing time for both parties.
Failing to provide proof of payment causes issues later. Indicate whether the transaction was paid in full or if an outstanding balance remains. For card payments, note the last four digits or reference number.
Skipping a unique receipt number complicates record-keeping. Assign sequential or timestamp-based numbers to help with retrieval and auditing. Random or missing numbers make tracking nearly impossible.
Not saving a copy risks future disputes. Keep digital and physical records for tax filing, warranty claims, and potential chargebacks. A lost receipt can mean financial loss or legal complications.
Leaving out legal requirements results in compliance issues. Check local regulations for tax reporting, refund policies, and warranty statements. Non-compliant receipts may be invalid for business purposes.


