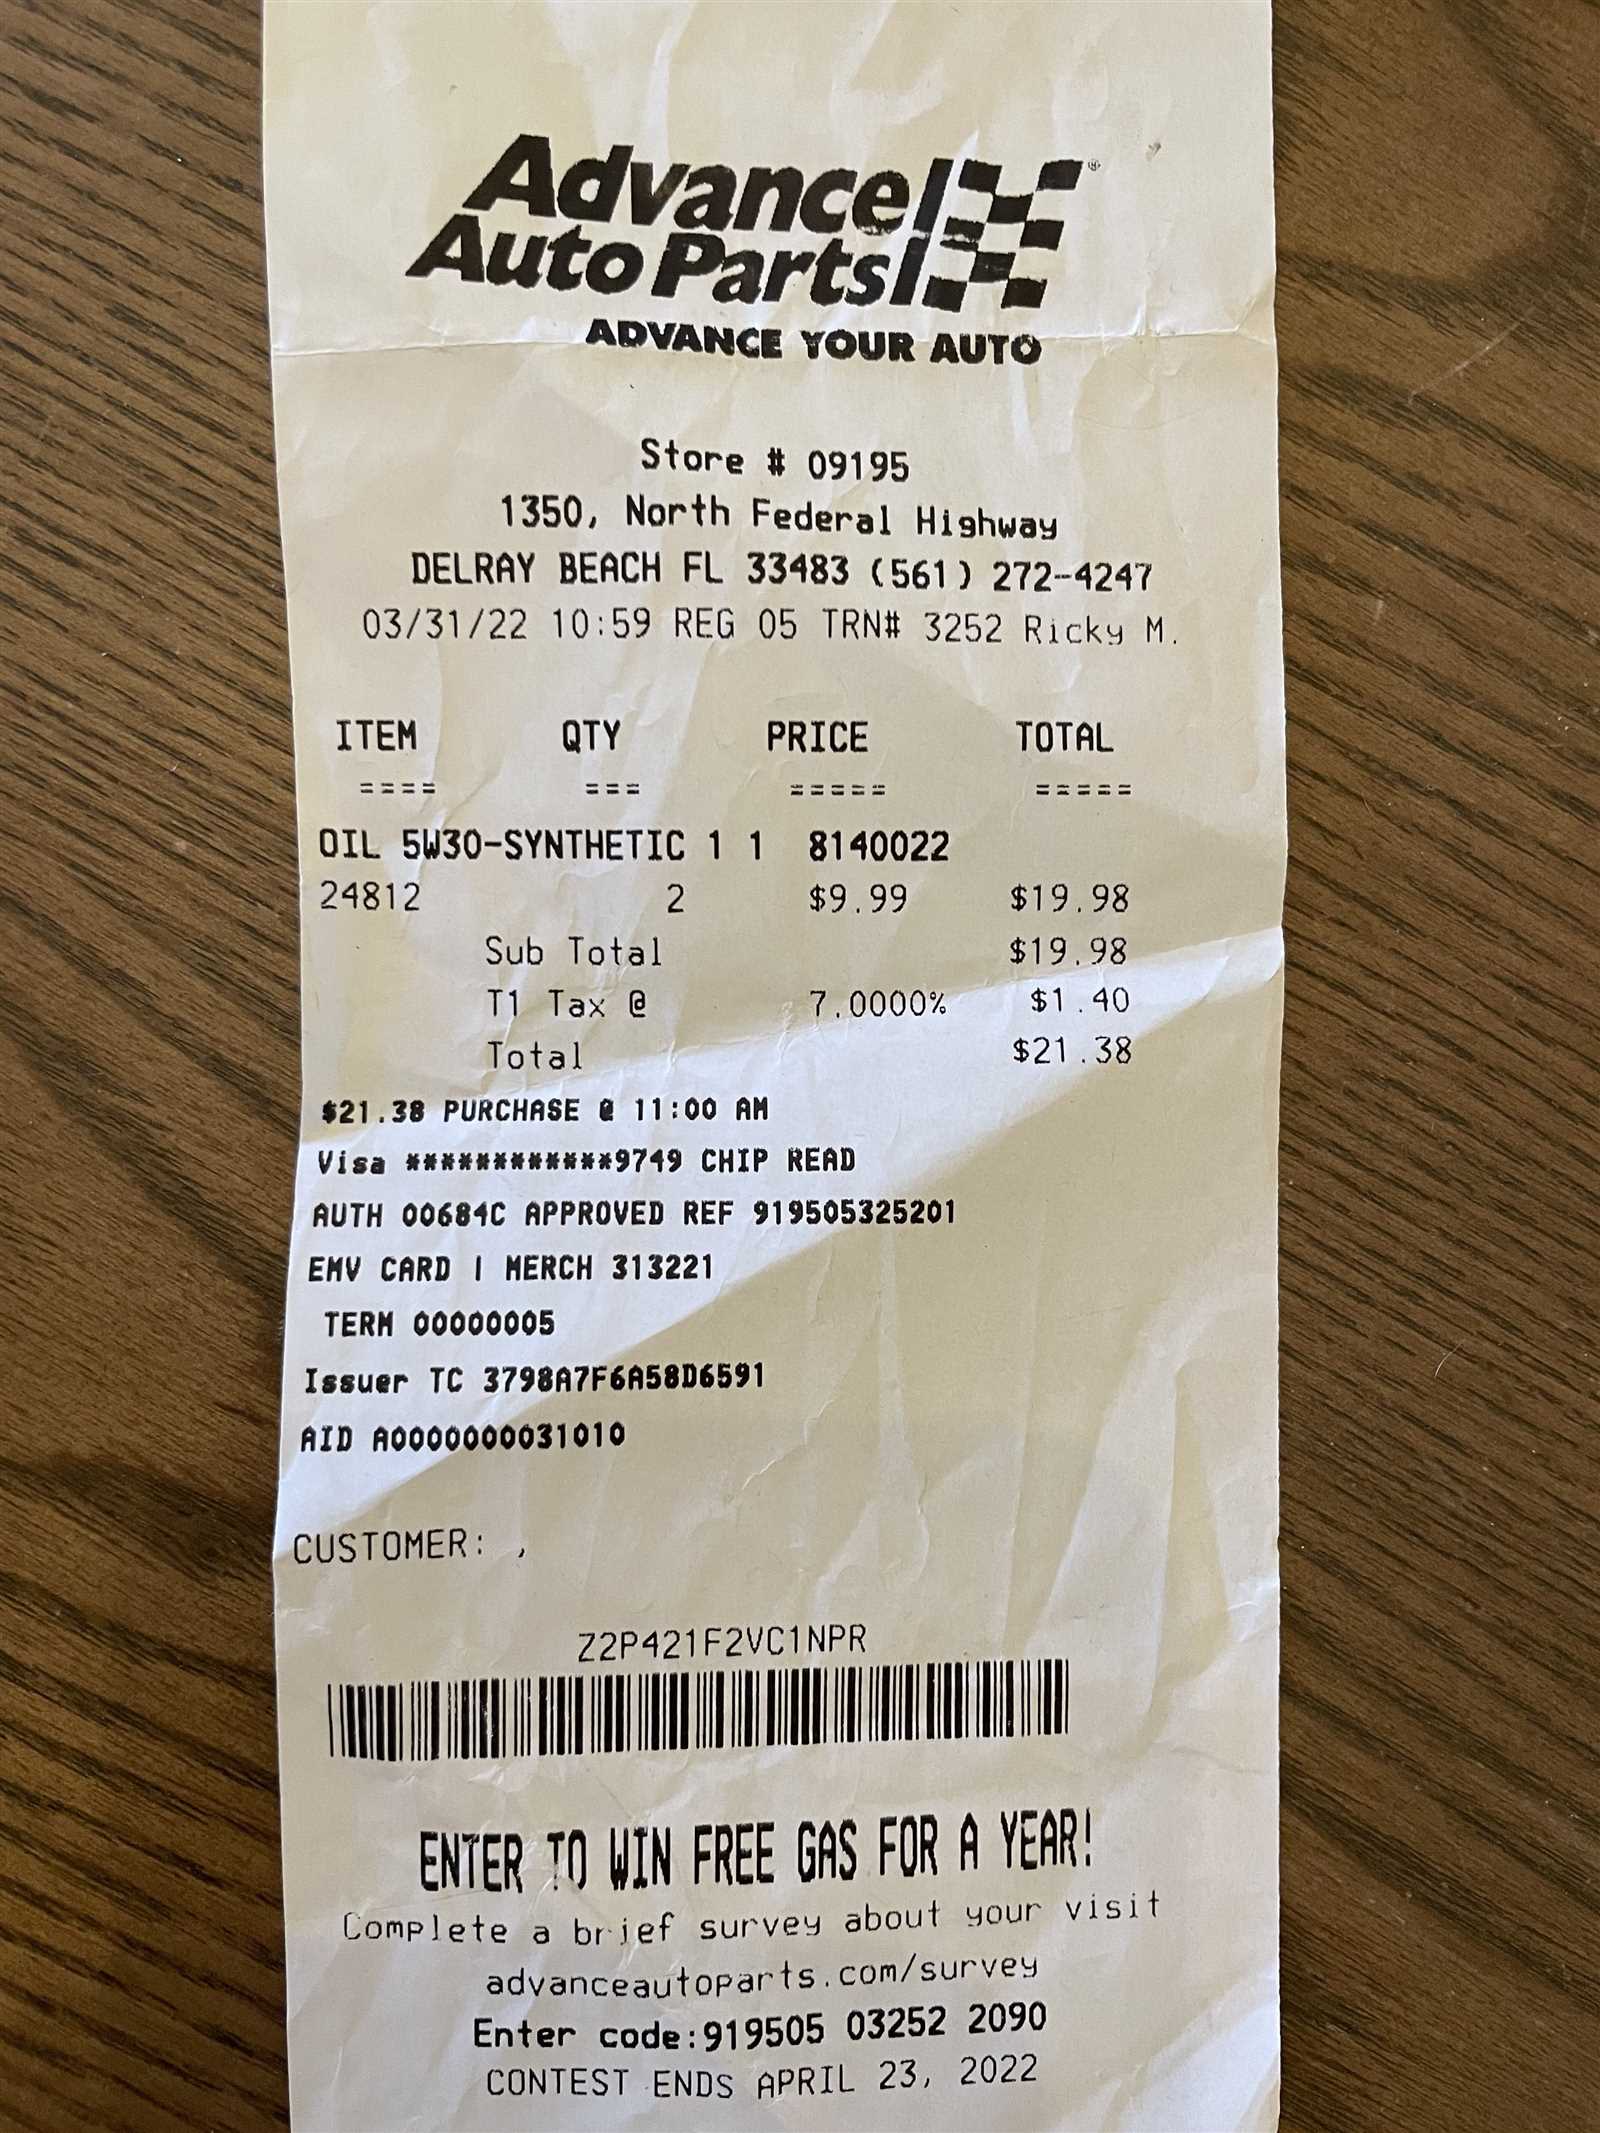
Creating a clear and accurate receipt for auto parts is simple with the right template. A well-structured receipt helps maintain smooth transactions and keeps records organized. Start by including the buyer’s details, the items purchased, and the date of the transaction.
Item Descriptions should be listed with clear identifiers like part numbers, brands, and quantities. This makes it easier for both the buyer and seller to verify the items. Don’t forget to include unit prices and total amounts, ensuring transparency.
For additional clarity, add a section for payment details, such as the payment method used. This is especially helpful for returns or warranty claims, as it establishes a clear payment history.
Incorporating tax and shipping fees in a separate line item ensures that all costs are transparent. This makes the receipt more professional and helps avoid confusion about the total price.
Auto Parts Receipt Template
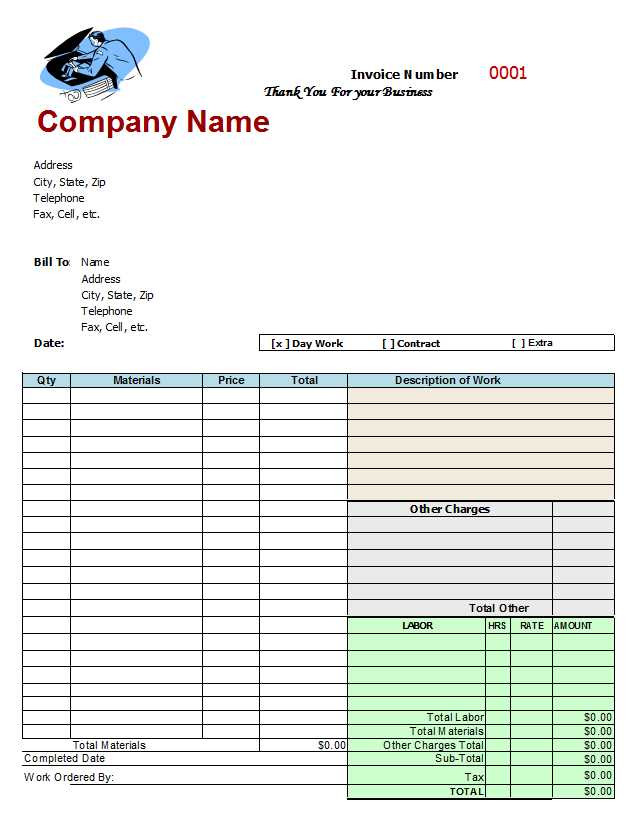
For an organized and clear auto parts receipt, include the following key details:
Header Information
At the top of the receipt, display your business name, contact information, and logo (if applicable). This makes it easy for customers to recognize your shop and reach out if necessary.
Transaction Details
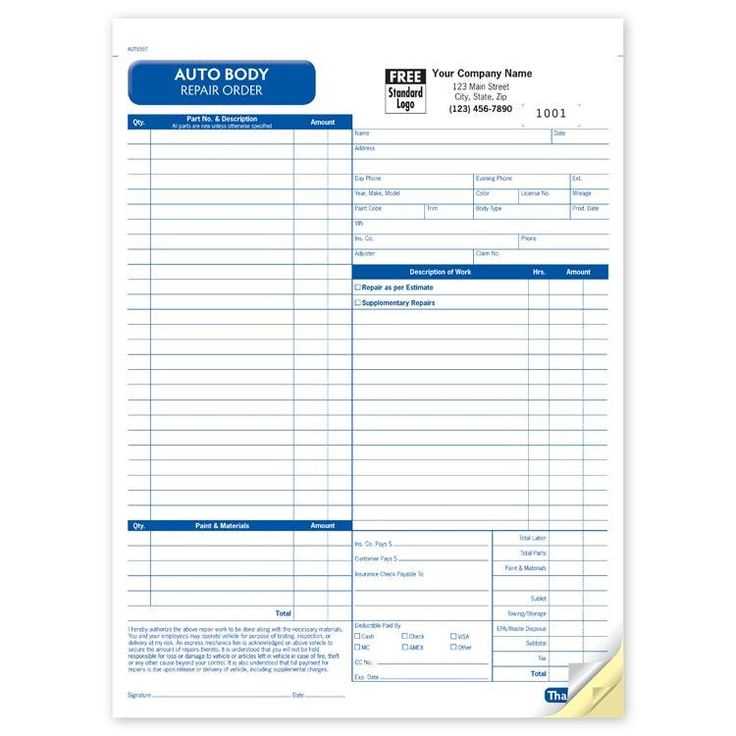
List the items purchased, their quantities, individual prices, and total cost. Make sure to include part numbers, descriptions, and any relevant details about the parts. This avoids confusion and keeps the record clear.
Payment Information
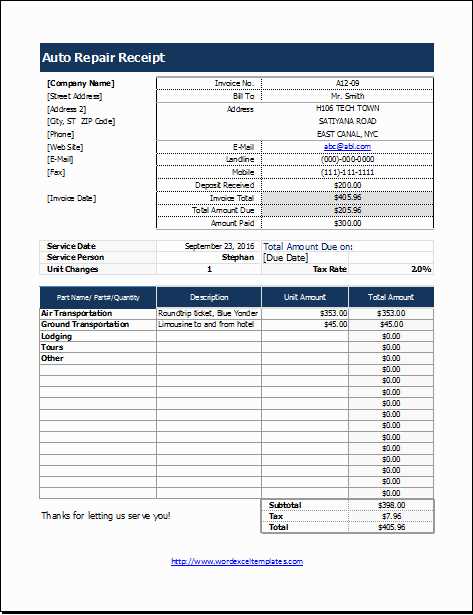
Include the payment method (credit card, cash, etc.) and the amount paid. If applicable, provide details about the warranty or return policy for the purchased parts.
Date and Receipt Number
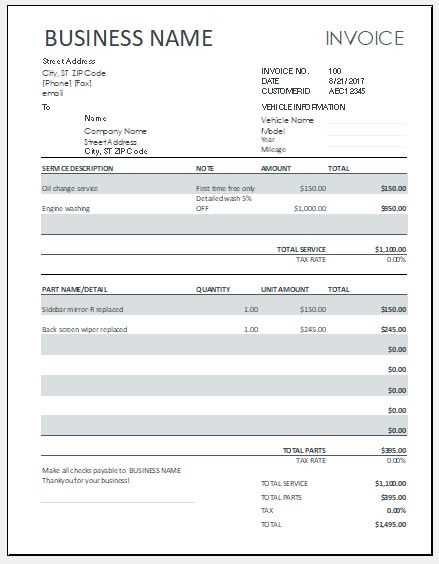
Make sure to list the date of the transaction and a unique receipt number for reference. This ensures proper tracking and makes it easier to resolve any issues that may arise later.
Additional Tips
For a professional touch, make sure your receipt is easy to read and formatted clearly. You can use bold for important items like totals and part numbers, and leave enough space between each section to avoid a cluttered appearance.
How to Structure an Auto Parts Receipt
Begin with a clear header that includes your company name, address, and contact information. This ensures the customer knows where the parts came from at a glance. Right below that, include the receipt date and the transaction number to easily reference the purchase later.
List the auto parts purchased with accurate descriptions, part numbers, and quantities. Each item should be accompanied by its price, ensuring transparency and clarity. If applicable, include the part’s warranty or return policy next to the price for quick reference.
Provide the total cost, including any taxes and shipping fees. Ensure that all calculations are clearly outlined, making it easy for the customer to understand the final amount due. If there were any discounts or promotions, mention them alongside the total price.
End the receipt with payment details, including the method used (credit card, cash, etc.), and a thank you message. This leaves the customer with a sense of completion and appreciation for their business.
Including Necessary Details in the Template
Include key information that ensures the receipt is clear and reliable. This allows both parties to track the purchase and verify the details accurately.
1. Buyer and Seller Information
Clearly list both the buyer’s and seller’s names, addresses, and contact details. This helps identify the transaction parties and provides a point of contact if necessary.
- Buyer’s full name and address
- Seller’s full name and business address
- Phone numbers and emails for both parties
2. Detailed Item Descriptions
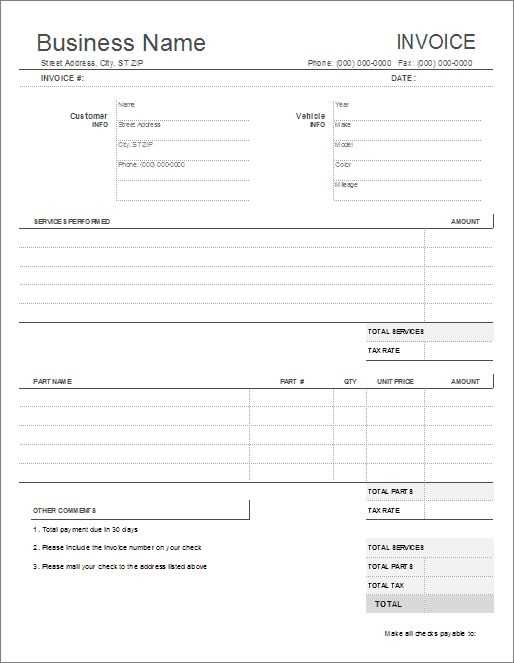
Each part or product purchased should be described precisely. Include part numbers, quantities, and relevant specifications to avoid confusion and ensure accurate recordkeeping.
- Part number or code
- Quantity of parts purchased
- Detailed description of the part (model, size, etc.)
3. Pricing and Payment Details
Break down the pricing for each item, any applicable taxes, and the total cost. Include payment methods and due dates to provide a clear picture of the transaction.
- Price per item and total cost
- Sales tax or VAT applied
- Payment method and date
Customizing the Template for Different Transactions
Adjust your template to reflect the specific details of each transaction. For instance, when processing returns, include fields for the reason for return and the return policy, ensuring clear documentation. For exchanges, add a section for the exchanged parts and their corresponding values to track what was replaced.
For Sales Transactions
Ensure the template captures the buyer’s contact details and payment method. Include a space for warranty information if applicable. Clearly list the auto parts being purchased along with individual prices to prevent misunderstandings during audits.
For Refunds or Replacements
Modify the template by including a section to detail the original purchase date and invoice number. Make sure the refund or replacement amount is clearly outlined to avoid confusion. Consider adding a signature line for both the customer and the service provider for confirmation.
By customizing the template based on transaction type, you maintain clarity and improve accuracy for each scenario, simplifying both customer interactions and record-keeping.


