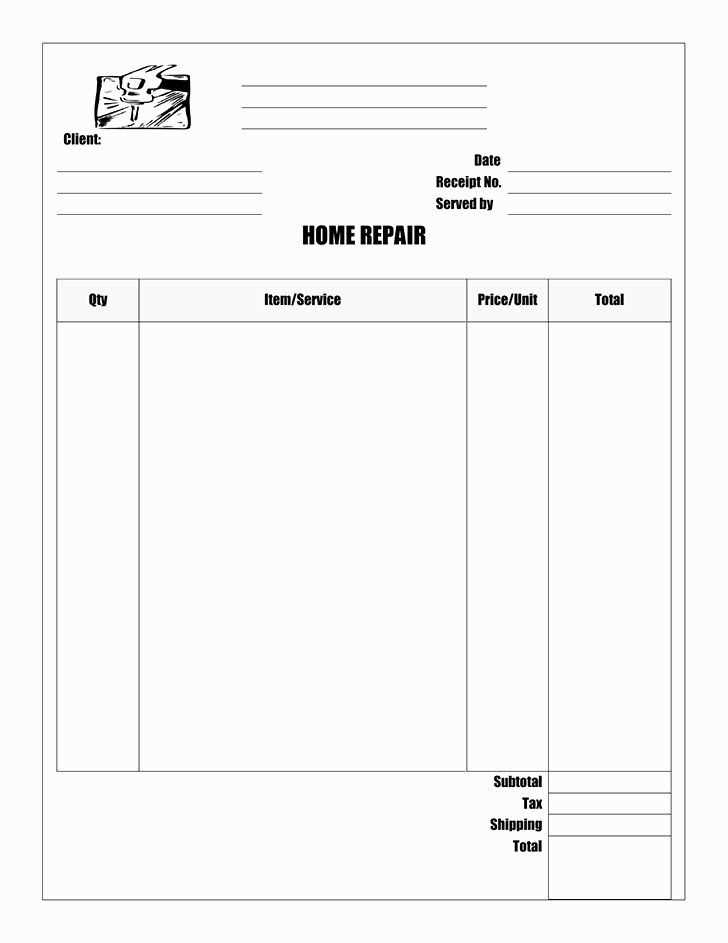
A well-structured receipt template simplifies transactions, ensures transparency, and helps with financial record-keeping. Every auto repair shop needs a clear format that includes all essential details–without unnecessary complexity.
Key elements to include: business name, contact information, itemized list of services, parts used, labor costs, taxes, and total amount due. A professional layout ensures customers understand charges while keeping records organized for tax reporting.
Choose a format that suits your workflow. Digital templates offer automation and easy storage, while printable versions provide a familiar paper trail. For added convenience, consider including payment details and terms to avoid disputes.
Avoid generic templates that lack customization. Adding your shop’s logo, branding colors, and clear terms enhances credibility and reinforces customer trust. A well-crafted receipt is more than a transaction record–it reflects professionalism and attention to detail.
Auto Repair Shop Receipt Template
A well-structured auto repair shop receipt provides clarity for both the business and the customer. It should detail the services performed, parts used, and total cost. A clear format ensures transparency and simplifies record-keeping.
| Description | Quantity | Unit Price | Total |
|---|---|---|---|
| Brake Pad Replacement | 1 | $150 | $150 |
| Engine Oil Change | 1 | $50 | $50 |
| Labor Cost | – | – | $80 |
| Subtotal | $280 | ||
| Tax (8%) | $22.40 | ||
| Total | $302.40 | ||
Ensure each receipt includes the shop’s name, address, contact details, and tax identification number. Adding a section for customer signatures enhances documentation. Keep digital and printed copies for tax and warranty purposes.
Key Information to Include on the Receipt
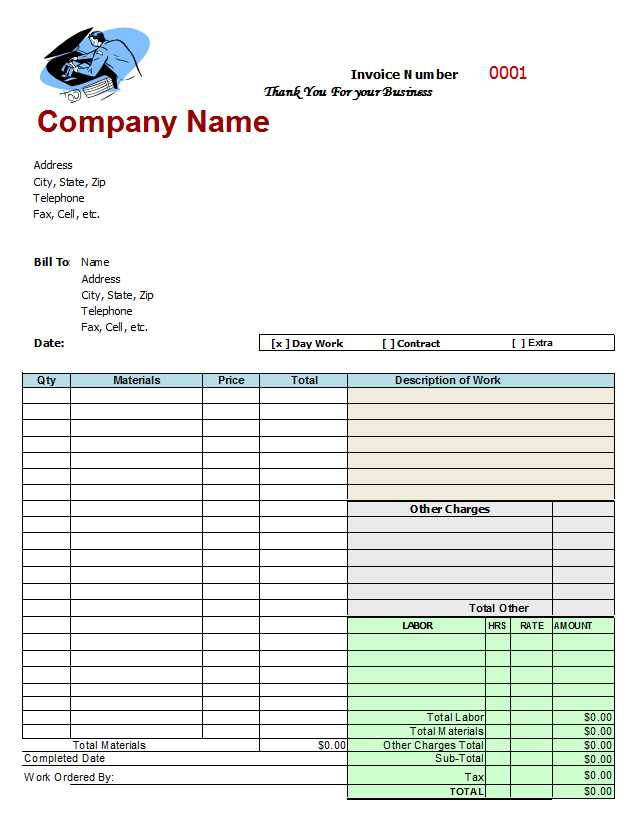
Business Details: Clearly display the shop’s name, address, phone number, and tax identification number. Customers should instantly recognize where the service was performed.
Customer Information: Include the client’s full name, phone number, and, if relevant, their address. This ensures easy reference for future service history.
Vehicle Details: List the make, model, year, VIN, and license plate number. This prevents confusion, especially for customers with multiple vehicles.
Service Breakdown: Specify each service performed with individual costs. Avoid vague terms–describe repairs and parts replaced in detail.
Parts and Labor Costs: Separate labor charges from parts costs. If applicable, include part numbers and indicate whether they are new, used, or aftermarket.
Taxes and Fees: Clearly outline any applicable taxes and shop fees. Transparency builds trust and avoids billing disputes.
Payment Details: Indicate the payment method and any outstanding balance. If a warranty applies, mention the terms.
Mechanic’s Notes: If relevant, add brief remarks on the vehicle’s condition or recommendations for future maintenance.
Receipt Number and Date: Assign a unique receipt number and include the transaction date. This simplifies record-keeping for both the shop and the customer.
Signature Line: For high-value repairs, a signature field can confirm the customer’s approval of the work completed.
Breakdown of Labor and Parts Costs
Clear itemization prevents confusion. List labor and parts separately to show exactly what the customer is paying for. Transparency builds trust and reduces disputes.
Labor Costs
Calculate labor charges based on hourly rates and estimated work time. Specify the rate per hour and total hours worked. If a flat rate applies, mention it explicitly. Use precise descriptions, such as “Brake pad replacement – 1.5 hours @ $80/hr = $120”.
Parts Pricing
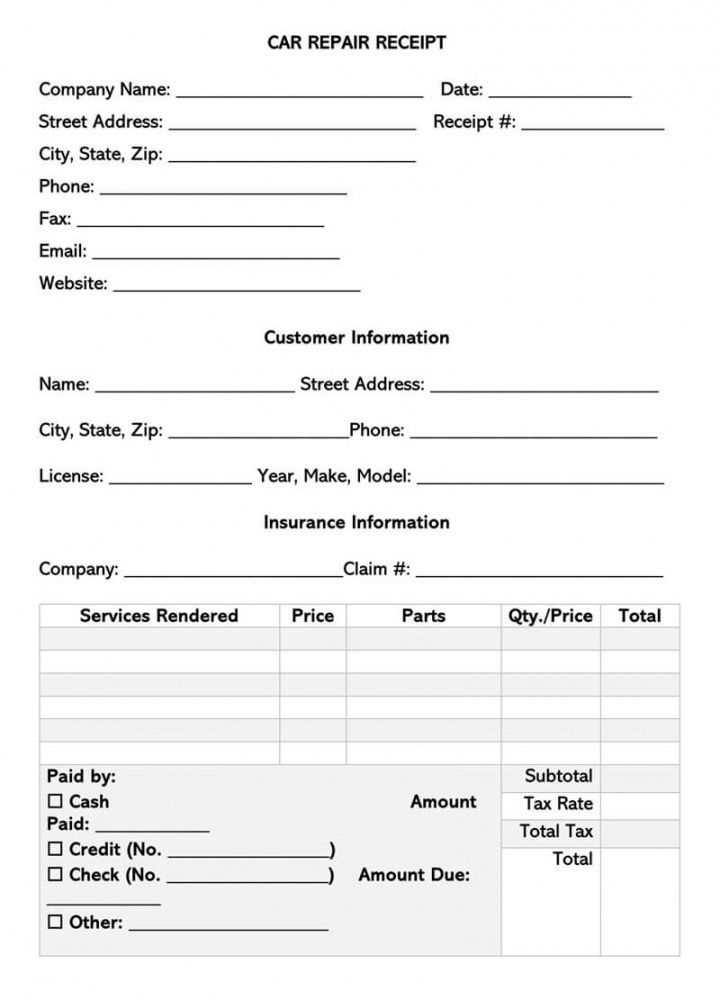
Include part names, quantities, and individual prices. Indicate whether they are OEM or aftermarket, if relevant. Example: “Front brake pads (OEM) – 1 set – $95”. If markup applies, clarify it.
Summarize total costs clearly. Show labor and parts totals separately before calculating taxes and final amounts. A well-structured breakdown ensures customers understand their bill and reduces follow-up questions.
Tax Calculation and Payment Methods
Calculate sales tax by multiplying the total service cost by the applicable tax rate. Ensure accuracy by verifying state and local tax regulations. If offering parts and labor separately, apply tax only where required.
Payment Methods
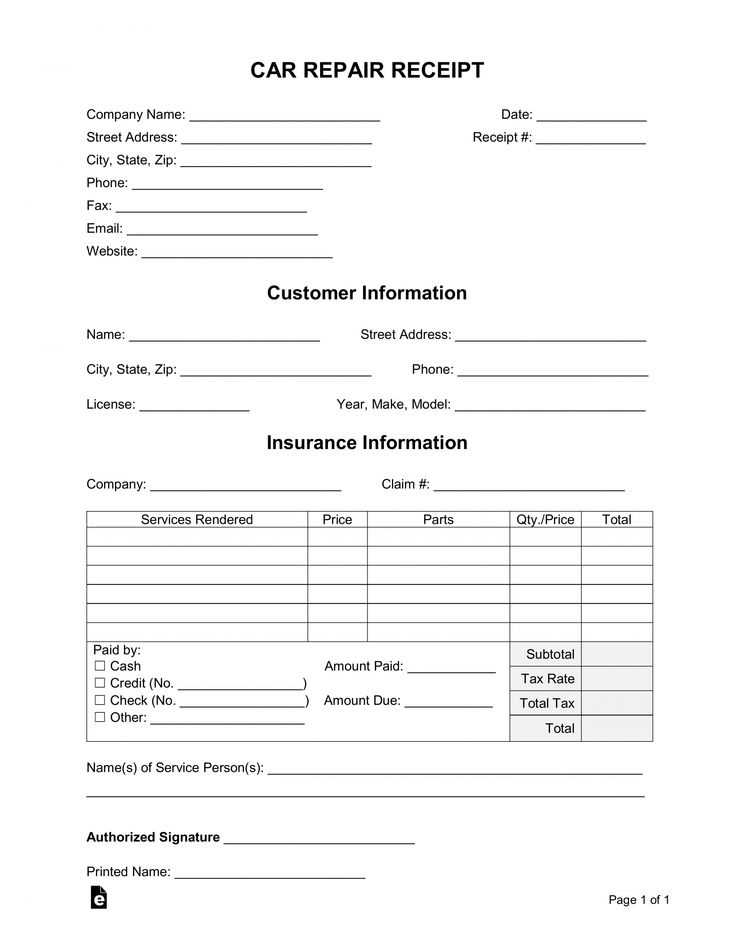
Accept multiple payment options to streamline transactions. Credit cards, debit cards, and digital wallets provide convenience, while checks and cash remain useful for certain customers. Offer contactless payments for speed and security.
Automating Tax Management
Use accounting software to automate tax calculations and generate reports. Integration with payment processors helps track taxable sales and ensures compliance. Regularly update tax settings to reflect legal changes.
Legal Requirements for Auto Repair Receipts
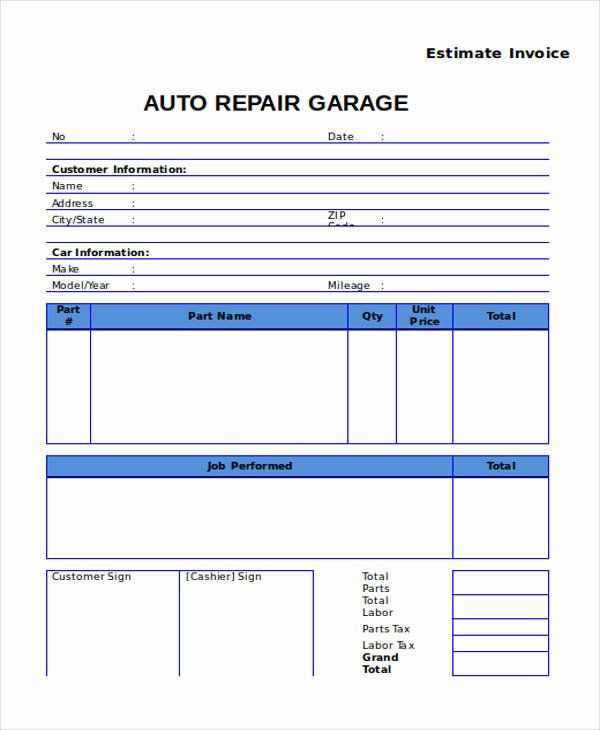
Include the shop’s name, address, and contact details at the top. This ensures compliance with consumer protection laws and provides clarity in case of disputes.
- Detailed Service Description: List each service performed and the corresponding parts used. Specify labor charges separately from parts costs.
- Itemized Costs: Break down labor, parts, taxes, and fees. Transparency prevents disputes and builds customer trust.
- Warranty Information: If any work is covered by a warranty, specify terms, duration, and limitations.
- Approval Signatures: Some jurisdictions require a customer’s signature for work authorization and final approval.
- Tax Compliance: Display applicable sales tax and include the shop’s tax identification number if required by law.
- Final Total: Clearly state the total amount due, including all applicable charges.
Failure to meet these requirements can result in legal penalties and customer disputes. Keeping records of all transactions protects both the business and the customer.
Customizing Templates for Different Business Needs
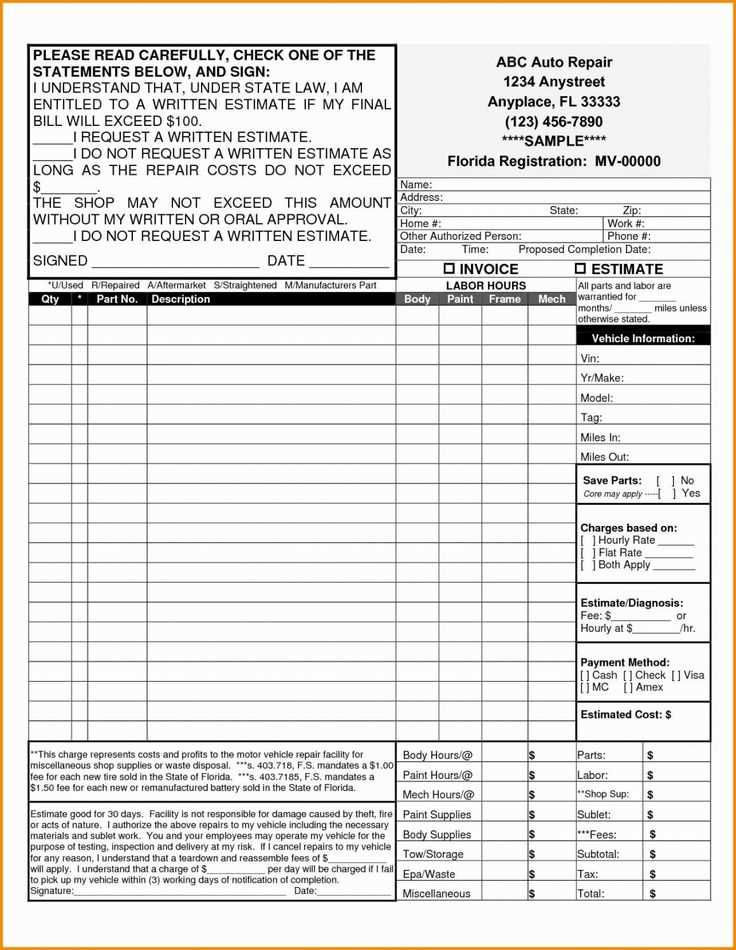
Adjust layout elements to reflect your shop’s workflow. If your business includes diagnostics, add a dedicated section for preliminary checks. For mobile repair services, highlight travel fees and on-site service details.
Modify tax and fee structures based on location and pricing policies. If you operate in multiple states, incorporate dynamic fields for tax rates. Flat-rate and hourly labor should have separate calculation fields for accuracy.
Incorporate branding elements like a high-resolution logo, business name, and contact details. Use clear fonts and professional colors to enhance readability. A personalized footer with disclaimers and warranty policies adds credibility.
Automate calculations for material costs, labor hours, and discounts. Predefined formulas reduce manual entry errors and speed up invoicing. If offering financing, include installment breakdowns with due dates.
Enable digital integration for seamless record-keeping. A template that supports QR codes or direct payment links streamlines transactions. Cloud compatibility ensures invoices are accessible across devices.
Best Formats for Digital and Printed Receipts
PDF is a preferred format for both digital and printed receipts. It preserves the layout and ensures compatibility across devices and printers. Use PDF for its ability to maintain consistent formatting, which is crucial for legal or warranty purposes.
For digital receipts, HTML offers a flexible and easily shareable option. It allows for instant viewing on web browsers and can include hyperlinks or additional interactive features, like customer feedback forms. However, it’s important to ensure the design is mobile-friendly for ease of viewing on smaller screens.
For printed receipts, text files (TXT) are widely used due to their simplicity and ease of printing. Though they lack advanced formatting options, they are highly compatible with various printing systems, especially in retail or auto repair environments where speed matters.
Another option is CSV, often used for transactions involving multiple items or services. While it’s not as visually appealing, it provides a clean, organized way to store and manage receipt data in spreadsheets, useful for inventory tracking or accounting.


