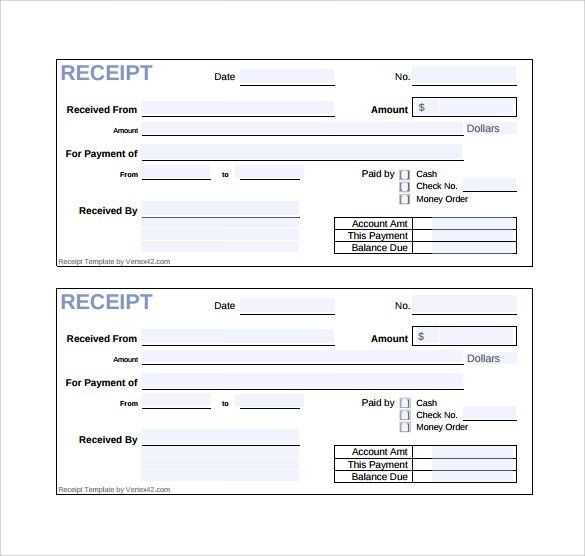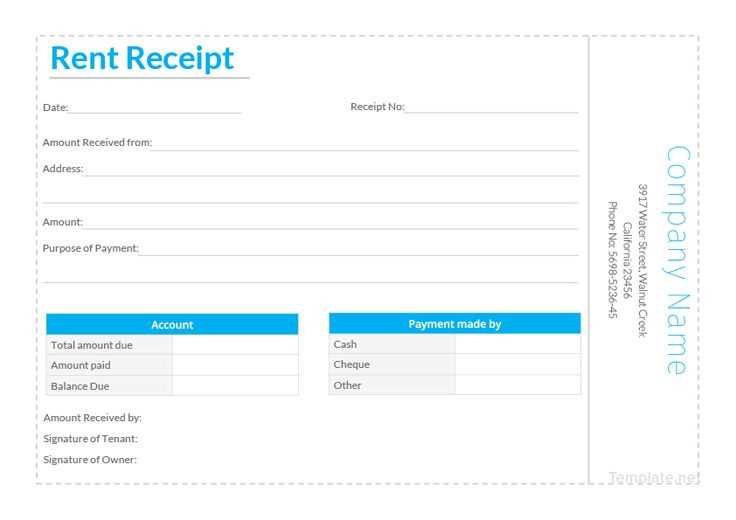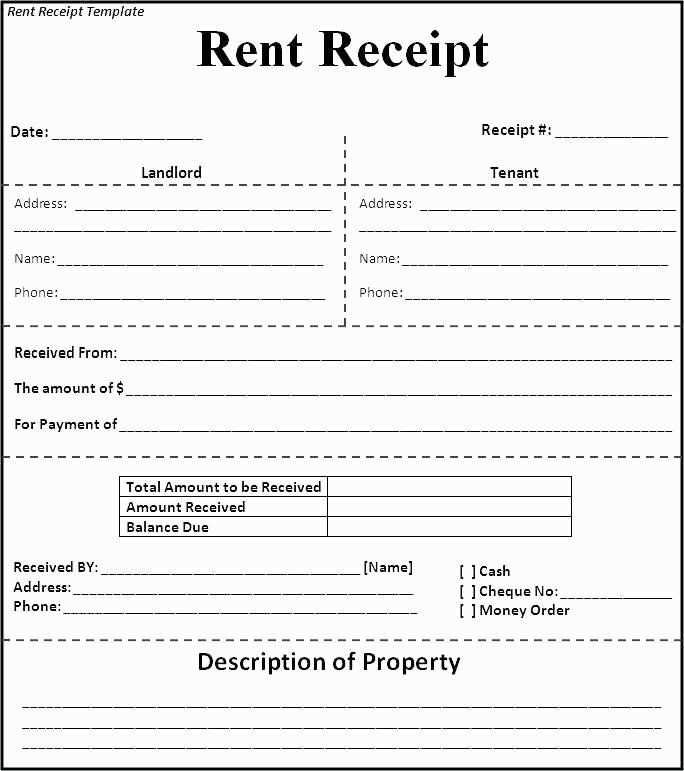
A boutique receipt template serves as a clear, professional way to document transactions. It offers all the key details your customers need while maintaining a polished appearance that represents your brand. By creating a template, you ensure consistency and accuracy across all sales, making it easier for both your team and customers to track purchases.
Designing a receipt template is simple but requires attention to detail. Start by including the date of purchase, the items sold, their prices, and the total amount. Adding your boutique’s name, logo, and contact information can personalize the receipt and enhance your business’s image. Don’t forget to include a unique receipt number for record-keeping.
Consider using an easy-to-read layout that organizes information logically. A well-structured receipt template improves the customer experience and helps with future reference, returns, or exchanges. Avoid clutter and ensure there’s enough space between sections for clarity.
Boutique Receipt Template
A boutique receipt should include key details to ensure both clarity and professionalism. Start with the boutique’s name and contact information at the top. This ensures customers can easily reach out if they have any inquiries or issues regarding their purchase.
Include transaction details: the date of the purchase, the items bought, their prices, and any discounts applied. If the customer used a coupon or promotion, be sure to highlight that as well. It’s also a good idea to display the payment method, such as credit card or cash.
Tax breakdown: Show any applicable taxes, clearly separating them from the item prices. This ensures transparency and helps customers verify the total charge against what they were quoted at checkout.
Return policy: Provide a brief mention of your return policy at the bottom of the receipt. This helps set expectations for customers should they decide to return the product.
Lastly, consider adding a thank-you message or a small note of appreciation. This creates a positive experience and may encourage customers to return.
Designing a Minimalistic Boutique Receipt

Keep the layout clean and organized. Use ample white space to create a sense of openness. Limit the number of fonts–two at most–and ensure they’re easy to read. Opt for a classic, simple typeface like Helvetica or Arial. Avoid decorative fonts that can make the receipt feel cluttered.
Incorporate the boutique’s logo in a subtle way. Position it at the top or in one corner, ensuring it doesn’t dominate the design. Use a neutral color for the logo to blend smoothly with the rest of the layout.
Provide clear item descriptions with their corresponding prices. Align them neatly in a table-like format, with each detail easily readable at a glance. Avoid using unnecessary labels or text. If possible, use columns for items, quantities, and prices to maintain a clean structure.
Only include the most necessary information: store name, item list, total, date, and payment method. Keep it concise without overwhelming the customer. You can also add a simple thank-you message at the bottom to enhance the customer’s experience.
Ensure the receipt’s size is compact and easy to store. Avoid overstuffing it with too much information that could distract from the key details.
Customizing Fields for Item Details and Pricing
Adjusting the fields for item details and pricing allows you to create a receipt that reflects your boutique’s specific needs. Each section can be tailored to include only the most relevant information for your customers, simplifying their experience and improving clarity.
Item Description
Include a brief but clear description of each product. Customize the field to list important attributes like color, size, or material. Keep it short to ensure it fits neatly on the receipt.
Price Formatting

Define how prices appear on the receipt. You can choose whether to include tax in the total or list it separately. Customizing the currency symbol and adjusting decimal places will help match your boutique’s standard pricing format.
- Include or exclude tax based on local regulations or store preference.
- Adjust decimal points for more precise pricing or round for simplicity.
- Specify whether the price should show the original price, discounted price, or both.
Discounts and Special Offers
If applicable, create custom fields for discounts. You can display the discount amount, percentage, or both, alongside the original and final price of the item.
- List the discount as a separate line or incorporate it into the price field.
- Use a code or percentage format to make discounts more transparent.
Quantity Field
Customize the quantity field to allow for multiple items. This can be useful for bulk purchases or repeat orders, and should display clearly without overwhelming the receipt layout.
Ensuring Compliance with Local Tax Regulations
To comply with local tax regulations, tailor your boutique receipt template to include required tax information such as the applicable VAT rate, tax identification number, and breakdown of taxable and non-taxable items. Ensure that your template supports different tax rates for various products if needed.
Incorporating Tax Details
Clearly display the tax amount in a separate line, distinct from the product total, so customers can easily identify the tax portion of their purchase. Include the tax registration number of your business, which is required in most jurisdictions for proper identification and auditing purposes.
Stay Updated on Tax Law Changes
Review tax regulations regularly to ensure your template reflects the latest tax rates and legal requirements. Implementing an automated system that updates your receipt templates can save time and avoid potential errors from outdated information.


