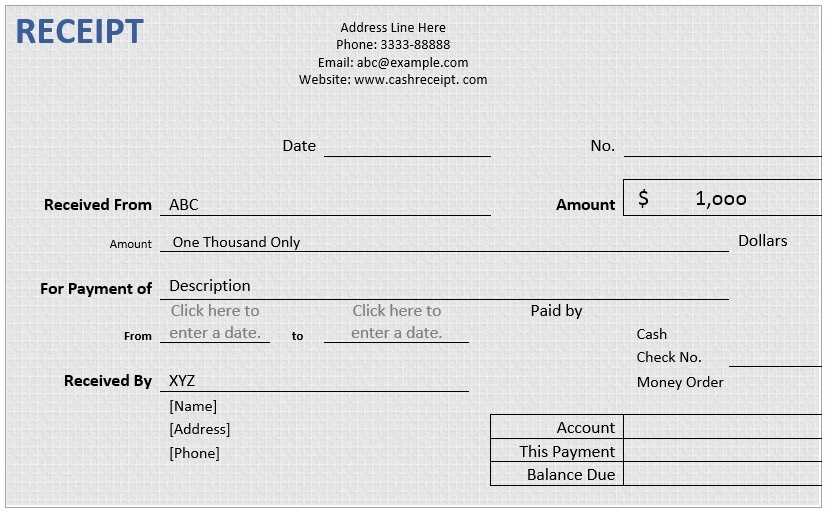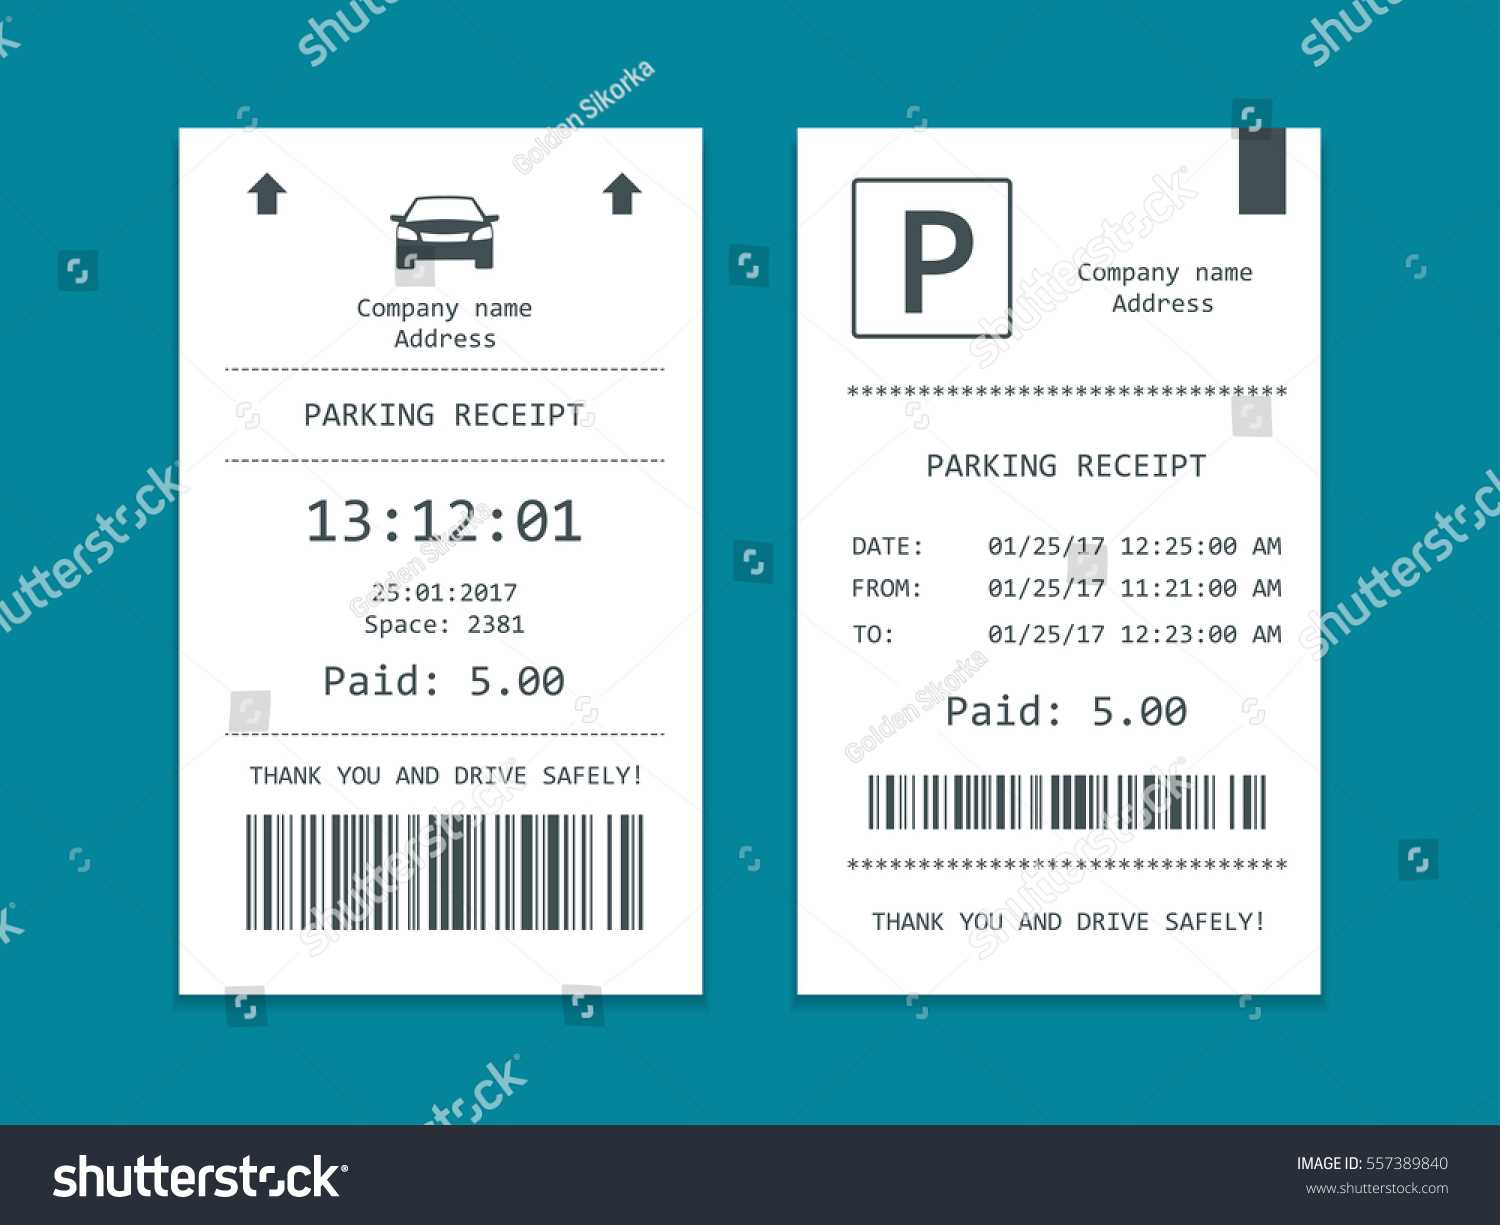
For those managing parking facilities, a well-structured car park receipt template can make the process smoother. This template should include specific details such as the time of entry and exit, the total fee, and the payment method. It’s important to provide a clear breakdown of charges to avoid confusion with customers.
Make sure to include: parking lot number, vehicle details (license plate), the rate per hour or day, and any additional services or discounts applied. This transparency helps build trust with your clients and streamlines the process for both parties. Keep the layout simple and user-friendly to ensure easy reading.
Adjust your template for the specific needs of your parking area, whether it’s for short-term or long-term parking. Consider adding your contact information and a customer service number, making it easy for visitors to reach out if they have any questions. A clear, informative receipt not only reflects well on your business but also contributes to smoother operations overall.
Car Park Receipt Template
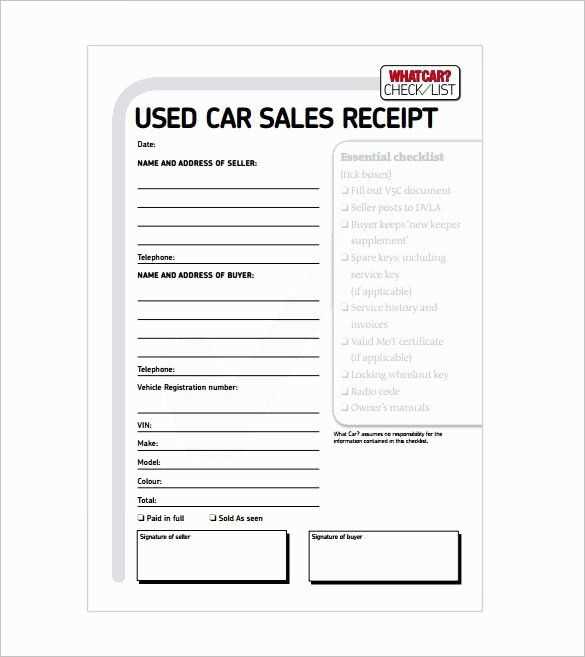
Creating a car park receipt template can streamline parking operations and ensure clear communication with customers. Follow these specific guidelines to design a straightforward and professional receipt.
- Header: Include the parking facility name and logo at the top for clear identification.
- Date and Time: Specify the entry and exit time to avoid confusion regarding the parking duration.
- Parking Fee: Display the cost of parking, including any applicable taxes or discounts.
- Transaction ID: Assign a unique reference number for tracking and customer support purposes.
- Payment Method: Mention whether the payment was made by card, cash, or other methods.
- Vehicle Information: Include details like license plate number and car make or model.
- Location: Specify the parking lot’s address or any relevant identifiers.
Use a simple font and layout to keep the receipt easy to read. Avoid overcrowding the template with unnecessary details. Keep the language clear and to the point.
Designing a Simple Car Park Receipt Layout
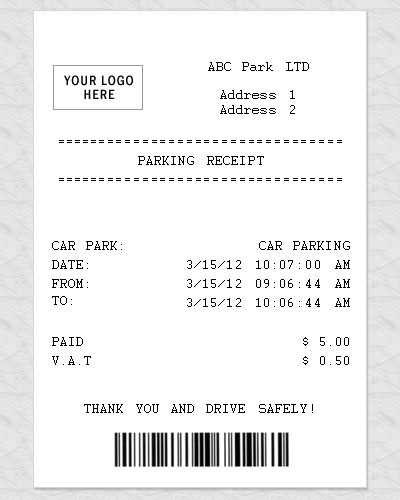
A clean and organized layout ensures clarity and improves the user experience. Begin with a clear header displaying the name of the parking service or facility. Make it prominent at the top, using a readable font size.
Next, include the essential details such as the date and time of entry, as well as the time of departure. These should be easy to locate, placed in a logical order to follow the flow of the transaction.
For the pricing section, clearly list the charges based on the parking duration. Include separate lines for any additional fees, such as taxes or service charges. Keep the font for prices bold and slightly larger to stand out.
Use a footer section for payment method and receipt number. A receipt number should be unique to each transaction and can be printed in a smaller font at the bottom to maintain balance without overcrowding the layout.
Leave space for a quick reference code or barcode that can be scanned for verification. This helps in reducing manual input errors when processing returns or customer inquiries.
Finish with a thank-you message or any relevant contact information for customer service, ensuring it is placed in a smaller font at the very bottom. This adds a professional touch without cluttering the main content.
Customizing the Template for Different Parking Rates
Adjust the parking receipt template to reflect varying rates based on time, location, or specific parking tiers. If your parking lot has hourly rates, set fields for “start time” and “end time” and calculate the total amount based on these values. For daily rates, make it clear by adding a flat fee section in the template.
For special parking zones, like premium spaces or areas with higher demand, include a separate section for these rates. Adjust the text to specify different pricing for these areas, like “VIP Parking: $X per hour” or “Premium Spot: $X per day.” You can also implement discounts or promotions, such as a “First Hour Free” or “Weekend Discount,” by adding customizable fields where the rate is automatically reduced.
Ensure the template also accommodates variable rates for different times of day, like “Night Rates” or “Holiday Rates.” Use placeholders like {rate_time} and {rate_day} to customize the receipt dynamically depending on the time and date the parking was used.
Adjust the language in your template to make pricing transparent and easy to understand. Use clear headings like “Total Charges” or “Additional Fees” and make sure your customers can easily identify how the rate was calculated.
Incorporating Payment Methods and Transaction Details
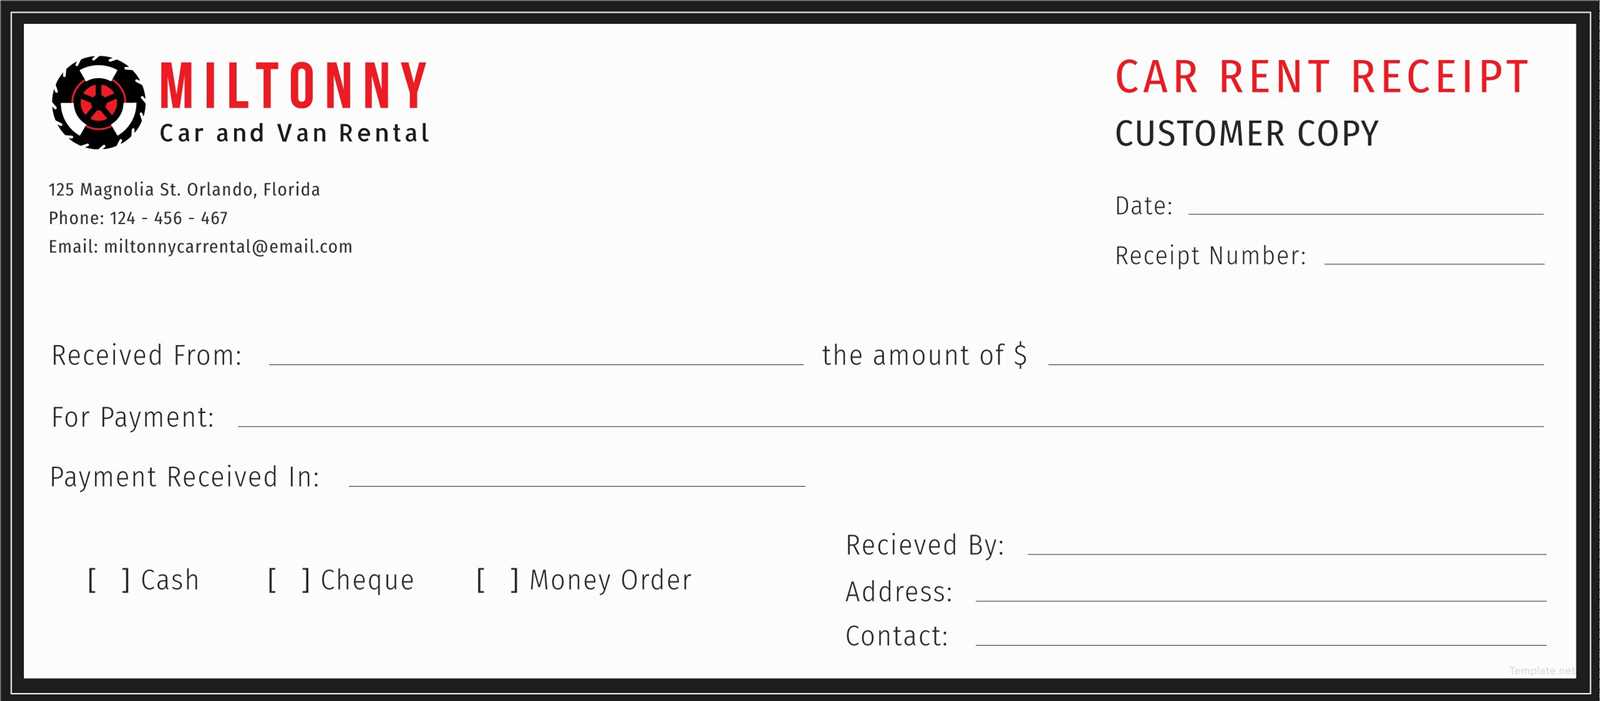
For a clear and transparent parking receipt, include the payment method used and any relevant transaction details. Ensure the payment method is specified, whether it’s cash, card, or mobile payment. Include a unique transaction ID for card payments to help with tracking and future reference. For mobile payments, consider adding the app name or wallet used, such as PayPal or Apple Pay, to avoid confusion.
Payment Confirmation and Amount
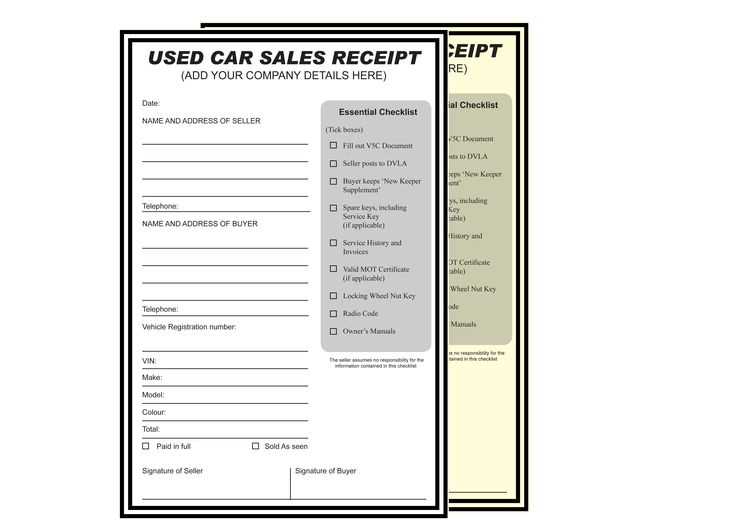
Clearly state the total payment amount in the receipt, with any applicable taxes and service fees broken down. This ensures the customer understands the full cost. For digital transactions, include the exact timestamp of payment for verification purposes. If the parking service offers discounts or promotions, mention them along with the applied reduction.
Refund and Dispute Information
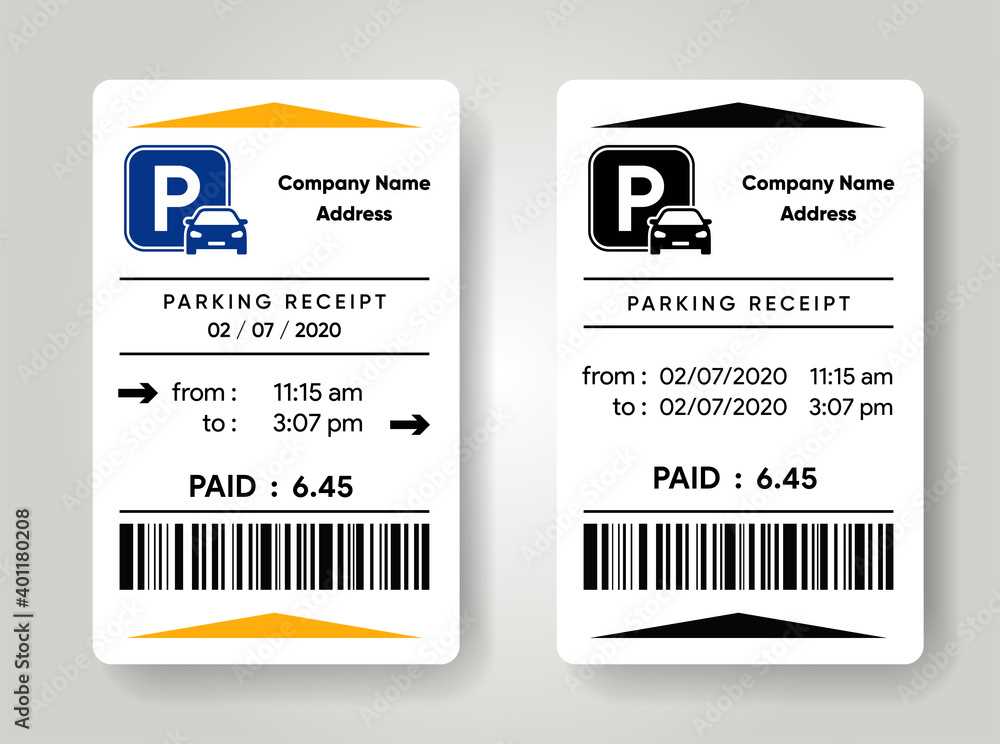
If applicable, provide details on how to request a refund or resolve any payment disputes. Mention the time window for disputes and the contact information of the parking service for any transaction-related queries. This step prevents misunderstandings and provides reassurance for the customer.


