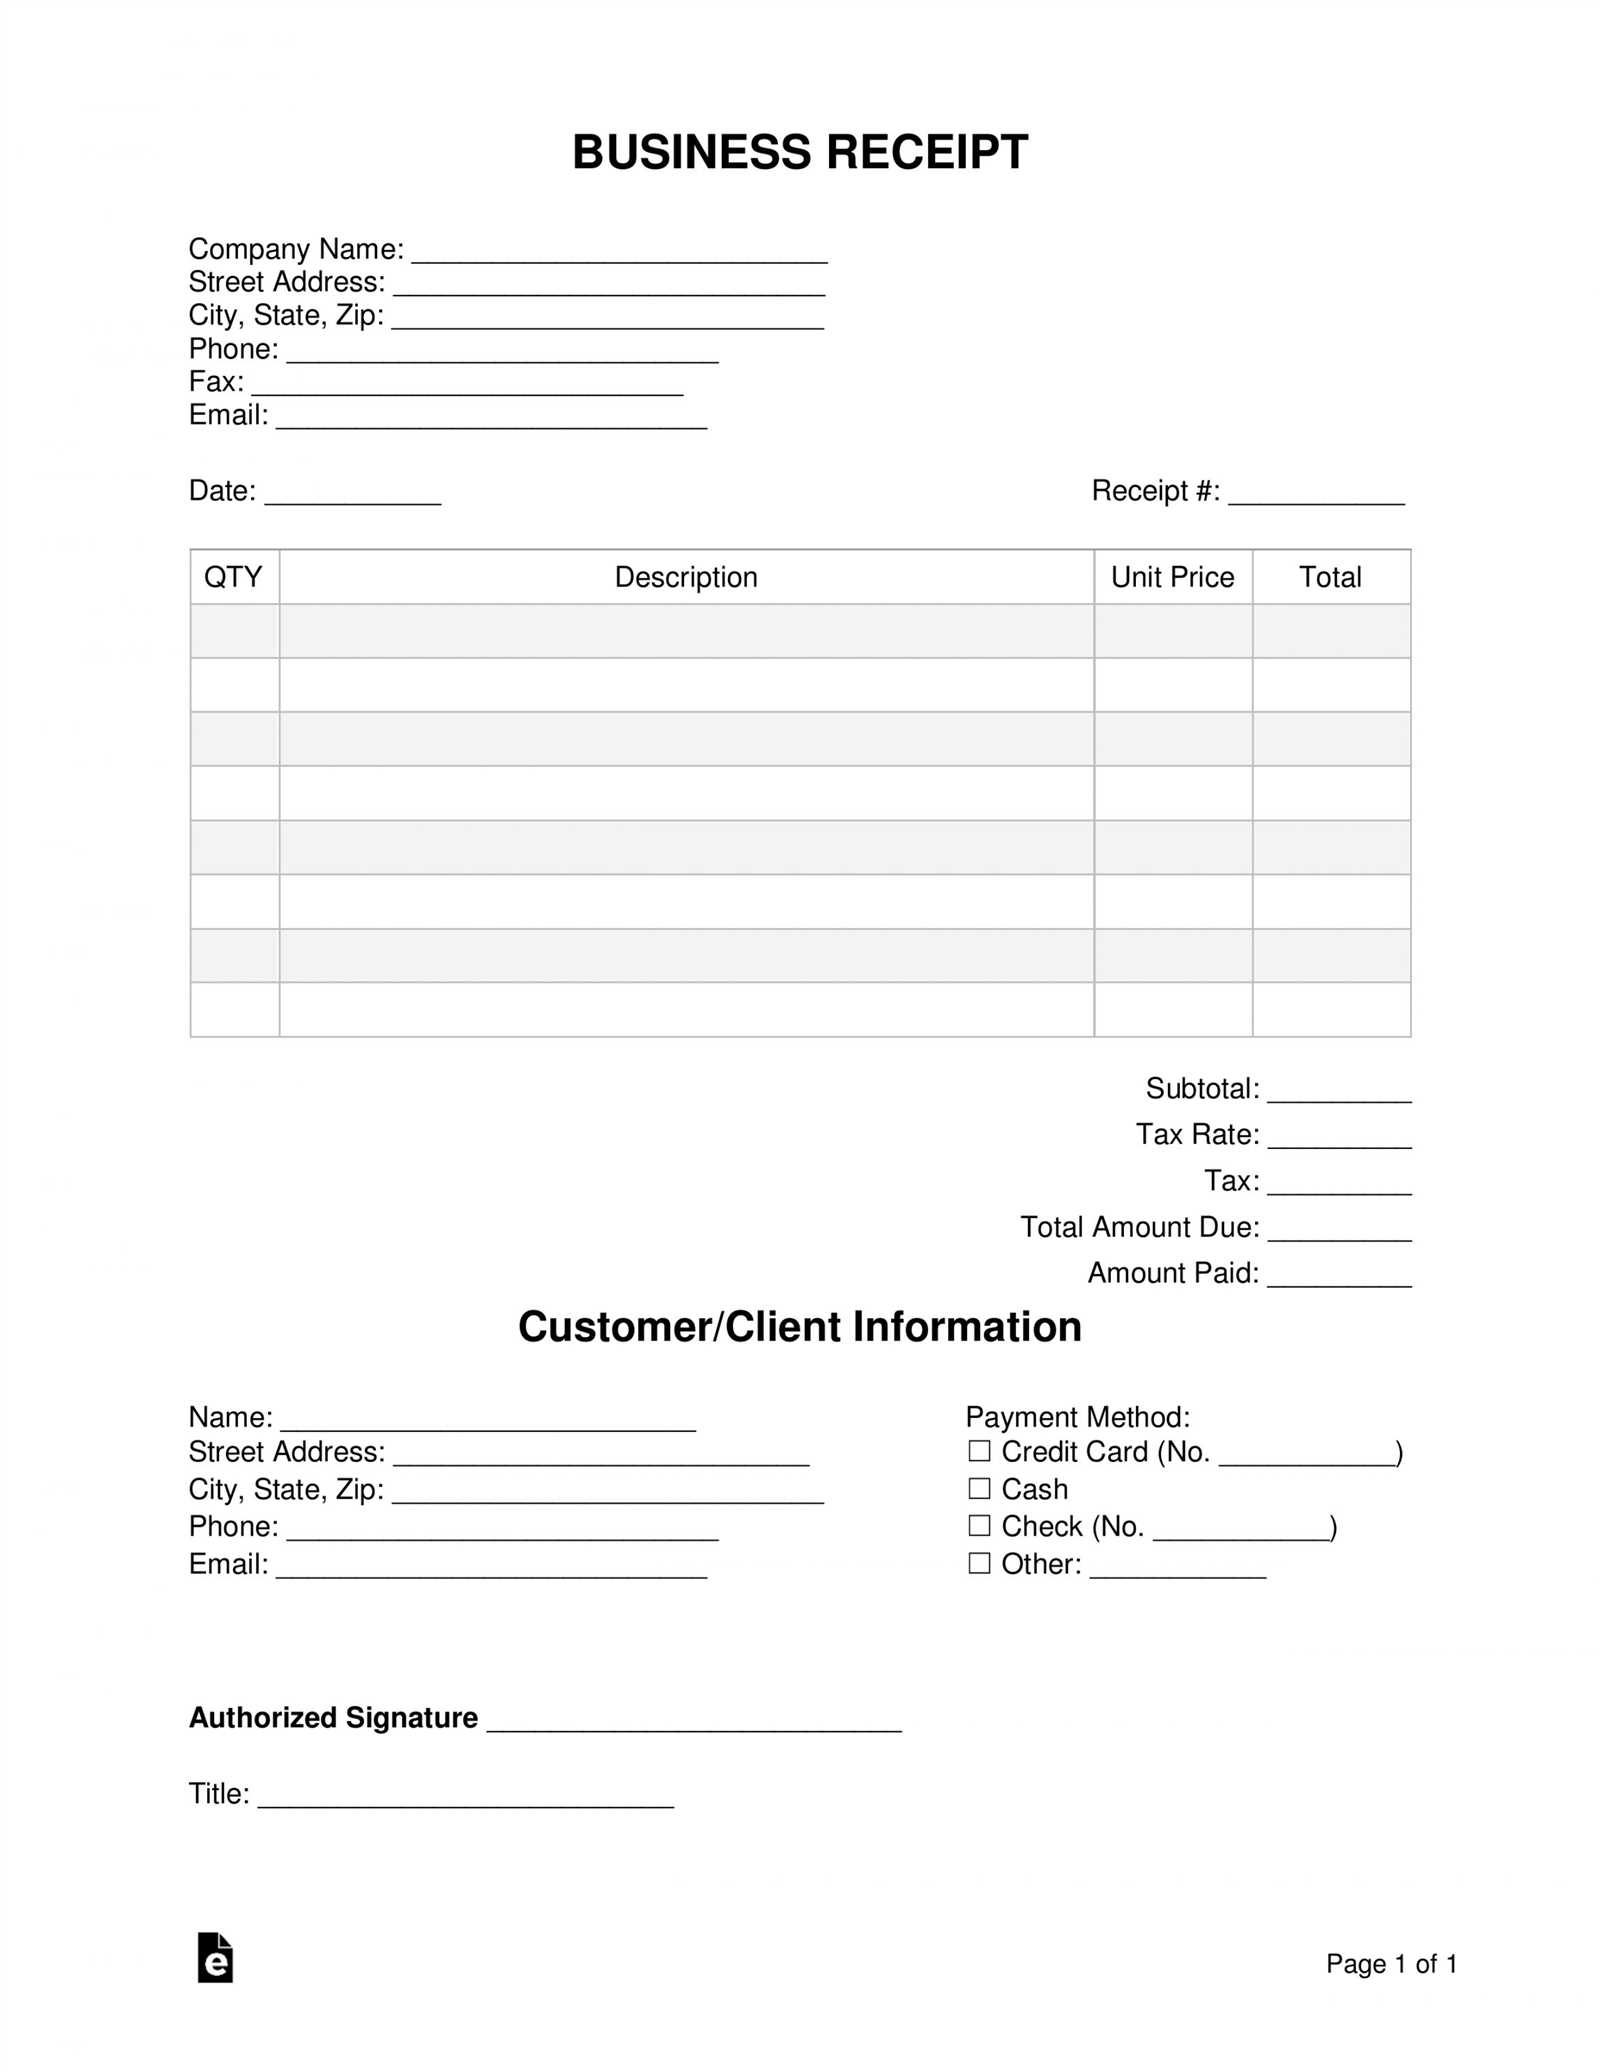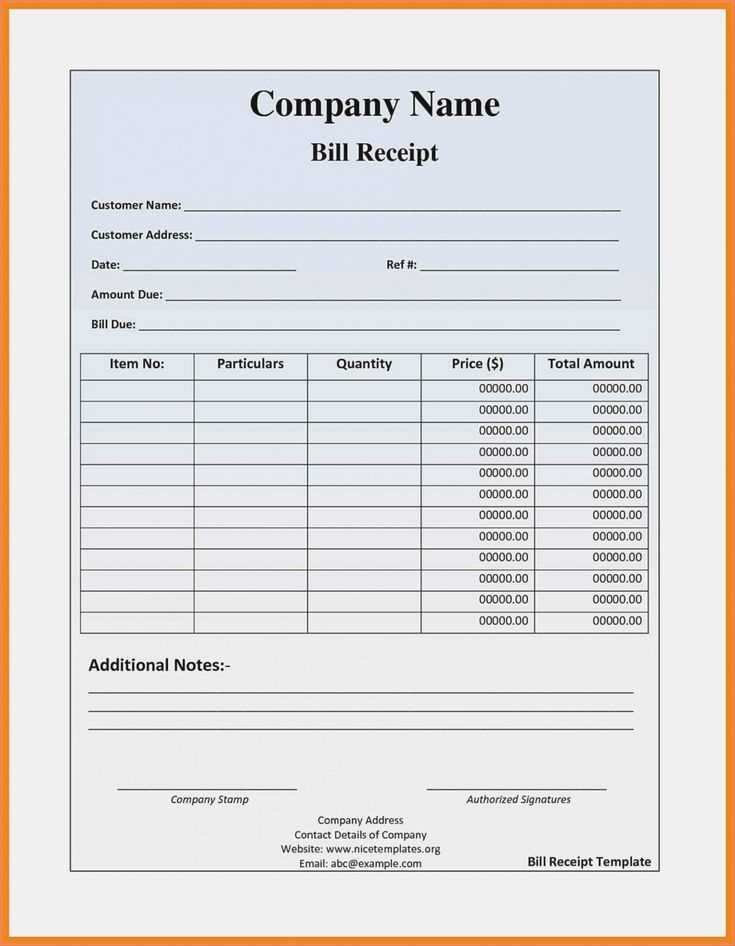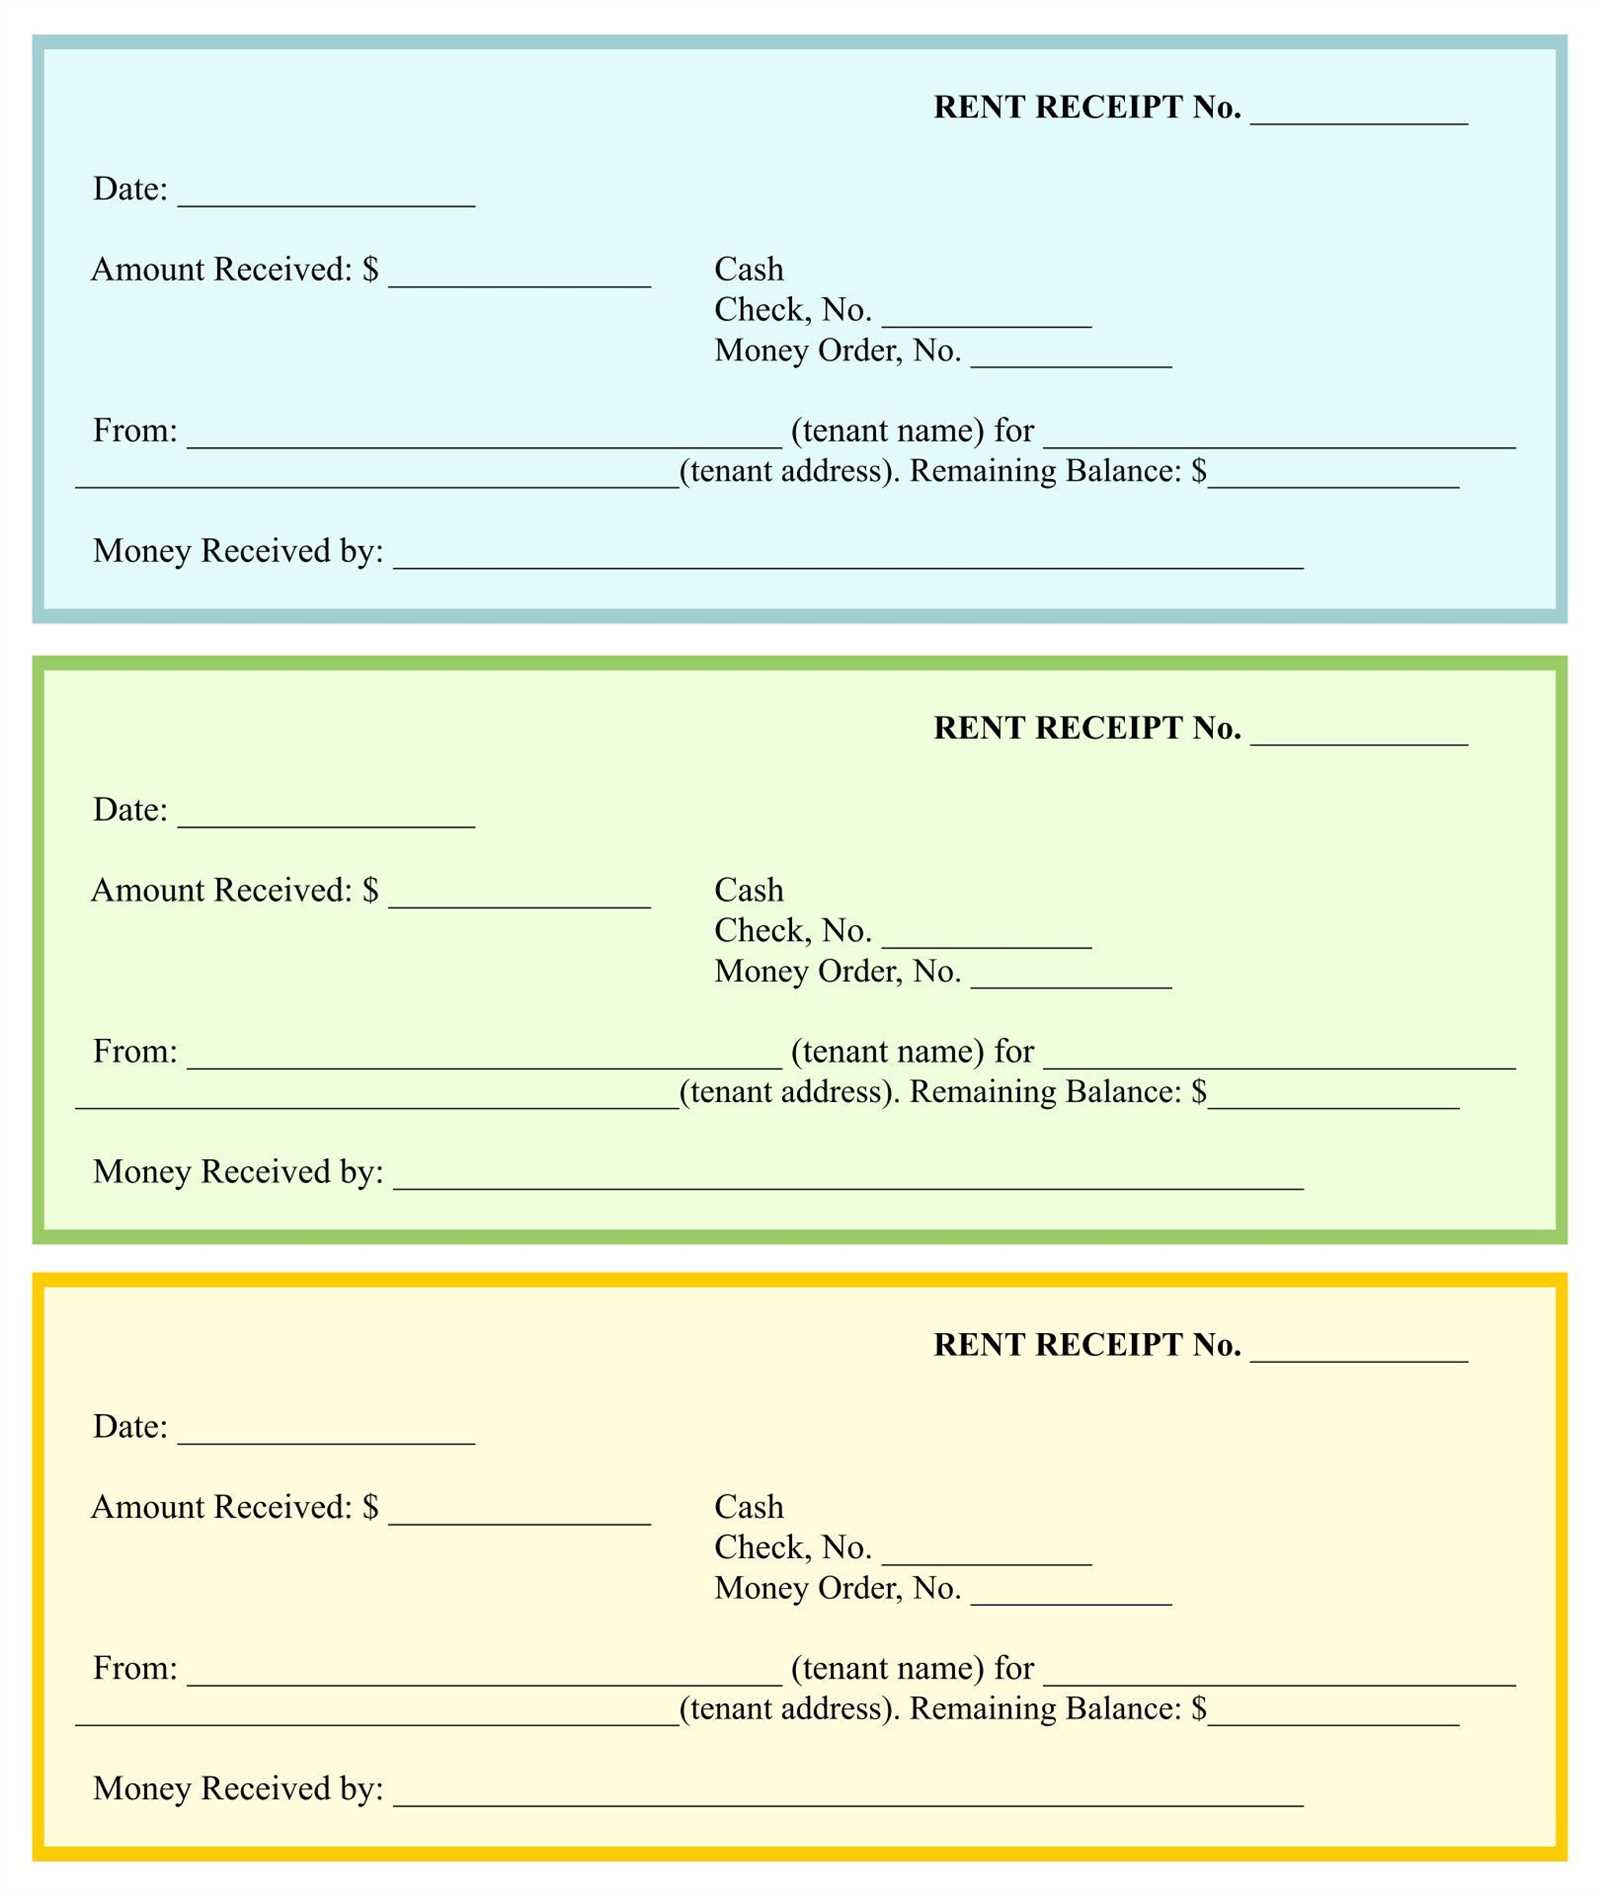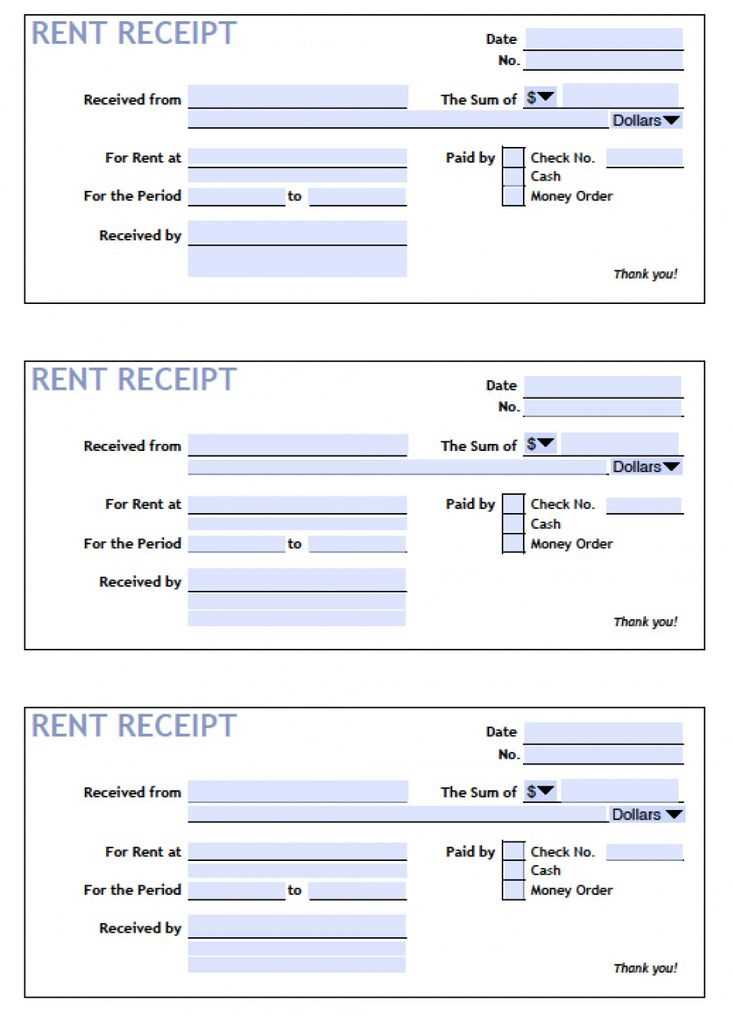
When creating a receipt template for clients, clarity and simplicity are key. Focus on the core information: the transaction amount, date, and details of the purchased items or services. Keep the format consistent, ensuring easy readability for both the client and your business records.
Start with clear identification of your business and the client’s name. This helps avoid any confusion and confirms the transaction. The date of the transaction is critical for record-keeping, so it should be prominent.
Include a breakdown of services or products. List each item with its price, and be transparent about any taxes or additional charges. This provides the client with a comprehensive view of what they are paying for, ensuring transparency in the transaction.
Finalizing the total amount should be easy to spot. Ensure it is clearly labeled, perhaps in a larger font or bold typeface, so that both parties can verify the amount quickly. If applicable, include payment methods (cash, credit card, etc.) and any additional notes or terms relevant to the transaction.
Steps to Create a Professional Client Receipt

Begin by including the name of your business, logo, or both at the top of the receipt. This provides instant recognition and credibility. Right below this, include your business contact details: address, phone number, and email. This will help clients reach you if needed.
Include Transaction Information
Next, provide clear details of the transaction. List the items or services purchased, including the quantity and price. Make sure each item is described accurately, and include any applicable tax or discounts. This transparency ensures clients know exactly what they are paying for.
Include Payment Method and Date
Indicate how the payment was made, whether via cash, credit card, or another method. Be sure to include the payment date, which is important for both the client’s records and your own accounting.
Finally, add a space for a receipt number to track transactions easily. Closing the receipt with a polite thank you or a note of appreciation helps leave a positive impression on your client.
Key Elements to Include in Your Receipt Template

Include your business name and contact details at the top of the receipt. This ensures the customer can easily identify the transaction source and reach out if needed.
Clearly display the date and time of the transaction. This helps track the purchase and can be useful for returns or exchanges.
List each item or service purchased with a brief description and price. Avoid clutter by keeping it simple yet detailed enough to understand what was bought.
Show the total amount paid, including taxes or discounts, in a prominent position. This helps customers quickly see the final cost.
Provide payment method details–whether cash, card, or online. This confirms the mode of payment used for the transaction.
If applicable, include a unique transaction or receipt number for reference. It can be helpful for both the customer and your accounting records.
Finally, offer a thank-you note or a call to action, like inviting the customer to visit again or take advantage of special offers. A simple touch that encourages loyalty.
Customizing Your Template for Different Industries

Adjust your template layout to match the specific needs of your industry. For example, a retail receipt should focus on items purchased, quantities, prices, and tax details. On the other hand, a service industry receipt might include a breakdown of services rendered, hourly rates, and any applicable discounts.
For hospitality businesses, add sections for tips, service charges, and customer feedback. In contrast, a construction or manufacturing receipt should include labor hours, materials used, and project-specific notes. Each field in your template should reflect the common transaction elements of your industry to ensure clarity and accuracy for both your business and the customer.
Consider adding customizable branding options. A law firm’s receipt might need a formal, professional tone with clear billing information, while a spa or beauty salon receipt might benefit from more visually engaging elements, like soft colors or elegant fonts. Tailor these design choices to the expectations of your industry’s clientele.
Include industry-specific terms and categories to make the receipt more intuitive for both your team and your customers. Customizing the footer with contact information, business hours, or legal disclaimers can also enhance the receipt’s relevance and usability within the context of your industry.


