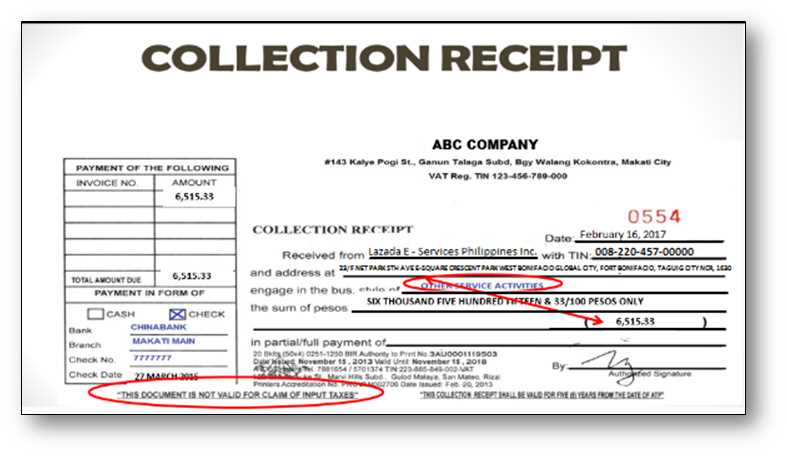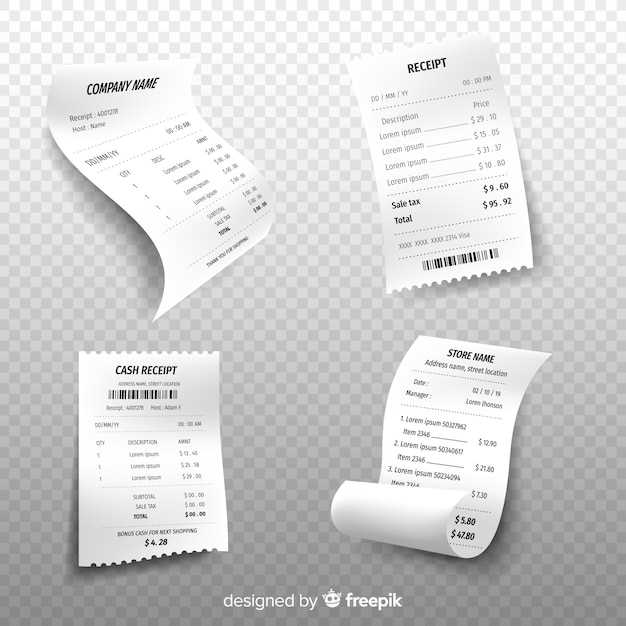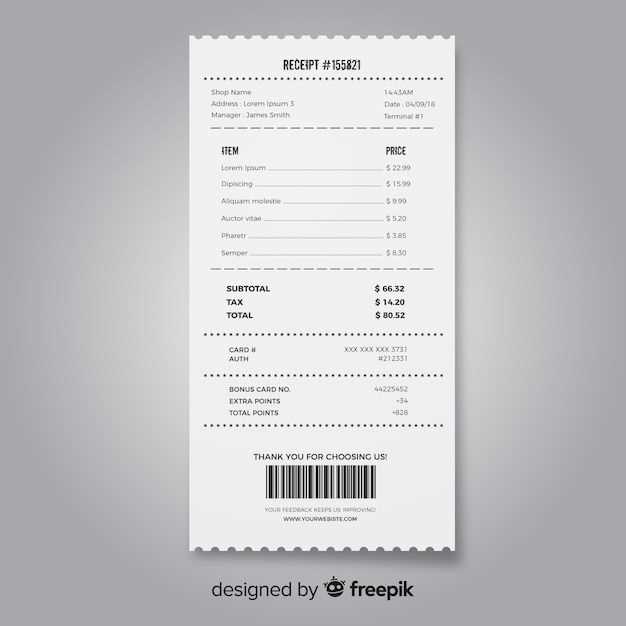
Creating a collection receipt template is straightforward and ensures clarity in documenting transactions. Start by including essential information to confirm payment and acknowledge receipt of funds. The format should be simple, legible, and comprehensive for both parties involved.
Key Elements to Include

- Receipt Number: Assign a unique identifier to each receipt for easy tracking and reference.
- Date: Clearly state the date when the payment was received.
- Payer’s Name: Include the full name of the individual or entity making the payment.
- Amount Paid: Specify the exact amount received, including the currency used.
- Payment Method: Note how the payment was made, such as cash, check, or bank transfer.
- Payment Description: Provide a brief description of the reason for the payment, such as for services rendered or goods sold.
- Receiver’s Information: Include the name and contact details of the person or organization receiving the payment.
Template Format

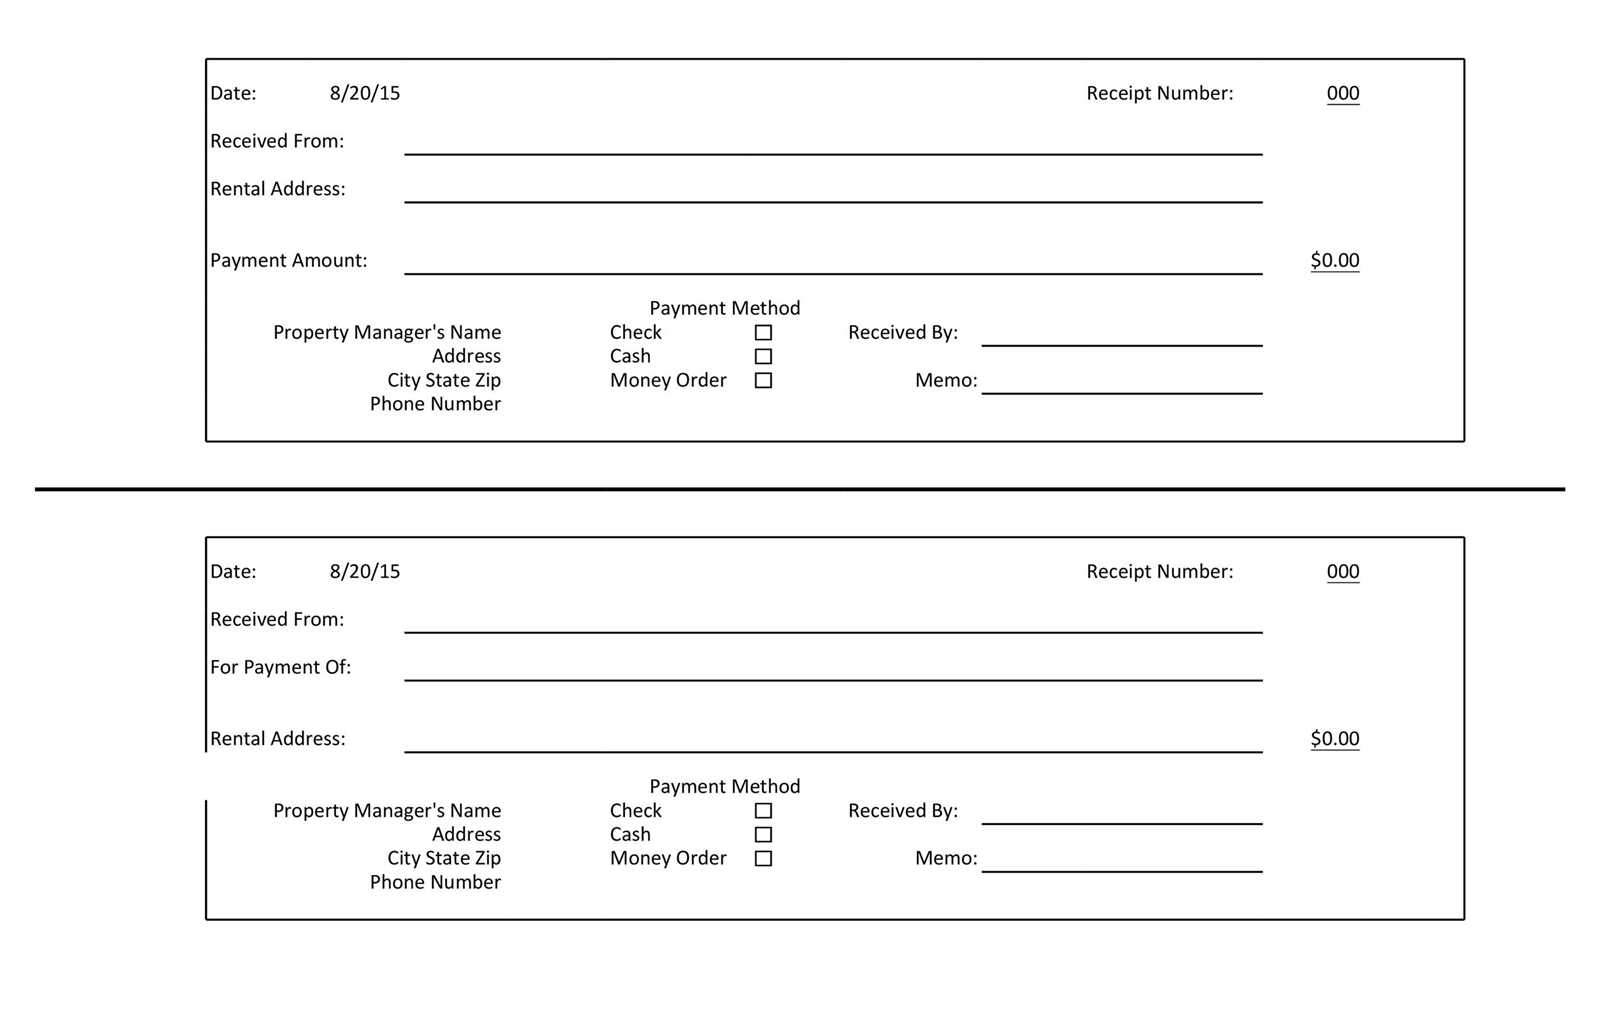
Here’s a simple template layout for a collection receipt:
Collection Receipt
Receipt Number: [Unique Identifier]
Date: [Date of Payment]
Received From: [Payer’s Full Name]
Amount Paid: [Amount in Currency]
Payment Method: [Cash, Check, etc.]
Description: [Brief Payment Reason]
Receiver’s Information:
Name: [Receiver’s Full Name]
Contact: [Receiver’s Contact Details]
Thank you for your payment.
Customization Tips
- Custom Fields: Add any specific information relevant to your business, such as order number or invoice reference.
- Signature Line: Consider adding a signature line for both the payer and the receiver for added authenticity.
Having a clear, organized collection receipt template helps maintain professionalism and avoids confusion in financial transactions. Adjust the template to suit your specific needs, keeping the layout clean and easy to understand.
Collection Receipt Template
Selecting the Ideal Template for Your Needs
Key Components of a Collection Receipt
Adapting the Template for Specific Transactions
Frequent Errors to Avoid in Receipt Creation
Proper Formatting for Your Collection Receipt
Digital vs. Physical Receipts: Key Considerations

Choose a template that suits the nature of your transaction. For straightforward purchases, a basic template with essential details will suffice. For more complex dealings, opt for a template that allows additional fields such as payment method or itemized charges.
Key Components of a Collection Receipt
At minimum, the receipt should include the payer’s name, the amount received, the date, and a unique reference number. Always specify the service or product for which the payment was made, along with any relevant terms. A clear signature or confirmation mark also adds authenticity.
Adapting the Template for Specific Transactions
Modify templates based on the transaction’s nature. For instance, rental payments might need a breakdown of the rent period, while deposits require a section for refundable amounts. Customizing templates helps ensure all necessary details are captured for each unique transaction.
Avoid common mistakes like leaving out the payer’s details or failing to record the correct amount. Always double-check information and ensure the template is clear and legible.
Maintain consistent formatting. Use standard fonts and organize fields logically. Keep space for signatures and date stamps in prominent areas. Whether digital or physical, these small details enhance clarity and professionalism.
Decide whether a digital or physical receipt is best based on your needs. Digital receipts are easy to store and share, while physical copies can serve as more formal documentation for both parties. Choose the option that aligns with your workflow and business style.


