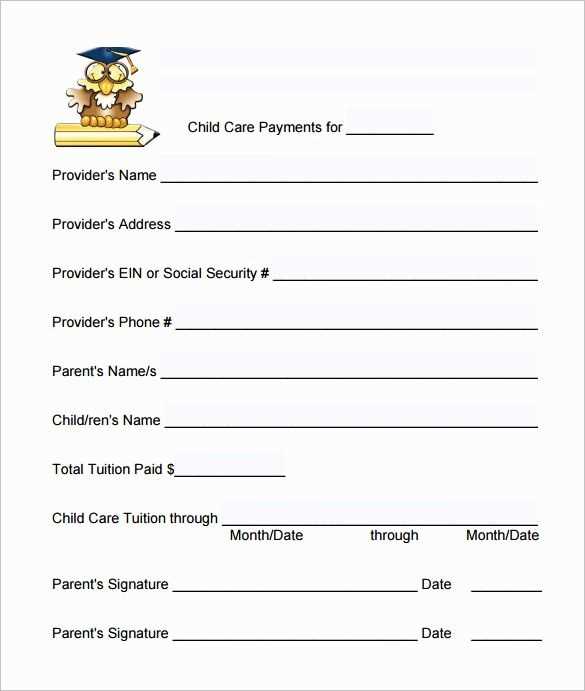
To create a clear and professional college tuition receipt, start with the necessary details. Include the student’s full name, school name, and the exact date of the payment. Specify the tuition amount and any additional fees, such as lab or activity fees, if applicable.
Ensure that the payment method is clearly indicated–whether it was paid by check, credit card, or another method. Include the transaction number or reference code to allow for easy tracking. If the payment was made in installments, list each installment with the date and amount paid.
For transparency, add the contact information for the school’s billing department, so the recipient can follow up with any questions. A receipt should also contain a statement confirming that the tuition payment has been processed and is fully applied to the student’s account.
Example template elements:
- School name and address
- Student’s name and ID number
- Detailed breakdown of charges
- Payment method and transaction reference
- Date of payment
Keep your college tuition receipt simple, organized, and professional to ensure smooth communication between students and the institution. This will also help with tax or financial aid purposes in the future.
Here’s the corrected version with minimal repetition:
Ensure the receipt includes clear sections for the student’s name, institution, course details, and payment information. Avoid redundant headings or descriptions that could confuse the reader. A streamlined layout improves readability and ensures key details stand out. Use concise labels for each section, like “Student Info,” “Course Information,” and “Payment Confirmation.” Below is a sample table format for clarity:
| Section | Details |
|---|---|
| Student Name | [Student’s Full Name] |
| Institution | [College/University Name] |
| Course Title | [Course Name] |
| Payment Amount | [Amount Paid] |
| Payment Date | [Date of Payment] |
Be sure to include any additional details such as payment method, transaction reference, or special fees, if applicable. Keeping the format clean ensures the receipt is easy to process for both students and administrative staff.
- College Tuition Receipt Template
For an accurate and clear college tuition receipt, ensure the following key details are included:
- Institution Information: Include the name, address, and contact details of the college or university issuing the receipt. This provides the context for the payment.
- Student Details: Clearly list the student’s full name, student ID number, and any relevant academic information like the course name or program.
- Payment Information: Specify the total amount paid, the payment method (credit card, check, etc.), and the date of the transaction.
- Breakdown of Charges: List any fees, including tuition, registration, and other associated costs. It’s helpful to break down the payment for transparency.
- Payment Terms: Include any notes on payment deadlines, refund policies, or late fees if applicable.
- Receipt Number: Assign a unique identifier to each receipt for tracking and reference purposes.
- Authorized Signature: Have a signature or electronic verification from the institution confirming the payment.
By including these details, the receipt remains clear and serves as a reliable proof of payment for both the student and the institution.
Keep the layout simple and organized. Use a clean, readable font for all text, with clear headings and distinct sections. Prioritize the most important information, such as payment details and student data, by making them easily visible at the top.
1. Structure Your Information Logically
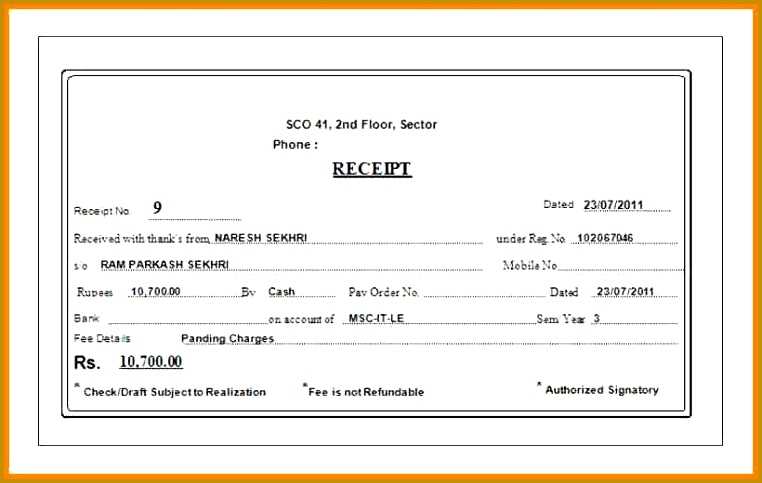
Group related details together to make the receipt easier to follow. A typical layout includes:
- Header: Institution name, logo, and receipt title.
- Student Info: Student name, ID, and contact details.
- Payment Info: Tuition amount, payment method, and date of payment.
- Footer: Additional notes, contact information, and a thank you message.
2. Use Clear Separation
Visually separate sections with lines or spacing. This will prevent the receipt from feeling cluttered. For example, use bold lines or extra spacing between the payment details and institution information.
3. Include Important Data Only
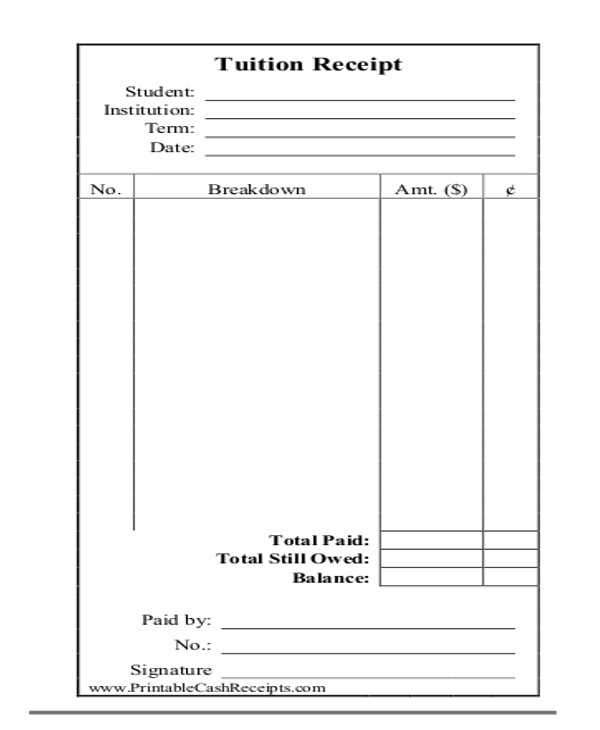
Don’t overcomplicate the receipt with unnecessary details. Stick to key elements such as:
- Student name and ID
- Tuition amount paid
- Payment method (e.g., credit card, bank transfer)
- Date and transaction reference number
Include a confirmation or receipt number to help identify transactions quickly. Avoid long lists of secondary details that may distract from the key information.
4. Keep It Professional
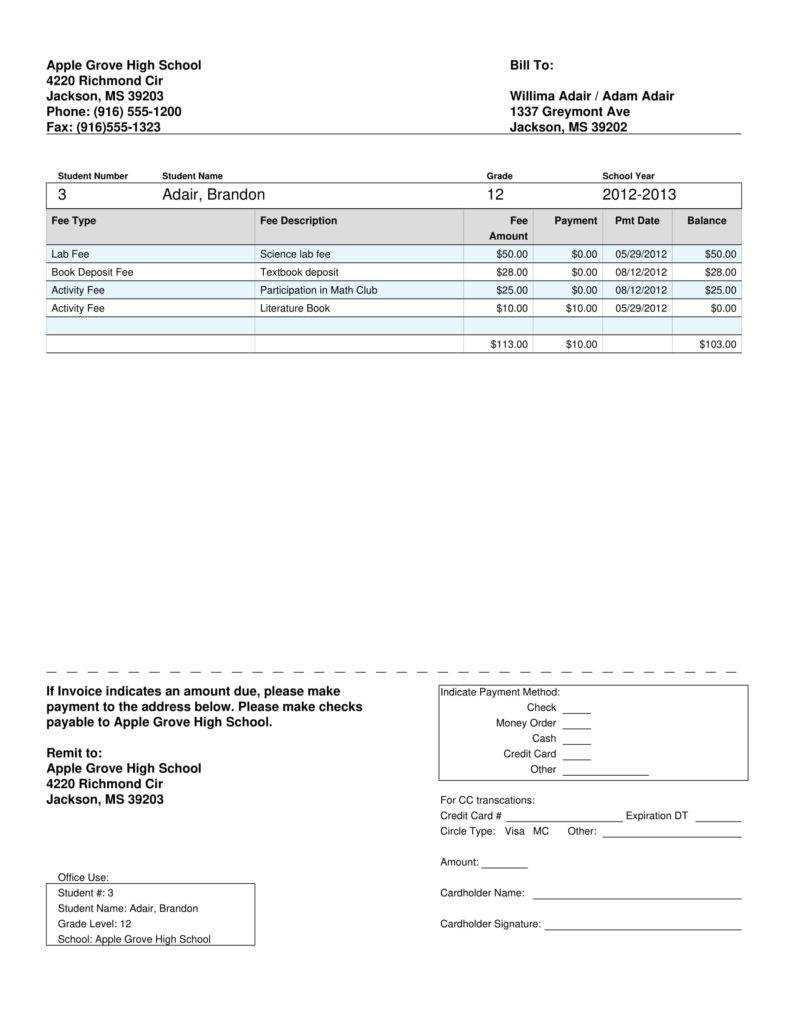
Avoid using colors or fonts that are hard to read. Stick with neutral tones like black or dark gray for text, and reserve color for accents like headings or logos. The goal is a polished, professional appearance.
Begin by including fields that clearly separate each cost component of the tuition. Include “Tuition Fee,” “Room and Board,” and “Books and Supplies.” These categories cover the most common expenses and help to avoid confusion. Each entry should have a designated amount, ensuring that the total payment aligns with what was billed.
Next, consider adding “Financial Aid” and “Scholarships” as fields. Subtract any discounts or grants from the total due amount, and display this clearly. This gives a transparent view of the student’s financial responsibility after any support is applied.
For additional clarity, add a field for “Payment Date” to specify when the payment is due. This will help students plan their finances accordingly. If the payment can be made in installments, list the “Installment Amount” and the respective due dates.
Lastly, include “Outstanding Balance” as a separate field, showing any remaining balance after payments or adjustments. This ensures that any remaining fees are accounted for and can be settled promptly.
Ensure that tax information is clearly displayed on the tuition receipt. Include the tax rate applied, the taxable amount, and the total tax collected. This helps the payer understand how much of the tuition fee is subject to tax and provides transparency for both parties.
For clarity, break down the tax amount separately from the total tuition fee. If applicable, list any exemptions or discounts applied to the tuition that affect the final tax calculation. This allows for easy verification and avoids confusion later on.
Also, indicate the type of tax (e.g., sales tax, VAT) and the specific jurisdiction where the tax was applied. This ensures compliance with local tax regulations and may be necessary for tax reporting purposes.
Finally, always use a format that makes the tax details easy to identify, such as labeling the tax line distinctly or using a different font or bold text for emphasis.
To accommodate different payment methods, adjust the template by including specific fields for each type of transaction. For cash payments, include a clear space for the payment amount and the date of receipt. Add a “Received By” section for the cashier’s or recipient’s name. For checks, provide a field for the check number and the issuing bank’s name. Also, note the amount, date, and signature of the payee. For credit or debit card transactions, ensure there’s a spot for the card type and authorization number. If payments are processed online, include a reference number or transaction ID for tracking purposes.
Make sure the template allows customization based on the school’s preferred payment methods. The flexibility will enhance accuracy and ensure that every detail is recorded correctly. Using dropdown menus for payment types or adding optional fields will improve clarity and minimize errors. Customize payment descriptions to match institutional terminology, ensuring the template matches your exact requirements.
Ensure your receipts meet all legal requirements by including specific information. Below is a list of key points that should appear on every receipt to guarantee compliance:
- Business Details: Include the business name, address, and contact information. Some jurisdictions may also require registration or tax identification numbers.
- Date of Transaction: Clearly state the date when the payment was made to avoid confusion and ensure the receipt’s validity for tax or refund purposes.
- Itemized List: Break down the services or items purchased, along with their corresponding prices. This is essential for clarity and accounting accuracy.
- Payment Method: Specify how the payment was made (credit card, cash, check, etc.) to provide a complete record of the transaction.
- Tax Information: Display applicable taxes, including sales tax or value-added tax (VAT), if required by local law. Include tax rates and amounts separately to maintain transparency.
- Refund Policy: Outline your refund or return policy if required by law. This helps protect both the business and the customer in case of disputes.
Regularly review local regulations to ensure your receipts comply with current laws. Failure to follow these rules can lead to fines, penalties, or loss of business credibility.
Send tuition receipts to students via email or postal mail, ensuring each student receives a copy of their receipt in a timely manner. Include clear instructions on how to access and download the receipt, if applicable. It’s crucial to offer both electronic and physical options to accommodate varying preferences.
For archiving, store receipts in both digital and physical formats. Save electronic copies in an organized folder system with consistent naming conventions to make future retrieval easier. Consider using cloud storage for secure, accessible backups. For physical copies, maintain a filing system with clearly labeled folders for each academic year or term.
Ensure compliance with data protection regulations by securely storing any personal information associated with receipts. Limit access to these documents to authorized personnel only and establish clear procedures for document disposal once the retention period has passed.
Keep a record of all distributed receipts for future reference, particularly for tax or auditing purposes. This will help quickly resolve any disputes or inquiries related to tuition payments and receipts.
College Tuition Receipt Template
In this version, I aimed to maintain the structure and meaning while minimizing word repetition, ensuring clarity.
Template Layout
The template should include key details such as the student’s name, institution, date of payment, tuition amount, and any additional fees. Clearly label each section to prevent confusion. Break down the costs if applicable, ensuring the total is prominently displayed at the end. Providing payment method information can also be helpful for record-keeping purposes.
Formatting Tips
Ensure the layout is clean and straightforward. Use a standard font with legible size and spacing. This will make the receipt easier to read. For clarity, bold important sections like the total tuition amount and payment date. A consistent design with clear headings improves the template’s usability.


