Use a well-structured receipt template to ensure accurate payment records and smooth financial tracking. A properly formatted document helps contractors maintain transparency, avoid disputes, and comply with tax regulations. Whether working independently or managing a team, a standardized receipt saves time and reduces administrative hassle.
Include key details such as contractor’s name, client information, date of service, description of work performed, and total amount paid. Adding payment method details and a unique receipt number enhances clarity and organization.
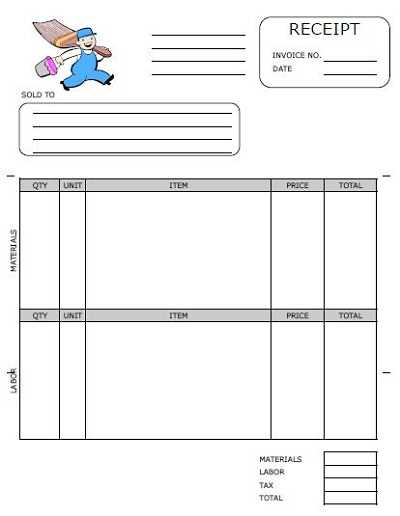
For added professionalism, incorporate a company logo and structured formatting. A clear breakdown of costs reassures clients and facilitates bookkeeping. Digital templates with customizable fields simplify adjustments for different projects and payment structures.
Whether issuing receipts for hourly work, fixed-price projects, or material reimbursements, a consistent template keeps records aligned and accessible. By maintaining well-documented transactions, contractors can streamline tax reporting and build stronger client relationships.
Contractors Receipt Template

A well-structured receipt simplifies financial tracking and ensures clear documentation of payments. Include the contractor’s name, contact details, and tax identification number at the top. The client’s information should follow, specifying the name and address.
Key Transaction Details

Clearly state the date, payment method, and amount received. A breakdown of services rendered, including descriptions and individual costs, adds transparency. If applicable, note any applied taxes and total the final amount.
Finalizing the Document
Conclude with a unique receipt number for reference. A signature from the contractor or an authorized representative enhances credibility. If the transaction is digital, ensure a secure electronic confirmation method is in place.
Key Elements to Include in a Contractor’s Receipt

Specify the contractor’s full name or business name along with contact details. This ensures the client knows exactly who issued the receipt and how to reach them if needed.
Include the date of the transaction to document when the payment was made. This helps both parties track financial records and resolve any disputes.
List the services provided with a clear breakdown of work completed. Avoid vague descriptions–precise details help prevent misunderstandings.
State the total amount paid, specifying the currency and payment method. If taxes apply, separate them from the subtotal for clarity.
Provide a unique receipt number to simplify record-keeping. This makes it easier to reference specific transactions if questions arise later.
Include a section for the contractor’s signature or business stamp if applicable. A signed receipt adds authenticity and confirms acknowledgment of payment.
How to Format a Receipt for Clarity and Compliance
Ensure all key details are present and easy to read. Use a structured layout that highlights amounts, dates, and transaction specifics without clutter.
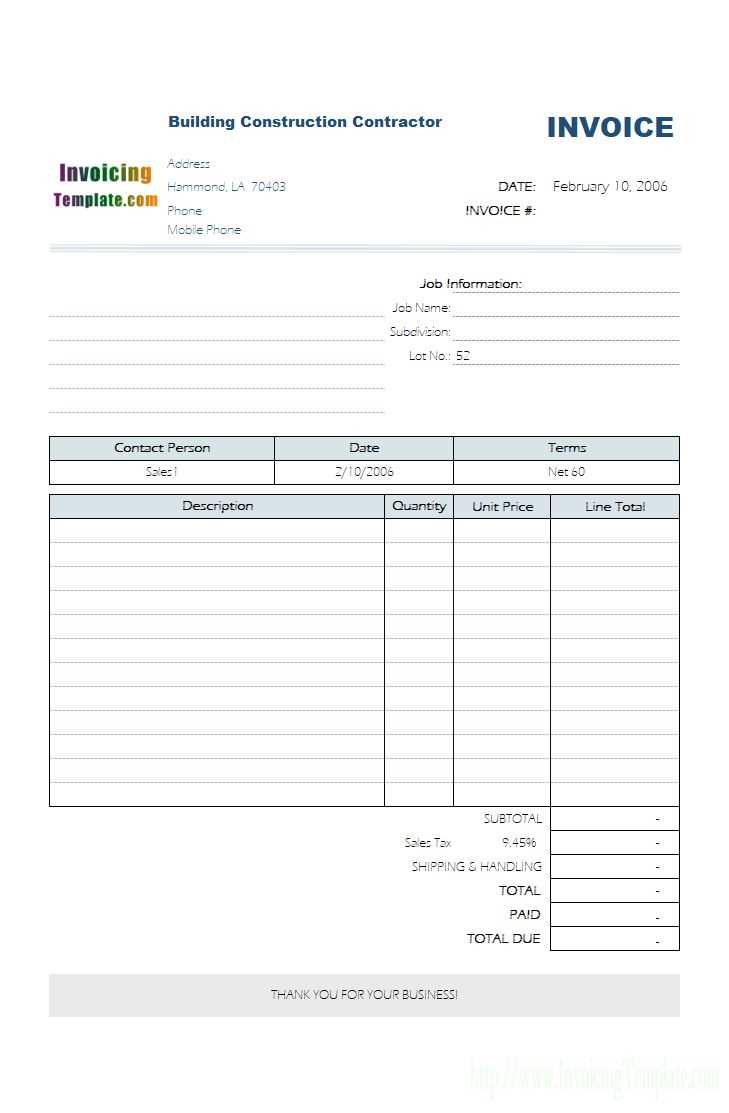
- Header Information: Display the business name, address, and contact details at the top. Use a clear, readable font.
- Unique Identifier: Assign a receipt number to track transactions efficiently.
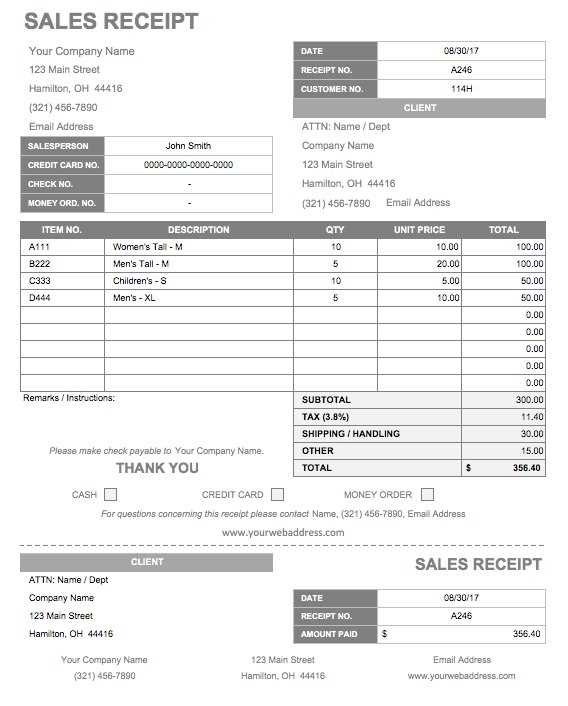
- Transaction Details: List the date, client name, and payment method. Specify whether the amount was paid in full or if a balance remains.
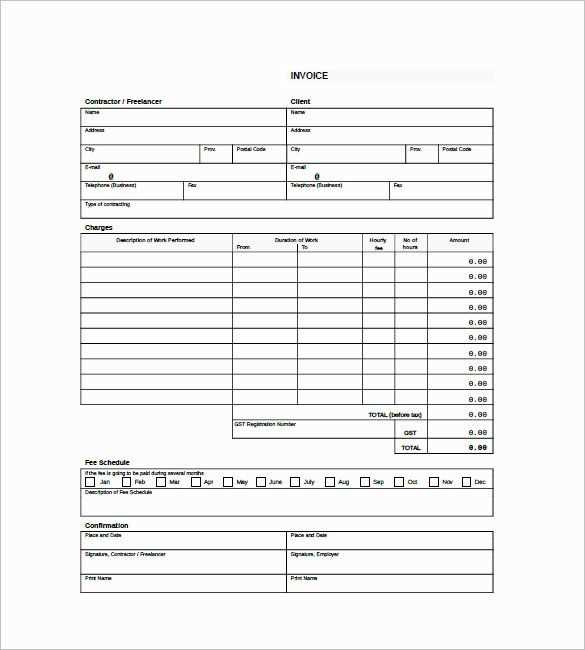
- Itemized Breakdown: Use a table or list format to separate services, quantities, rates, and totals. This avoids misinterpretation.
- Tax and Additional Charges: Clearly state tax amounts, discounts, or extra fees. Ensure calculations are correct.
- Legal Disclosures: Include terms regarding refunds, warranties, or contractual obligations if applicable.
- Signature and Confirmation: Provide a space for signatures if necessary. This helps in cases where proof of acknowledgment is required.
Keep the layout clean and concise. Avoid excessive design elements that can distract from essential details. Using bold or underlined text for totals ensures they stand out without overwhelming the document.
Common Mistakes When Creating Contractor Receipts
Missing Key Details – Every receipt must include the contractor’s name, client information, payment date, and a clear breakdown of services. Skipping these elements creates confusion and complicates record-keeping.
Inconsistent Formatting – Using different layouts for each receipt makes tracking expenses difficult. Maintain a uniform format with aligned sections for clarity.
Lack of Payment Terms – If a receipt doesn’t specify whether the payment was full, partial, or pending, misunderstandings arise. Always state the transaction status explicitly.
Incorrect Tax Calculation – Failing to apply the correct tax rate or omitting tax details can lead to legal issues. Verify rates and display tax amounts separately from the subtotal.
Omitting a Unique Receipt Number – Without a sequential number, referencing past transactions becomes a hassle. Assign unique identifiers to every receipt for organized record-keeping.
Neglecting Digital Copies – Relying solely on paper receipts increases the risk of loss. Store digital backups in a secure location for easy retrieval.
Unclear Service Descriptions – A vague listing such as “labor” or “work completed” lacks specificity. Use precise descriptions, including hours worked or materials used, to avoid disputes.
Failing to Include Contact Information – If there’s no way to reach the contractor, clients may struggle to resolve questions. Ensure every receipt displays a phone number or email.
Not Getting Client Confirmation – Without an acknowledgment from the client, disputes may arise. Request a signature or email confirmation to finalize the transaction.


