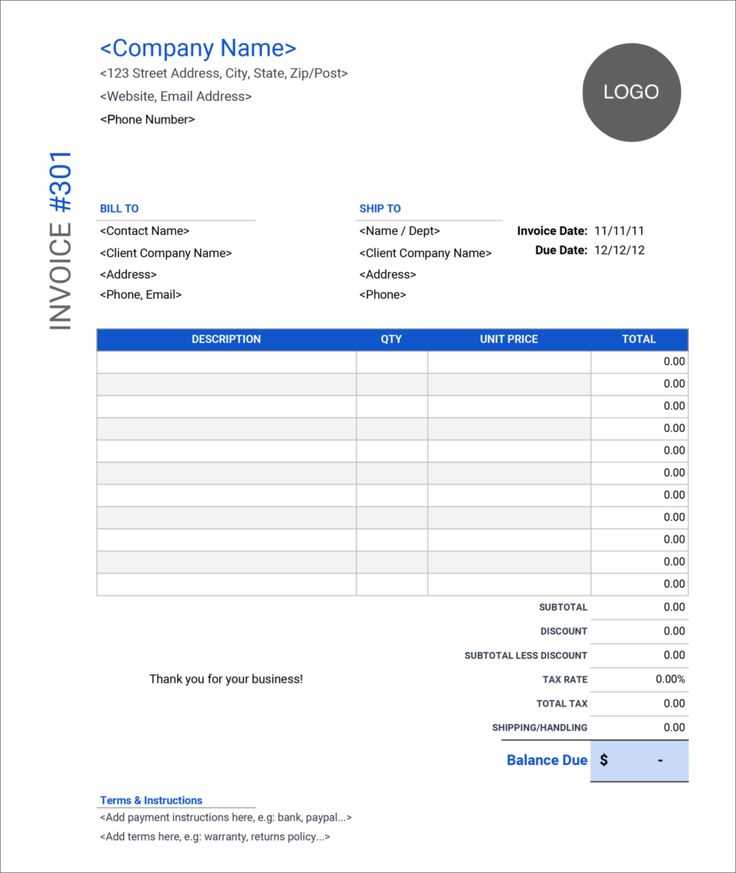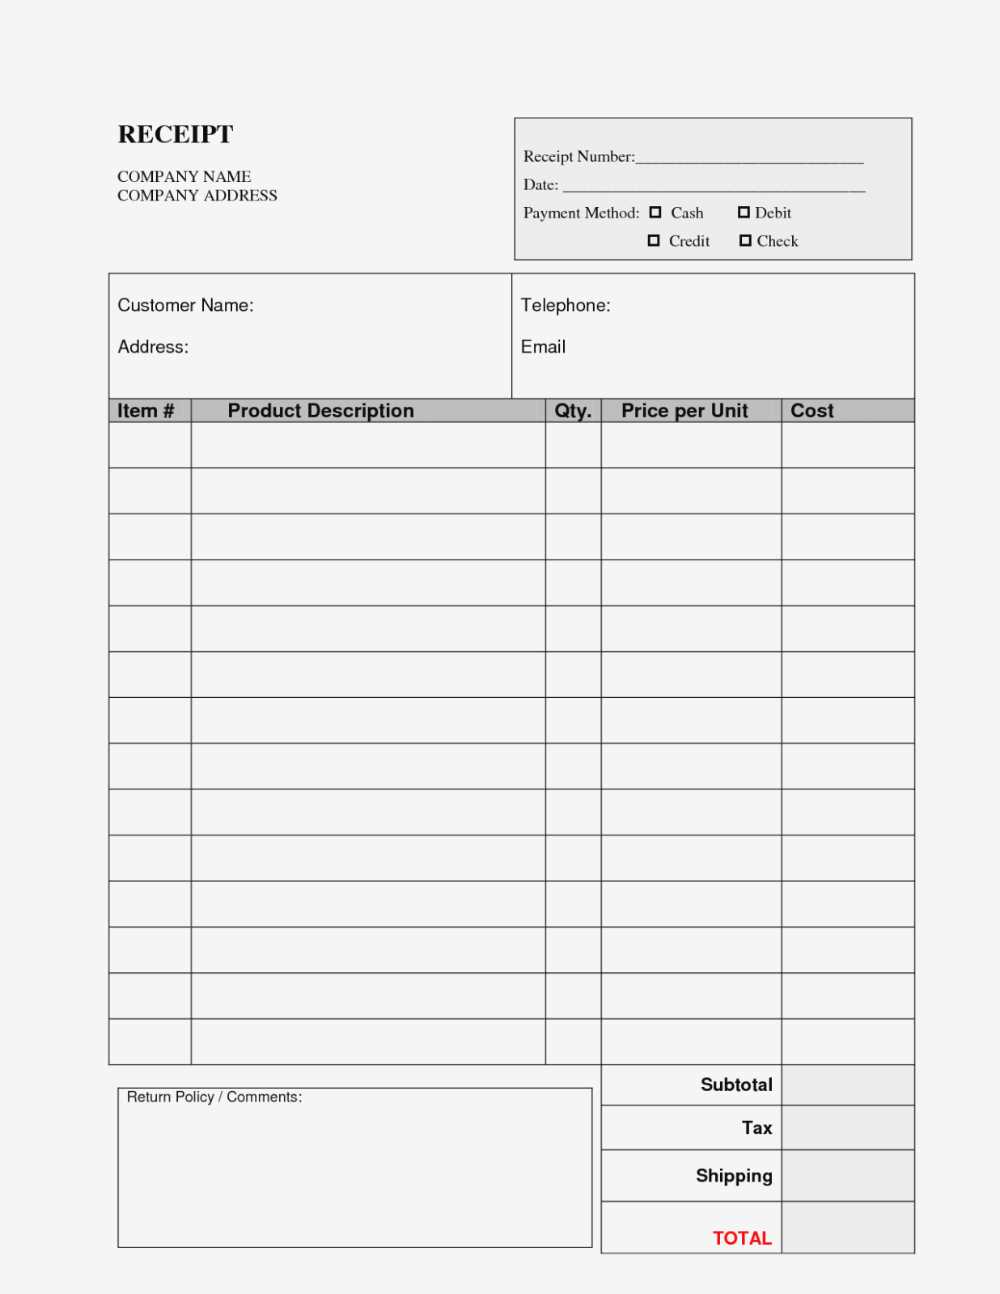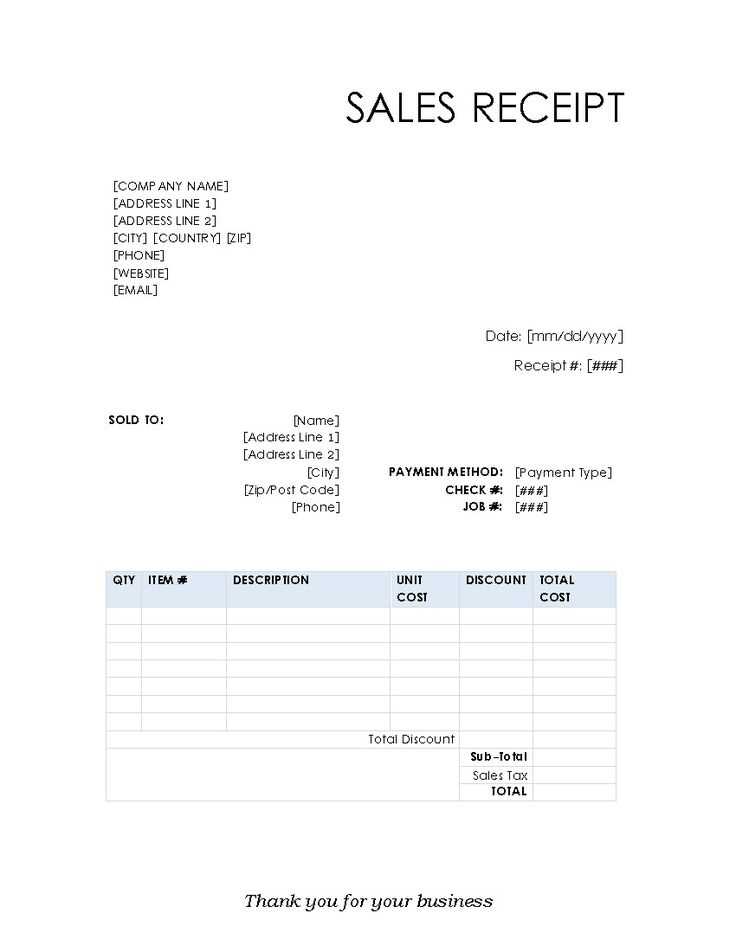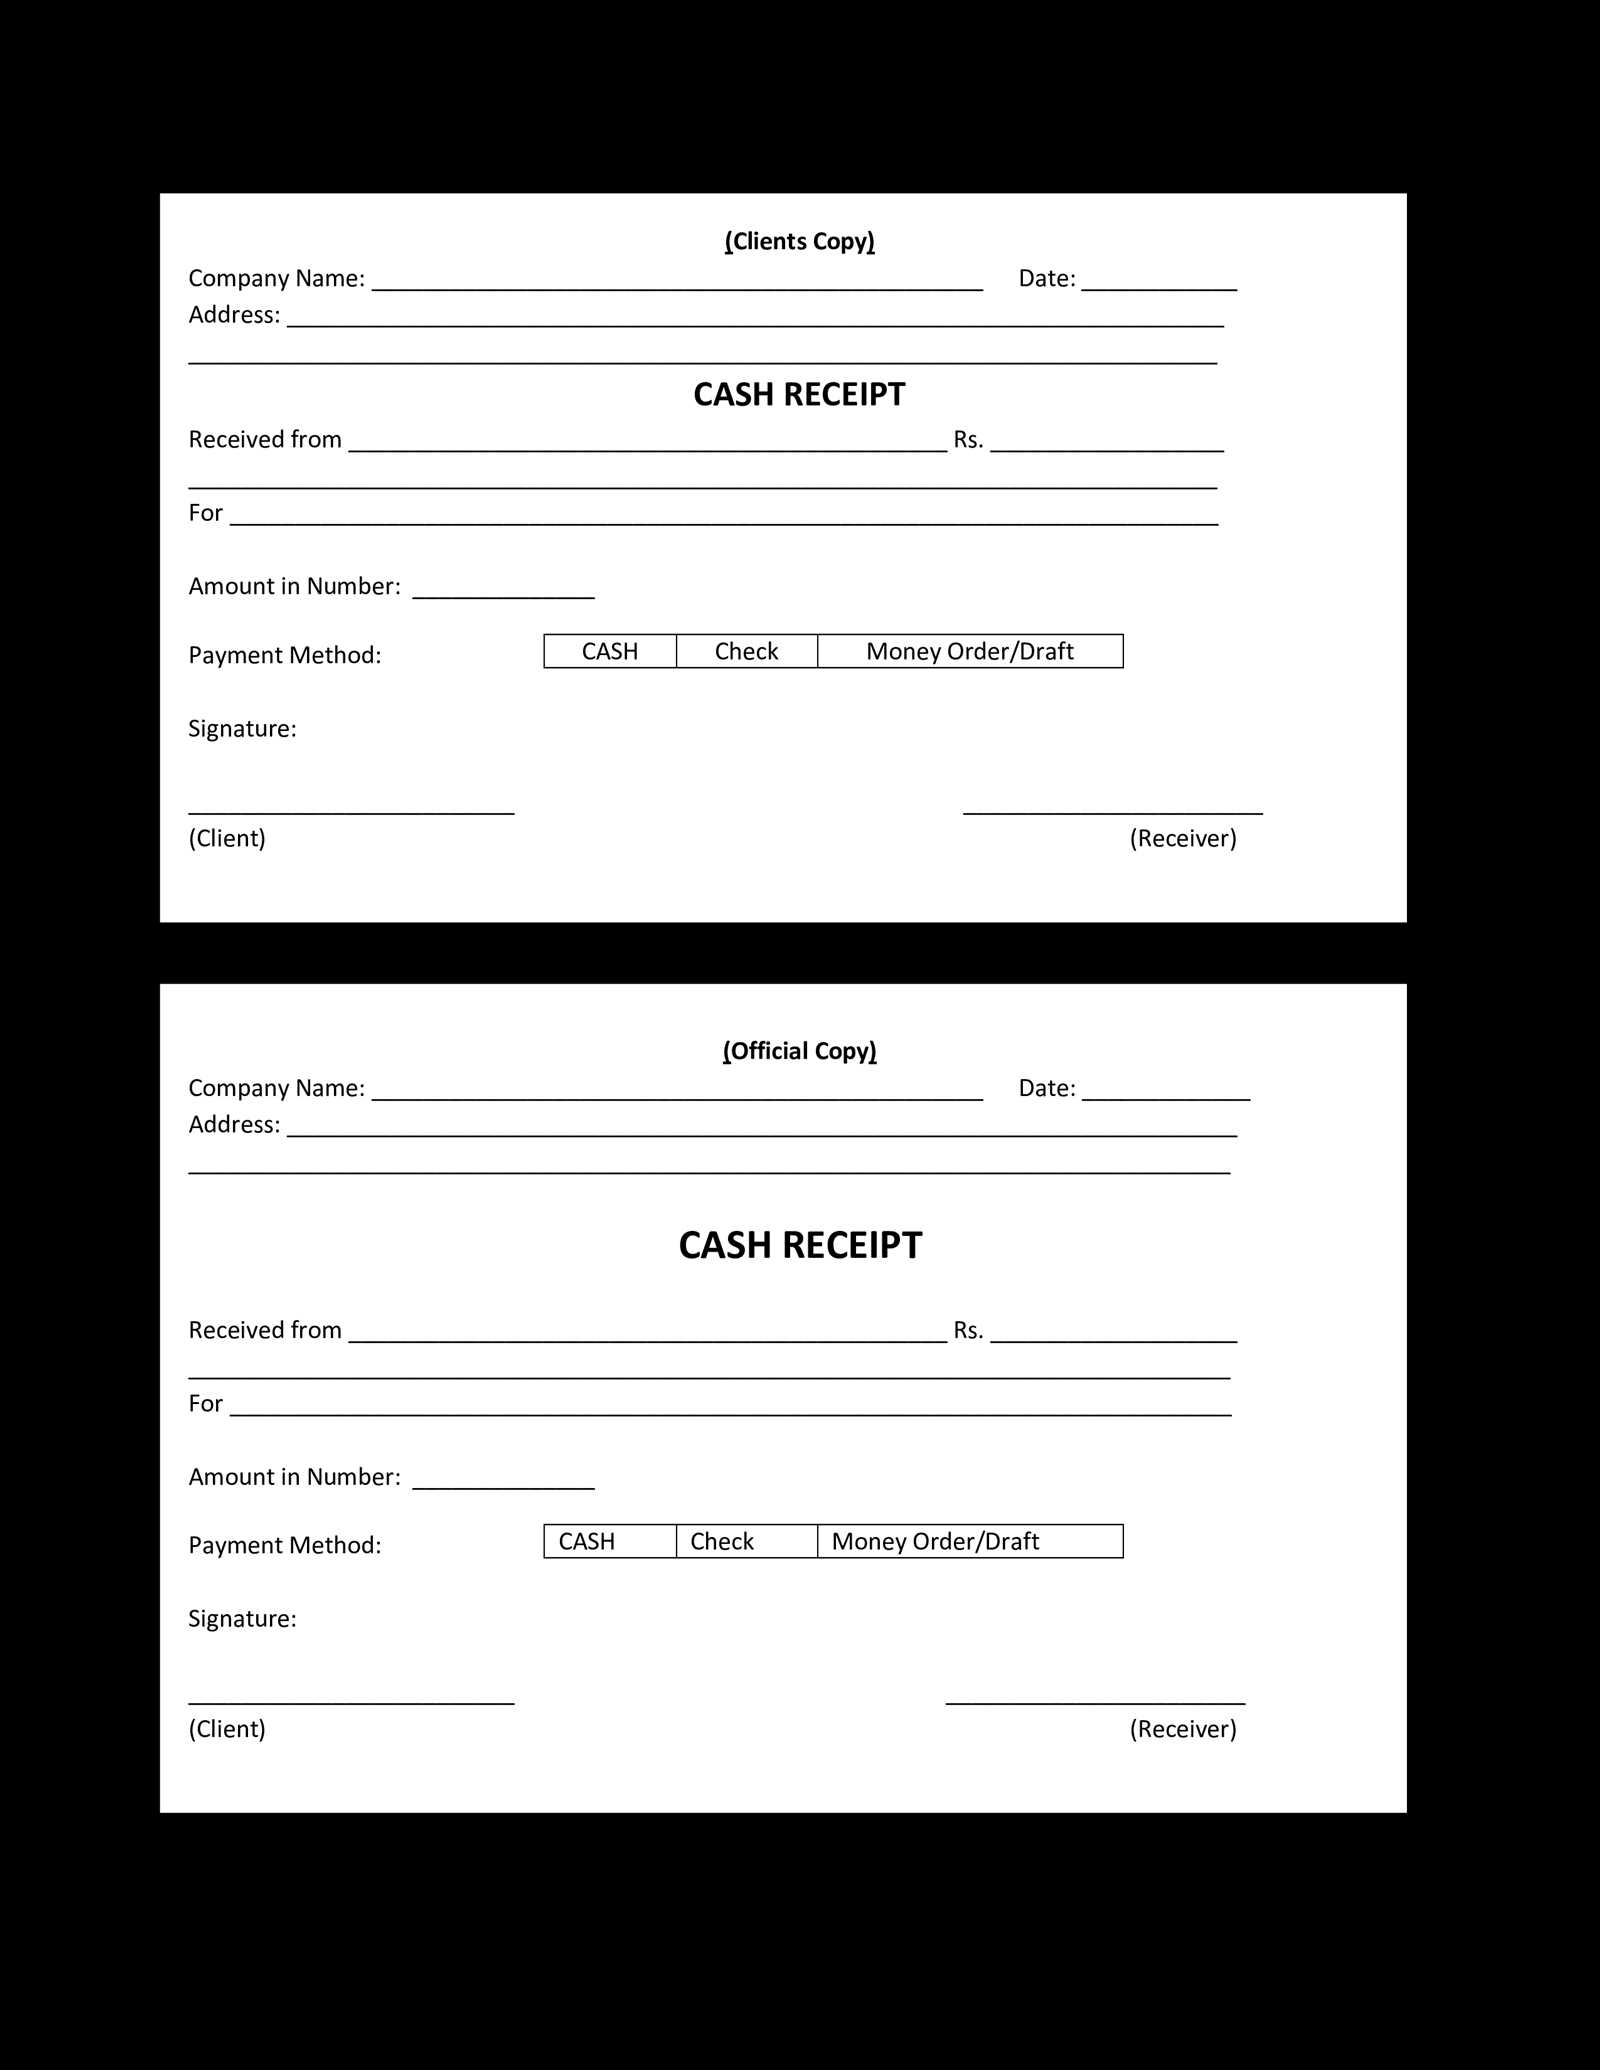
To create a clear and organized cost receipt, use a template that includes all necessary details. Focus on including the item or service name, quantity, unit price, and total cost for each entry. This ensures a transparent breakdown for both the provider and recipient.
Include the date and a unique receipt number at the top of the document. These pieces of information help identify and track the receipt in case of any follow-up. Additionally, add a section for tax rates or discounts if applicable, giving a complete picture of the financial transaction.
Don’t forget to mention the method of payment–whether it was made via cash, card, or bank transfer. This helps confirm the payment process and avoids any confusion about the transaction method later on.
Cost Receipt Template
Use a simple structure for your cost receipt template. Start by including the vendor’s name, address, and contact details at the top. Below that, clearly label the section for the date of the transaction and receipt number. Make sure the amounts are easy to read and include a breakdown of the products or services purchased, specifying quantity, unit price, and total cost for each item. At the bottom, include the total amount, applicable taxes, and payment method.
Key Elements to Include
- Vendor Information: Name, address, phone number, and email.
- Date and Receipt Number: For tracking and reference purposes.
- Itemized List: Product/service name, quantity, unit price, total cost.
- Subtotal: Total before taxes.
- Tax: Specify the tax rate and the amount applied.
- Total Amount: The final total including taxes.
- Payment Method: Indicate whether it was cash, credit, or other methods.
Formatting Tips
- Use clear headings to organize the information.
- Ensure the font is legible and the text is aligned properly.
- Consider adding space between sections for readability.
- Use bold for headings and totals to highlight key data.
Choosing the Right Template for Your Business Needs
Select a template that fits the specific requirements of your business transactions. For example, if you work with a variety of clients, choose a design that allows for customization of fields like client names, addresses, and purchase details. A simple, clean layout ensures that both you and your clients can easily read and process the information.
If you handle multiple products or services, opt for a template that lets you include itemized lists with clear pricing. This will make it easier to track individual purchases and reduce the chance of errors. Look for options that automatically calculate totals and taxes based on your entries to save time.
Consider whether you need the template to support multiple payment methods, such as credit cards or bank transfers. Templates that integrate payment options can streamline your invoicing process and ensure that all necessary information is included for a smooth transaction.
Don’t forget about branding. A template with customizable color schemes and logo placement can help maintain a professional image. This adds a personal touch without needing to start from scratch every time you issue a receipt.
For businesses that need to keep track of receipts over time, select a template that allows for easy sorting and archiving. This way, your receipts are not only accessible but also organized for future reference or auditing purposes.
Key Information to Include in a Cost Receipt

Begin with the date of the transaction. This ensures clarity regarding when the payment was made. Include the name or company of the vendor or service provider to identify who issued the receipt.
List the items or services purchased with their respective prices. Each entry should clearly describe the product or service, along with the amount charged. Grouping similar items together can help with organization.
Indicate the total cost, including taxes, if applicable. Show the breakdown of any applicable taxes to avoid confusion. If there were discounts or promotional offers, specify them clearly, showing the original price and the discounted amount.
Record the payment method. Whether the transaction was completed with cash, card, or another method, this detail helps verify the type of payment used.
Provide a unique receipt or transaction number. This can be helpful for future reference or if any issues arise regarding the transaction.
Finally, include any terms or conditions of the sale, such as refund policies or warranty information, where relevant. This ensures both parties have access to the same information in case follow-up actions are needed.
Tips for Customizing and Using Your Template Efficiently
Tailor the template to match your business’s visual style. Adjust the font, color scheme, and layout to align with your branding. Consistency with other materials like invoices or reports creates a professional appearance.
Keep Data Fields Flexible

Customize the data fields based on your specific needs. Add or remove sections that are irrelevant, such as payment terms, shipping details, or tax information, so the template only includes what’s necessary for your transactions.
Integrate Automation

Save time by incorporating automated fields that pull information directly from your database or accounting software. This reduces manual entry, minimizes errors, and accelerates the process of generating receipts.
Use clear, consistent language for every field. For instance, instead of vague terms like “Total Amount,” specify whether it’s before or after taxes, or if discounts have been applied. This avoids confusion and ensures accuracy.
Regularly review and update your template. Changes in tax rates, shipping charges, or company information should be reflected in the template. Set reminders to check and update it periodically.


