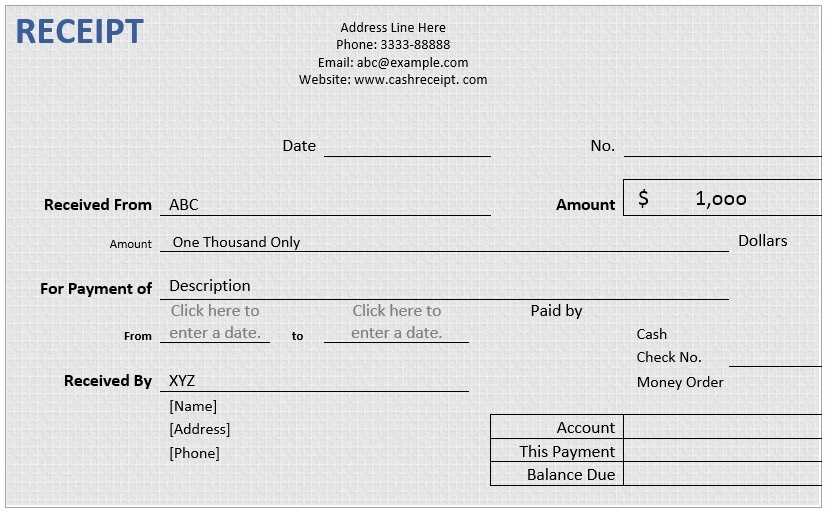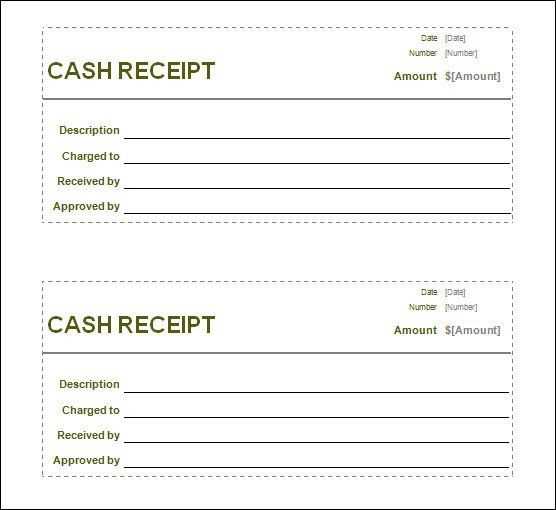
Creating a clear and organized drug store receipt template helps streamline the transaction process. It ensures that customers receive accurate information about their purchases, including product details, prices, and applicable taxes. Start by listing all essential information, such as the store’s name, address, contact details, and the date of purchase. This transparency builds trust with your customers and provides a record for future reference.
Product details should be the next focus. Include a brief description of each item, the quantity purchased, and the price per unit. This level of detail helps avoid confusion and ensures customers understand exactly what they are being charged for. Make sure to calculate any discounts or promotions clearly, so the final price reflects the adjustments made during checkout.
Tax information is another key component. Ensure that any applicable taxes are clearly listed on the receipt, including the tax rate and the total tax amount. This will provide transparency and help customers understand the breakdown of their final cost. Always double-check these figures to avoid any discrepancies that could lead to customer dissatisfaction.
Drug Store Receipt Template Guide
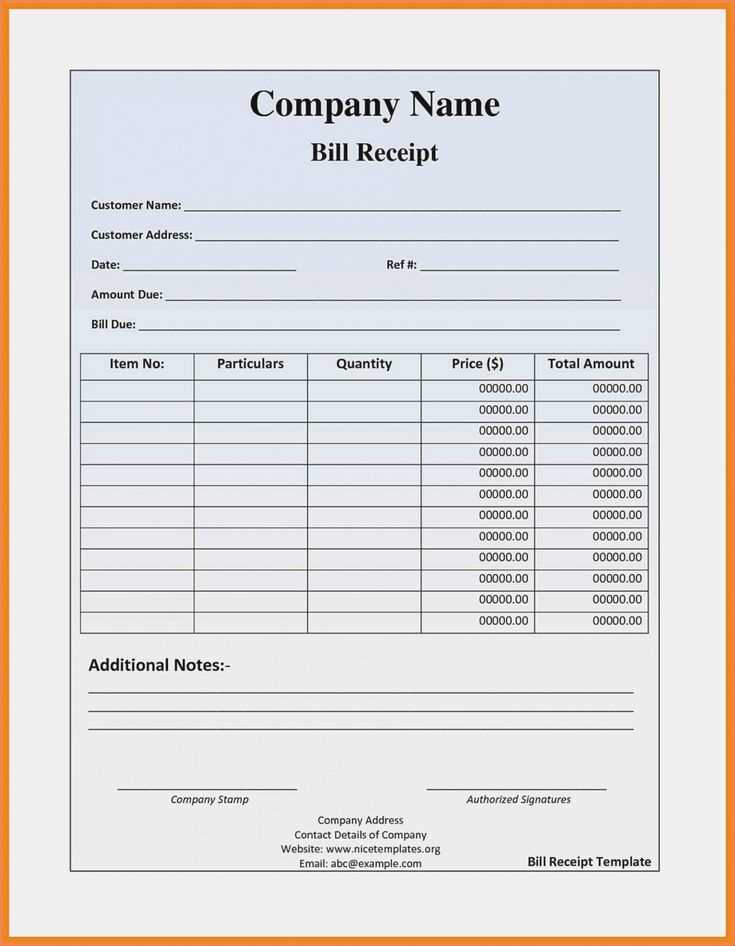
Design your drug store receipt with clear and concise details to ensure transparency for both the customer and business. Begin by listing the store’s name, address, and contact details at the top. This provides immediate recognition and helps the customer reach out if needed.
Next, include the date and time of purchase. This will serve as a reference for both parties in case of returns or exchanges. Follow up with the receipt number for easy tracking of the transaction.
For each item purchased, provide a description, quantity, unit price, and total price. Group similar items together to maintain clarity. If applicable, mention the discount or promotional offers applied to the purchase.
Include the payment method used, whether it’s cash, card, or other payment systems. This adds an extra layer of detail for the store’s records.
Ensure that the subtotal, tax amount, and final total are clearly displayed at the bottom. This helps the customer quickly verify the overall cost of the purchase.
For any returns or exchanges, leave space for a signature or stamp to confirm the transaction is complete. This small step can reduce misunderstandings in the future.
Choosing the Right Layout for Your Template
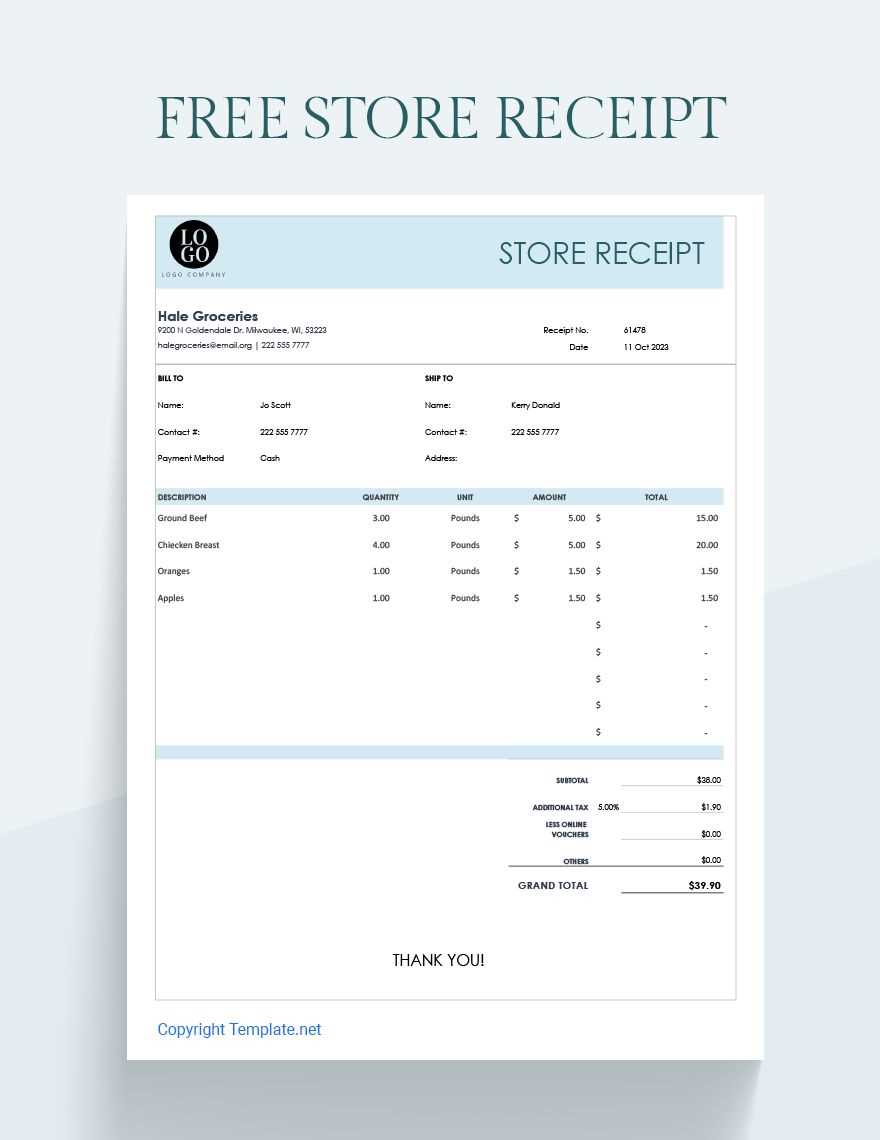
Focus on clarity and simplicity. The layout should prioritize readability and make important information easy to find. A clean, organized design helps customers quickly understand their purchases without unnecessary distractions.
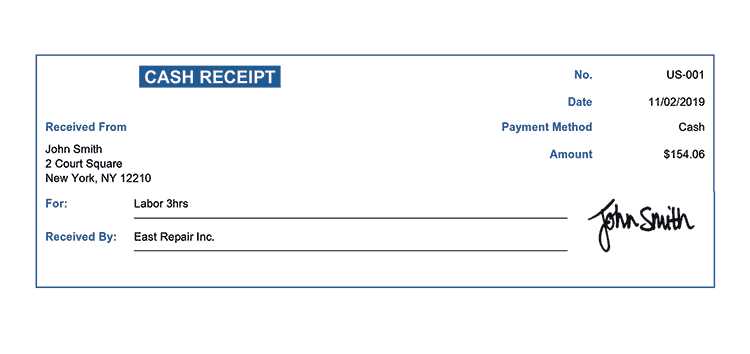
- Balance between information and white space: Don’t overcrowd the receipt with excessive details. Use margins and padding to give the content space to breathe, which enhances legibility.
- Logical flow: Place key sections like item names, quantities, prices, and totals in an easy-to-follow sequence. Group related information together to minimize confusion.
- Highlight key details: Ensure the most relevant information, such as total cost, is clearly visible. Use bold text or a larger font size to draw attention to these elements.
Consistency in font styles and sizes also plays a big role. Choose fonts that are easy to read on smaller printouts. Stick to one or two complementary fonts to avoid visual clutter.
- Alignment: Properly align text for a neat presentation. Typically, text should align left, but totals or payment details might be centered for clarity.
- Use of lines or borders: A subtle line can help separate sections like the list of items and the total. This helps the receipt feel organized and easier to scan.
Test the layout on various devices or paper sizes to ensure it remains effective across different formats. Adjust spacing and font sizes to make sure it looks just as clear in print as it does on screen.
Customizing Receipt Fields for Accuracy
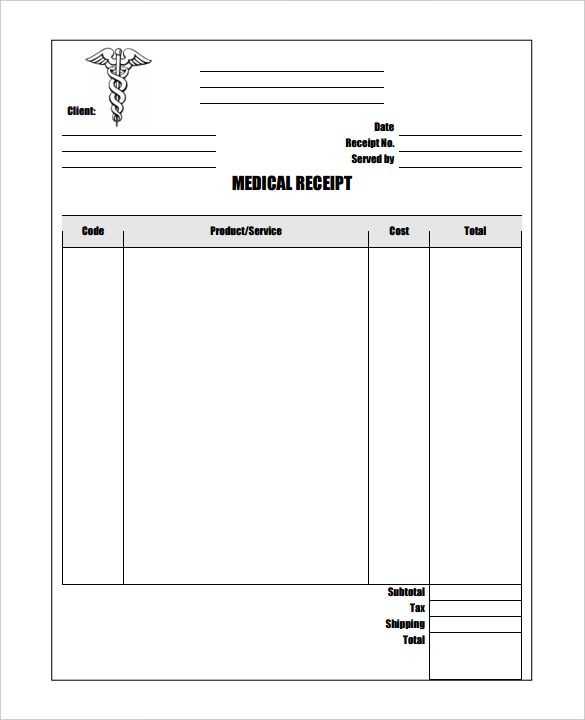
To ensure that your receipts are accurate, start by adjusting the fields that directly impact your business needs. Include the customer’s name, date of purchase, product details, price, and any applicable discounts. Double-check that these fields are correctly aligned with your inventory system to avoid discrepancies. For tax purposes, make sure to add the correct tax rate and total, which should match the local regulations. Use dynamic fields that automatically update with changes in pricing or taxes to reduce human error.
Next, tailor the layout to display key information clearly. Group similar items together, such as items purchased or payment method, to make it easier for customers and employees to review. Include a “return policy” section at the bottom or side, ensuring that it is concise and easy to find. Customize the receipt to your store’s style while maintaining a clean and readable format.
Lastly, review the font size and placement of each field. Make sure no critical information is cut off or hard to read, especially on smaller receipt sizes. A simple and clean design with well-spaced fields enhances readability and ensures that your receipts are both practical and professional.
Integrating Payment and Discount Information
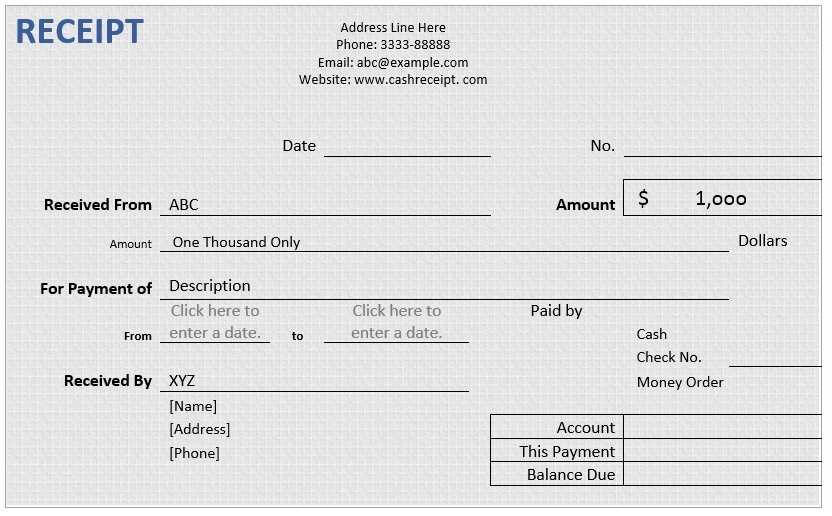
To streamline payment and discount details on your receipt, focus on clarity and precision. Begin by clearly separating the original price from the applied discount, ensuring customers can easily see both amounts. For example, use a line that shows the “Original Price” and then another line for the “Discount Applied,” followed by the “Total” after the discount.
It’s important to include the type of payment method used. Whether the customer paid by card, cash, or a voucher, make sure this information is displayed clearly. This can be done with labels such as “Paid By: Credit Card” or “Paid By: Voucher” placed near the total amount.
For any promotional discounts or special offers, include a brief description of the offer. A line such as “10% off with Coupon Code” will help customers remember how the discount was applied. Keep the description concise but specific enough to avoid confusion.
Ensure the final total amount reflects all discounts applied, showing an accurate balance. Double-check that taxes, fees, or any additional charges are clearly stated after the discount is calculated. This transparency prevents confusion during the payment process and strengthens customer trust.


