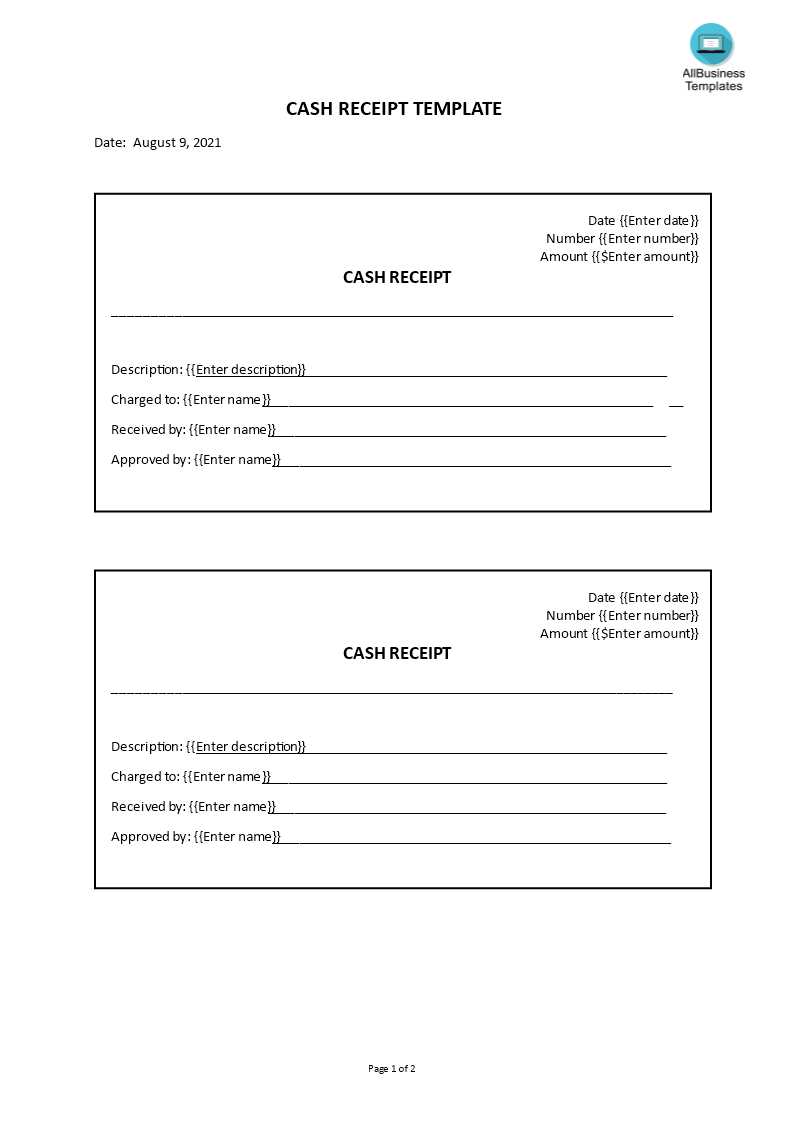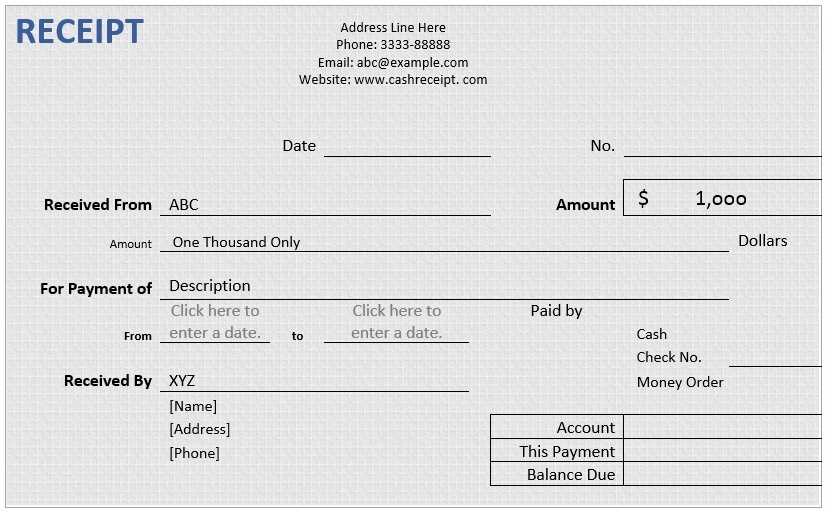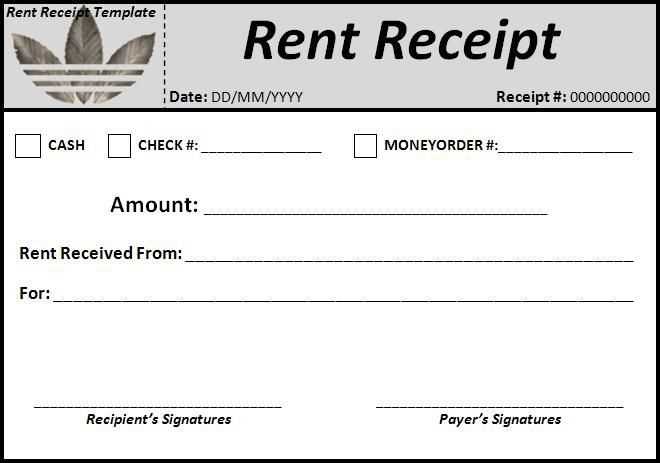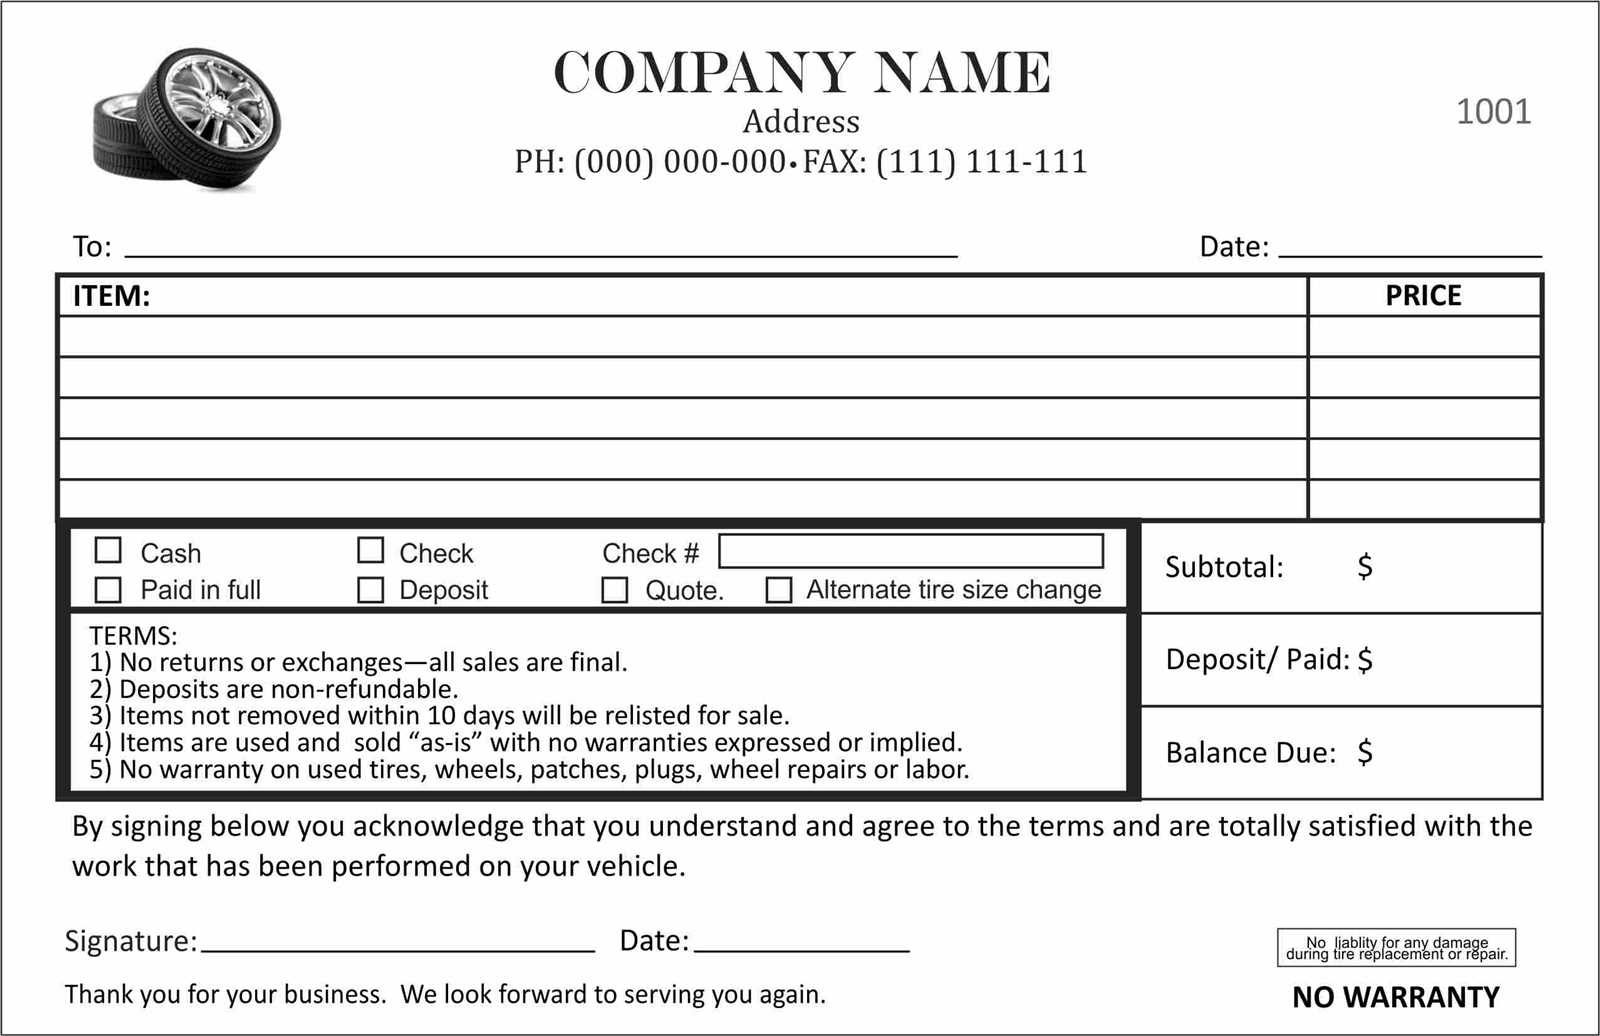
A well-structured receipt template simplifies transactions, enhances record-keeping, and ensures transparency between a repair shop and its customers. Choose a format that clearly presents service details, costs, and warranty terms while maintaining a professional look.
Include essential details: The receipt should list the shop’s name, address, and contact information at the top. Below that, add the customer’s details, invoice number, and date of service. This setup helps track transactions and prevents disputes.
Break down service costs: Clearly itemize labor charges, replaced components, and any additional fees. Specify tax amounts separately to avoid confusion. A subtotal, tax breakdown, and final amount due should always be present.
Outline warranty terms: If repairs come with a warranty, mention its duration and coverage. Briefly state conditions under which the warranty remains valid. This protects both the business and the customer from misunderstandings.
Digital or printed format? Many shops prefer digital receipts for easier storage and retrieval. However, offering printed copies on request ensures convenience for customers who prefer physical documentation.
By using a detailed and structured template, an electronics repair shop can provide clear, professional receipts that build trust and streamline business operations.
Electronics Repair Shop Receipt Template
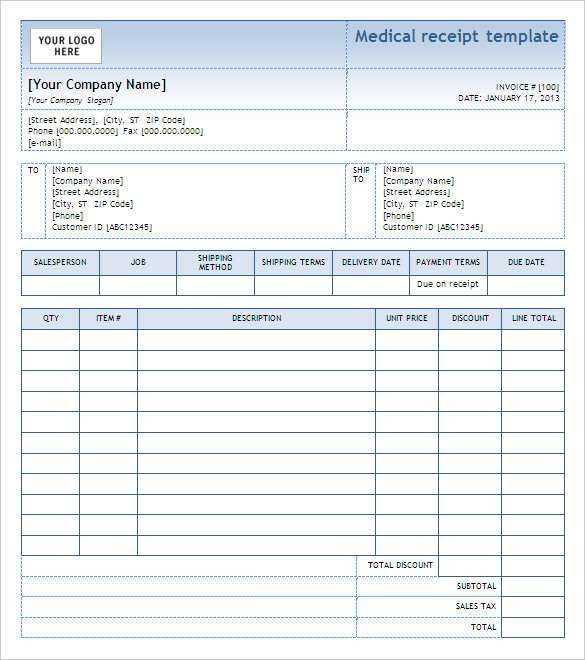
A well-structured receipt simplifies transactions and keeps records clear. Use a template that includes all necessary details to ensure transparency and professionalism.
- Business Information: Include the shop name, address, contact details, and tax ID if applicable.
- Customer Details: Capture the name, phone number, and email for easy follow-up.
- Repair Details: List the device type, brand, model, serial number, and issue reported.
- Services and Parts: Specify labor charges, replacement parts, and costs separately.
- Warranty and Terms: Clearly state any guarantees, return policies, and liability disclaimers.
- Payment Information: Indicate the total amount, payment method, and any balance due.
- Signature and Date: Provide space for both technician and customer to confirm the service.
Design the receipt in a structured format with bold headers and easy-to-read fonts. A digital version with a QR code linking to service history can enhance customer experience.
Key Information to Include on the Receipt
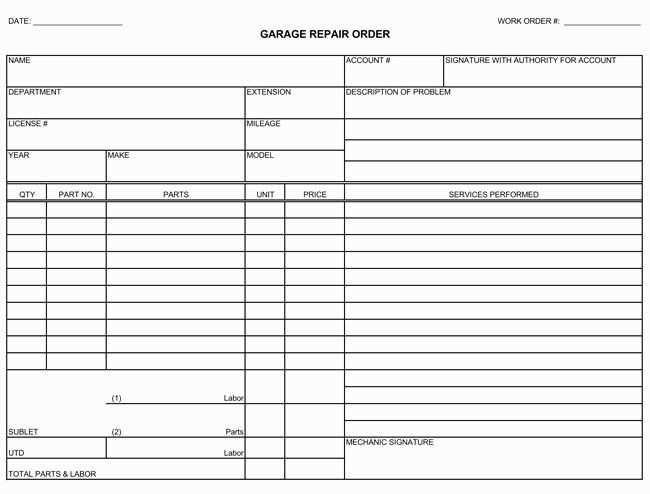
Business Details: Clearly display the shop’s name, address, contact number, and tax identification number. This ensures transparency and helps customers with future inquiries.
Customer Information: Include the client’s name, phone number, and, if applicable, email. This helps track service history and facilitates warranty claims.
Receipt Number: Assign a unique identifier to each receipt. This simplifies record-keeping and makes it easier to reference past transactions.
Date and Time: Specify when the transaction took place. This is essential for warranty validation and service tracking.
Service Details: List the repaired device, its model, serial number, and a brief description of the issue. If replacement parts were used, mention them along with their part numbers.
Costs Breakdown: Clearly separate labor charges, parts costs, and any applicable taxes. Transparency builds trust and avoids disputes.
Payment Method: Indicate whether the customer paid by cash, card, or another method. If partial payment was made, note the outstanding balance.
Warranty Information: State the warranty period and what it covers. If no warranty applies, mention it explicitly.
Shop Policies: Briefly outline refund, exchange, and service terms. This prevents misunderstandings and sets clear expectations.
Authorized Signature: Provide space for the technician or shop representative to sign. This verifies the receipt’s authenticity and confirms the service details.
Layout and Formatting Guidelines
Keep sections clearly defined. Use bold headers for categories like customer details, service descriptions, pricing, and terms. This makes scanning easier and reduces confusion.
Align key details for readability. Place customer and shop information at the top, followed by itemized services in a neat table. Ensure costs and totals are right-aligned for quick reference.
Choose a legible font. Stick to professional fonts like Arial or Helvetica in at least 10pt size. Avoid decorative styles that make text harder to read.
Use spacing to separate sections. Leave enough white space between elements to prevent clutter. Group related information together to improve flow.
Highlight important details. Bold due dates, warranty terms, and payment instructions. If using color, keep it minimal to maintain a professional appearance.
Include a signature or stamp area. Reserve space for customer and technician signatures to confirm service completion and agreement on charges.
Legal and Tax Compliance Considerations
Register the business with the appropriate government agencies to ensure full compliance. Obtain a business license, tax identification number, and any necessary permits for handling electronic repairs. Each jurisdiction has different requirements, so check with local and state authorities.
Issue receipts that meet tax regulations. Include the business name, address, tax ID, date, itemized services, total cost, and applicable taxes. If required, collect and remit sales tax on parts and services. Use accounting software or hire a professional to keep accurate records and avoid penalties.
Follow consumer protection laws by clearly stating warranty terms and refund policies on receipts. Ensure that all disclosures about pricing, repairs, and potential additional costs are transparent to prevent disputes.
Maintain financial records for tax filing and audits. Store digital copies of receipts for easy access and legal compliance. Keep detailed logs of income, expenses, and inventory to simplify reporting and optimize deductions.
Customization Options for Branding
Personalize your electronics repair shop receipt template by adding a logo, custom fonts, and brand colors. A well-branded receipt reinforces professionalism and builds trust with customers.
Logo and Header Design
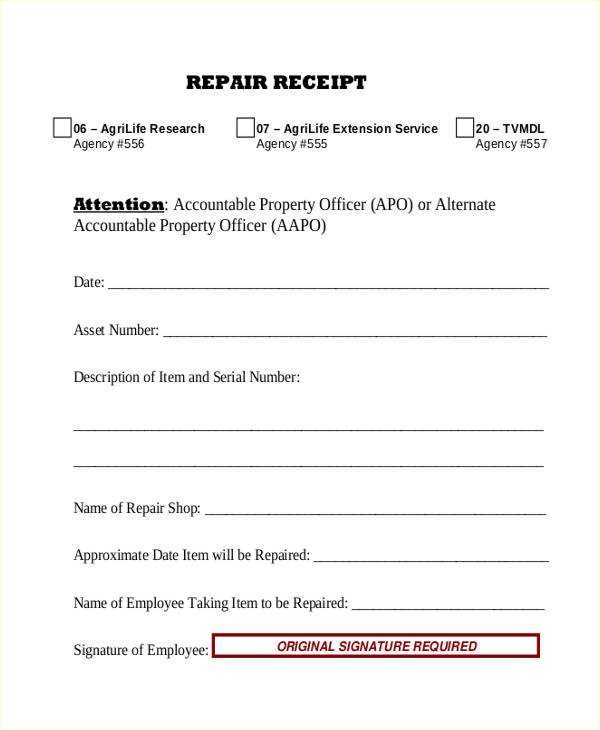
Incorporate your company logo at the top of the receipt for immediate brand recognition. Use high-resolution images and ensure proper alignment for a clean look. Adjust the header font to match your official branding for consistency.
Custom Fields and Messages
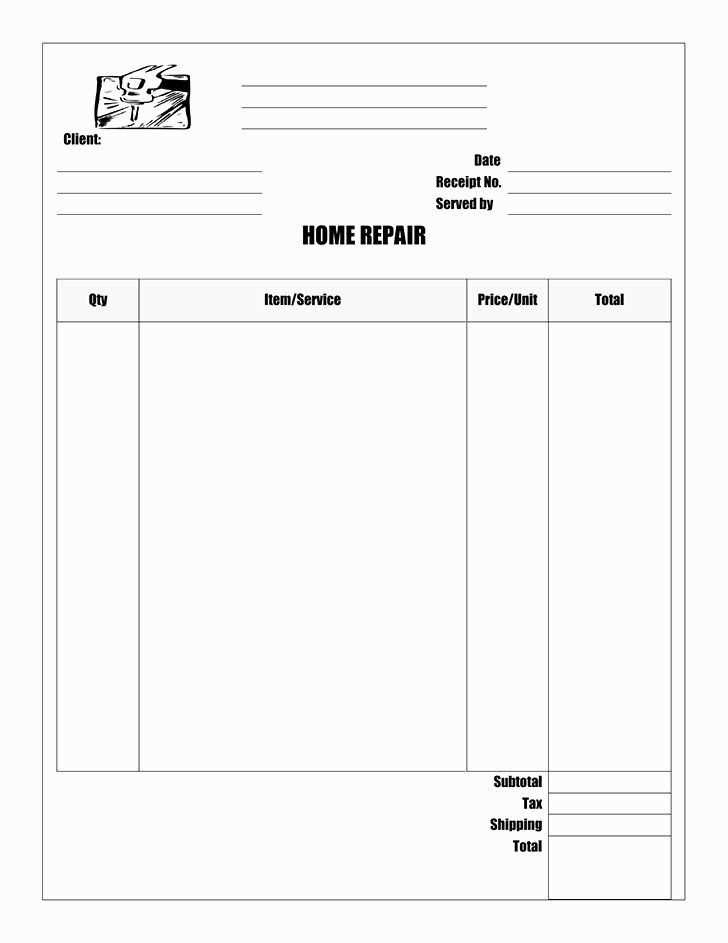
Modify receipt fields to include your business slogan, warranty details, or a thank-you note. Highlight key information such as return policies or upcoming promotions to encourage repeat business.
| Customization Option | Implementation |
|---|---|
| Logo | Insert a high-resolution image in the header |
| Brand Colors | Apply consistent colors for text and borders |
| Custom Messages | Include a thank-you note or promotional offer |
| Font Style | Use a typeface that matches your brand identity |
Ensure all elements are aligned and legible, keeping the layout clean and functional. A well-designed receipt enhances customer experience and strengthens brand loyalty.
Digital vs. Printed Receipt Formats
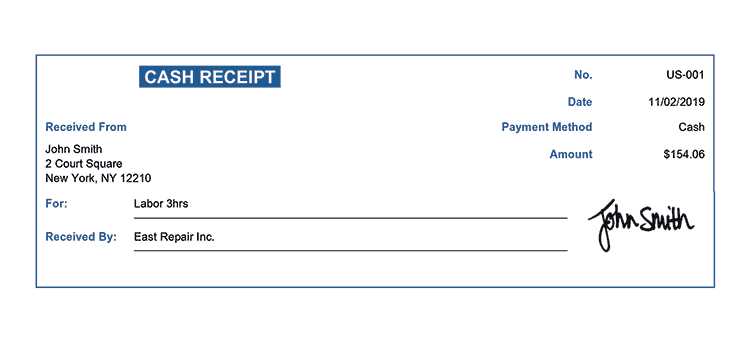
For most electronics repair shops, digital receipts simplify record-keeping and reduce costs. Customers receive them via email or text, ensuring easy access without the risk of losing a paper copy. They also allow for quick retrieval in case of warranty claims or service history checks.
When to Use Printed Receipts
Some customers prefer printed receipts, especially for high-value repairs. A physical copy can serve as a legally recognized proof of purchase, making it useful in areas where digital formats aren’t widely accepted. Additionally, not all customers are comfortable with email-based documentation.
Choosing the Right Option
Offer both formats to meet different preferences. Let customers choose at checkout, and consider integrating a hybrid approach where receipts are emailed by default but printed on request. This keeps operations flexible while minimizing unnecessary paper use.
Common Mistakes to Avoid
Ensure that all the customer details on the receipt are correct. Double-check names, addresses, and contact information before finalizing the document. Mistakes in this area can lead to confusion or disputes later on.
Do not forget to include a clear description of the services or repairs performed. Vague entries can create misunderstandings and make it difficult to track past work.
Ensure the pricing breakdown is accurate. Customers should easily see how charges are calculated, whether for labor, parts, or additional fees. An unclear pricing structure can raise doubts and reduce trust in your business.
Always include the date of the service and the completion time. This provides a clear timeline for the customer and helps with warranty or follow-up inquiries.
Use legible fonts and clear formatting. Cluttered or hard-to-read receipts can lead to confusion and may result in customers overlooking important details.
Avoid omitting warranty information. Make sure to state whether repairs are covered under warranty, and include the terms and conditions to protect both you and the customer.
Do not skip adding your business details like name, address, and contact number. This information ensures that customers can reach out for support or inquiries in the future.
