How to Organize Receipts in Evernote

Using Evernote for receipt management simplifies expense tracking. Create a dedicated notebook for receipts to keep all files in one place. Use tags like “business expense”, “personal”, or “tax” for quick categorization.
Take advantage of Evernote’s search functionality by naming files with specific details, such as the date and vendor name. For instance, a file could be titled “2025-01-15_CoffeeShop_Receipt.” This makes locating individual receipts faster.
Template Structure for Receipts

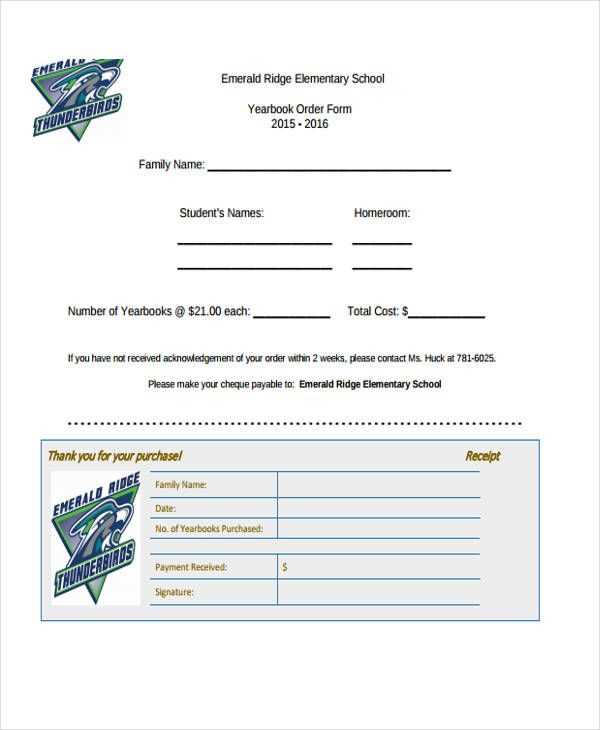
When creating a receipt template, include the following fields for a clear and organized layout:
- Date: Specify the purchase date.
- Vendor: Include the merchant’s name.
- Amount: List the total cost, including taxes.
- Category: Define the expense type (e.g., meals, travel, supplies).
- Notes: Add any additional details or context.
Automating Receipt Capture
Use Evernote’s mobile app to scan physical receipts directly into the app. The built-in OCR feature extracts text from images, enabling keyword search across scanned files. Ensure the scan is clear by placing the receipt on a flat surface with good lighting before capturing.
For digital receipts, forward emails directly to your Evernote account using your unique Evernote email address. Set up rules in your email client to automate forwarding from common senders like airlines or retailers.
Sharing and Reporting
When sharing receipts with colleagues or accountants, export selected notes as PDFs. Add a summary note with total expenses if multiple receipts are involved. Evernote’s sharing options allow you to provide access via links or email without transferring files manually.
Adopting these strategies ensures your receipts remain well-organized and accessible when needed.
Evernote Receipt Template
How to Create a Custom Template for Receipts in Evernote
Organizing Receipts with Notebooks and Tags
Scanning and Importing Receipts into Evernote
Formatting Details for Easy Receipt Searchability
Sharing and Exporting Templates with Others
Integrating Evernote with Tools for Receipt Management

Create a custom receipt template by using Evernote’s built-in table and formatting tools. Designate clear sections for date, vendor, amount, and category. Use bold text for headers and align text within columns for consistency. Save the template as a new note and duplicate it for each receipt entry.
Organize receipts efficiently by creating a dedicated notebook titled “Receipts” and categorizing entries with tags like #2025, #taxes, or #business. This system allows quick filtering and access to specific receipts during audits or tax season.
Scan paper receipts directly into Evernote using the mobile app’s document scanner. For digital receipts, forward them to your Evernote email address or use the web clipper to capture them from your browser. Ensure all receipts are labeled and tagged immediately after upload to maintain organization.
To improve searchability, format receipt details consistently. Use searchable keywords in the title, such as “Amazon – 2025-02-08 – $35.00”. Include detailed notes or descriptions in the body, such as purchase purpose or payment method, for enhanced context.
Share templates with team members by exporting notes as .enex files or sharing the notebook directly. Recipients can duplicate the template for personal use, ensuring uniformity in receipt tracking across groups.
Integrate Evernote with tools like QuickBooks or Expensify for seamless receipt management. Enable integrations through Zapier to automatically sync receipts or export data for accounting workflows, reducing manual entry and enhancing productivity.


