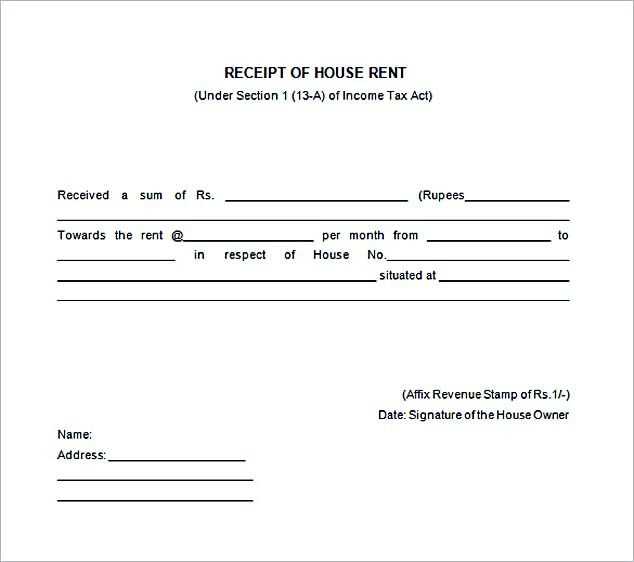
To complete a receipt template, start by entering the date of the transaction in the designated field. This ensures that both the buyer and seller can track the transaction timeline accurately.
Next, add the name and contact details of the seller or service provider, including address, phone number, and email. This information is essential for follow-up or warranty claims, should they arise later.
Include a detailed list of items or services purchased, specifying quantities and prices. If applicable, break down any taxes or discounts separately to make the final total clear and transparent.
Finally, fill in the payment method used, such as cash, credit card, or bank transfer. This adds clarity for both parties and helps track payment histories.
Double-check the information before finalizing the receipt to ensure accuracy. Correct any errors right away to avoid confusion in the future.
Choosing the Right Receipt Template
Pick a receipt template that matches the nature of your transactions. For a small business, a simple template with basic details like the buyer’s name, items purchased, and total amount works well. If you’re managing more complex sales or services, consider a template that includes tax rates, payment methods, and invoice numbers for better tracking.
Check if the template allows for customization. You may want to add your business logo, adjust fonts, or include extra information like terms and conditions. Ensure the template is compatible with your preferred software, whether you’re using a spreadsheet program or specialized invoicing tools.
Look for templates that offer clear organization. Information should be easy to read, and fields should be clearly marked. An overly cluttered or confusing layout could lead to mistakes and misunderstandings with your clients.
Consider scalability. If your business grows, you might need to process more detailed transactions. Choose a template that can expand without becoming difficult to manage. Templates with sections for discounts, taxes, or multiple items are good choices for businesses with evolving needs.
Step-by-Step Instructions for Completing a Template
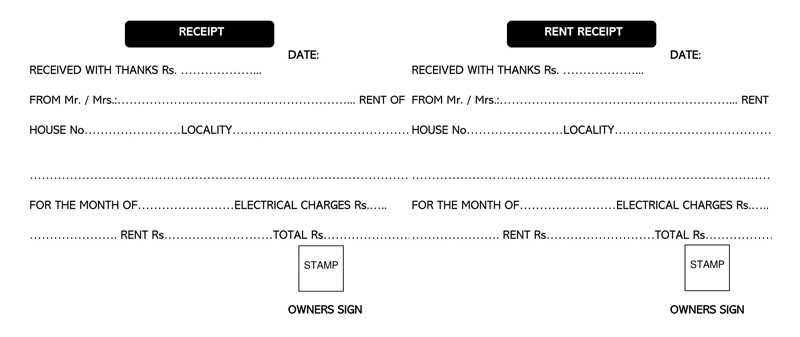
1. Choose the Right Template
Pick a template that matches your needs. Whether it’s for an invoice, receipt, or another document, ensure it includes the required fields for your purpose.
2. Fill in the Date
Start by entering the current date in the designated field. This helps track when the document was created or issued.
3. Add Seller or Provider Information
Input the name, address, and contact details of the seller or provider. This identifies who is responsible for the transaction.
4. Enter Buyer or Customer Information
List the buyer or customer’s name, address, and contact details. This ensures both parties are clearly identified.
5. Include Item or Service Details
Provide a description of the product or service being sold. Add quantities, unit prices, and any relevant product codes.
6. Calculate Total Amount
Multiply the quantity of each item by its unit price and sum them up to get the total. If applicable, include any taxes, discounts, or additional fees.
7. Include Payment Terms
Clarify the payment terms, such as the due date or installment schedule. This ensures both parties know the payment expectations.
8. Add Additional Notes
If there are any special conditions, refund policies, or comments, include them in the notes section.
9. Review and Double-Check
Before finalizing, review all fields to confirm that all information is accurate and complete.
10. Save or Print the Template
Once everything is filled in correctly, save the document or print it for distribution. Keep a copy for your records.
Common Mistakes to Avoid When Filling a Receipt
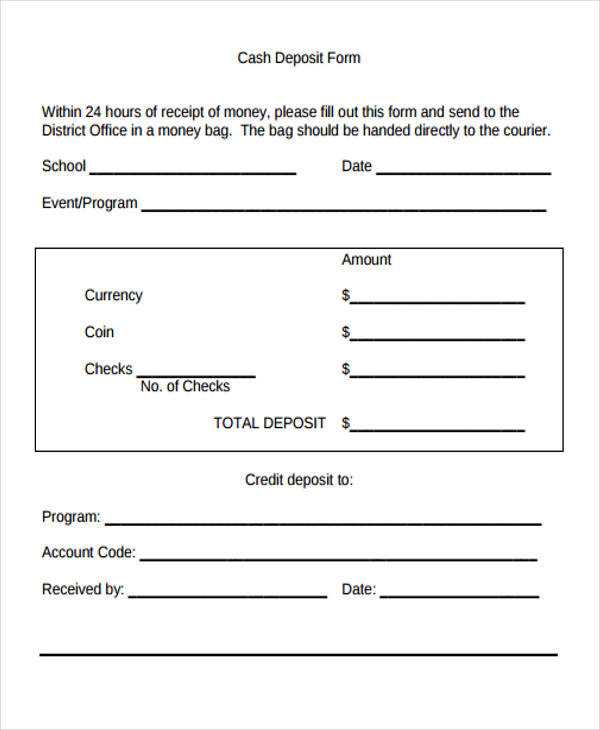
Double-check the accuracy of the amounts before finalizing a receipt. Many errors stem from simple miscalculations or missing decimal points. If you’re entering tax, ensure the correct rate is applied, especially when dealing with different regions or countries.
Incorrect Item Descriptions
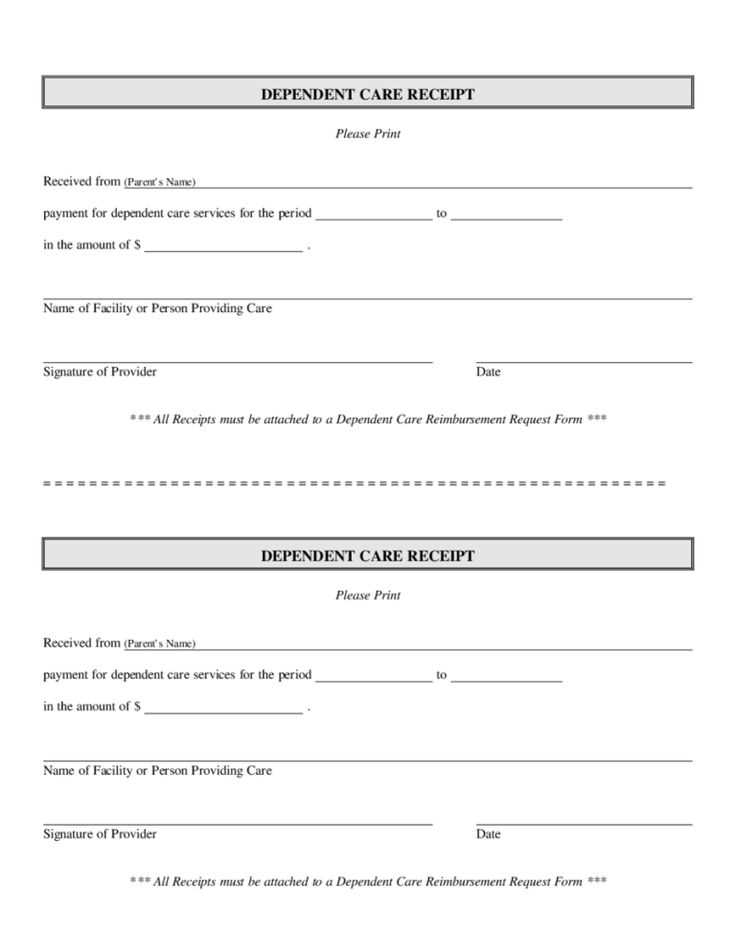
Ensure the product or service description is clear and accurate. Vague terms like “item” or “purchase” can cause confusion. List specific details such as the brand, model, and quantity to avoid misunderstandings.
Failure to Include Payment Information
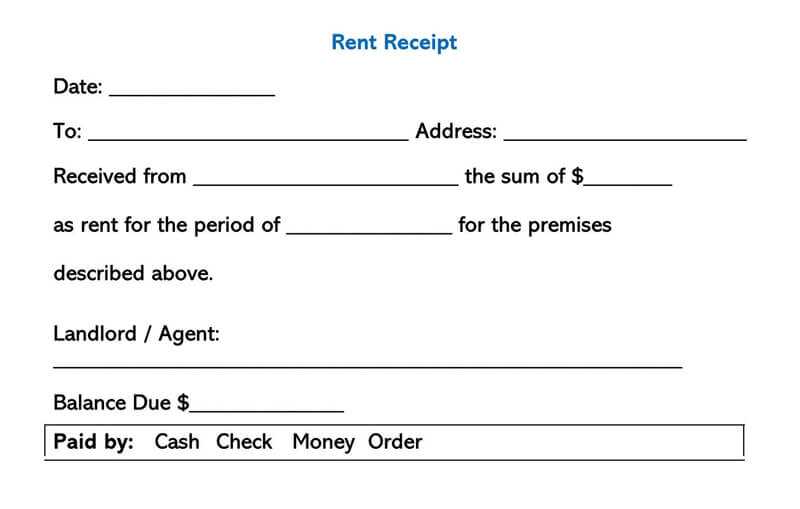
Always include the payment method used–whether cash, credit, or digital payment. This not only makes the receipt complete but can also be useful for refunds or returns. Missing this detail can lead to complications if someone needs to verify the payment later.
Lastly, leave no field blank. If a section doesn’t apply, mark it as “N/A” or “Not Applicable” instead of leaving it empty. This makes the receipt look more professional and avoids any uncertainty in case of future reference.


