Need a professional receipt that you can edit and reuse? A fillable template receipt simplifies record-keeping by allowing customization without the hassle of redesigning from scratch. Whether for business transactions, freelance services, or personal sales, having a structured receipt ensures accuracy and transparency.
To create an editable receipt, use a format that supports text fields, such as PDF, Word, or Excel. A PDF with fillable fields provides a polished look while ensuring consistency. If flexibility is a priority, an Excel or Word template allows quick adjustments to layout and content.
Include key details: date, payer and payee information, itemized list, payment method, and total amount. Pre-format fields for currency, dates, and descriptions to reduce errors. Adding a signature field or company logo enhances credibility.
For frequent use, consider automation. Online tools generate receipts instantly, while spreadsheet formulas can auto-calculate totals. Save templates for future transactions to maintain a uniform style.
Fillable Template Receipt: Practical Guide
Use a structured layout with clearly defined fields to ensure accuracy and ease of completion. Include sections for date, receipt number, payer and payee details, itemized charges, and payment method. Standardize formatting for uniformity.
Leverage PDF or spreadsheet templates for consistency. PDF forms with interactive fields allow users to input data without altering the format, while spreadsheet templates offer automatic calculations. Keep currency, taxes, and subtotals preformatted for efficiency.
Ensure compatibility across devices. Test the template on desktops, tablets, and mobile devices to confirm seamless input. Use cloud-based storage for easy access and sharing.
Automate calculations where applicable. If using spreadsheets, integrate formulas for tax and total amounts. For PDFs, employ JavaScript fields to update totals dynamically.
Prioritize security when sharing or storing receipts. Convert final versions to non-editable PDFs before sending. When handling sensitive transactions, encrypt documents or use password protection.
Choosing the Right Format for Your Fillable Receipt
Use PDF for a professional look and compatibility across devices. This format preserves layout and prevents unwanted edits while allowing users to input data directly in designated fields.
Opt for Word or Google Docs if flexibility matters. These formats let users modify content, adjust layout, and customize branding. They work well when receipts require frequent adjustments.
Excel suits structured data with calculations. If automatic tax or total cost calculations are needed, spreadsheets ensure accuracy and reduce manual errors.
HTML works for online receipts. This format enables interactive forms, automatic storage, and seamless integration with databases.
Choose based on usage needs. A static format like PDF ensures consistency, while dynamic options like Excel or HTML allow real-time adjustments.
Customizing Fields to Match Transaction Needs
Adjust field names to reflect transaction specifics. Rename generic labels like “Item” or “Description” to “Service Type” or “Project Name” for clarity. Modify date formats to align with regional standards, ensuring consistency across records.
Adding or Removing Fields
Include additional fields for unique details. For rental transactions, add “Lease Period” and “Security Deposit.” For service-based receipts, insert “Hours Worked” and “Rate per Hour.” Remove unnecessary sections to streamline the layout.
Using Conditional Fields
Implement optional fields that appear based on transaction type. Enable tax fields for taxable sales while hiding them for non-taxable services. Use dynamic inputs for currency selection, adapting to international transactions.
Ensuring Legal Compliance in Receipt Design

Include Mandatory Details: Every receipt must display the business name, address, contact information, and tax identification number. Omitting these elements can lead to compliance issues and penalties.
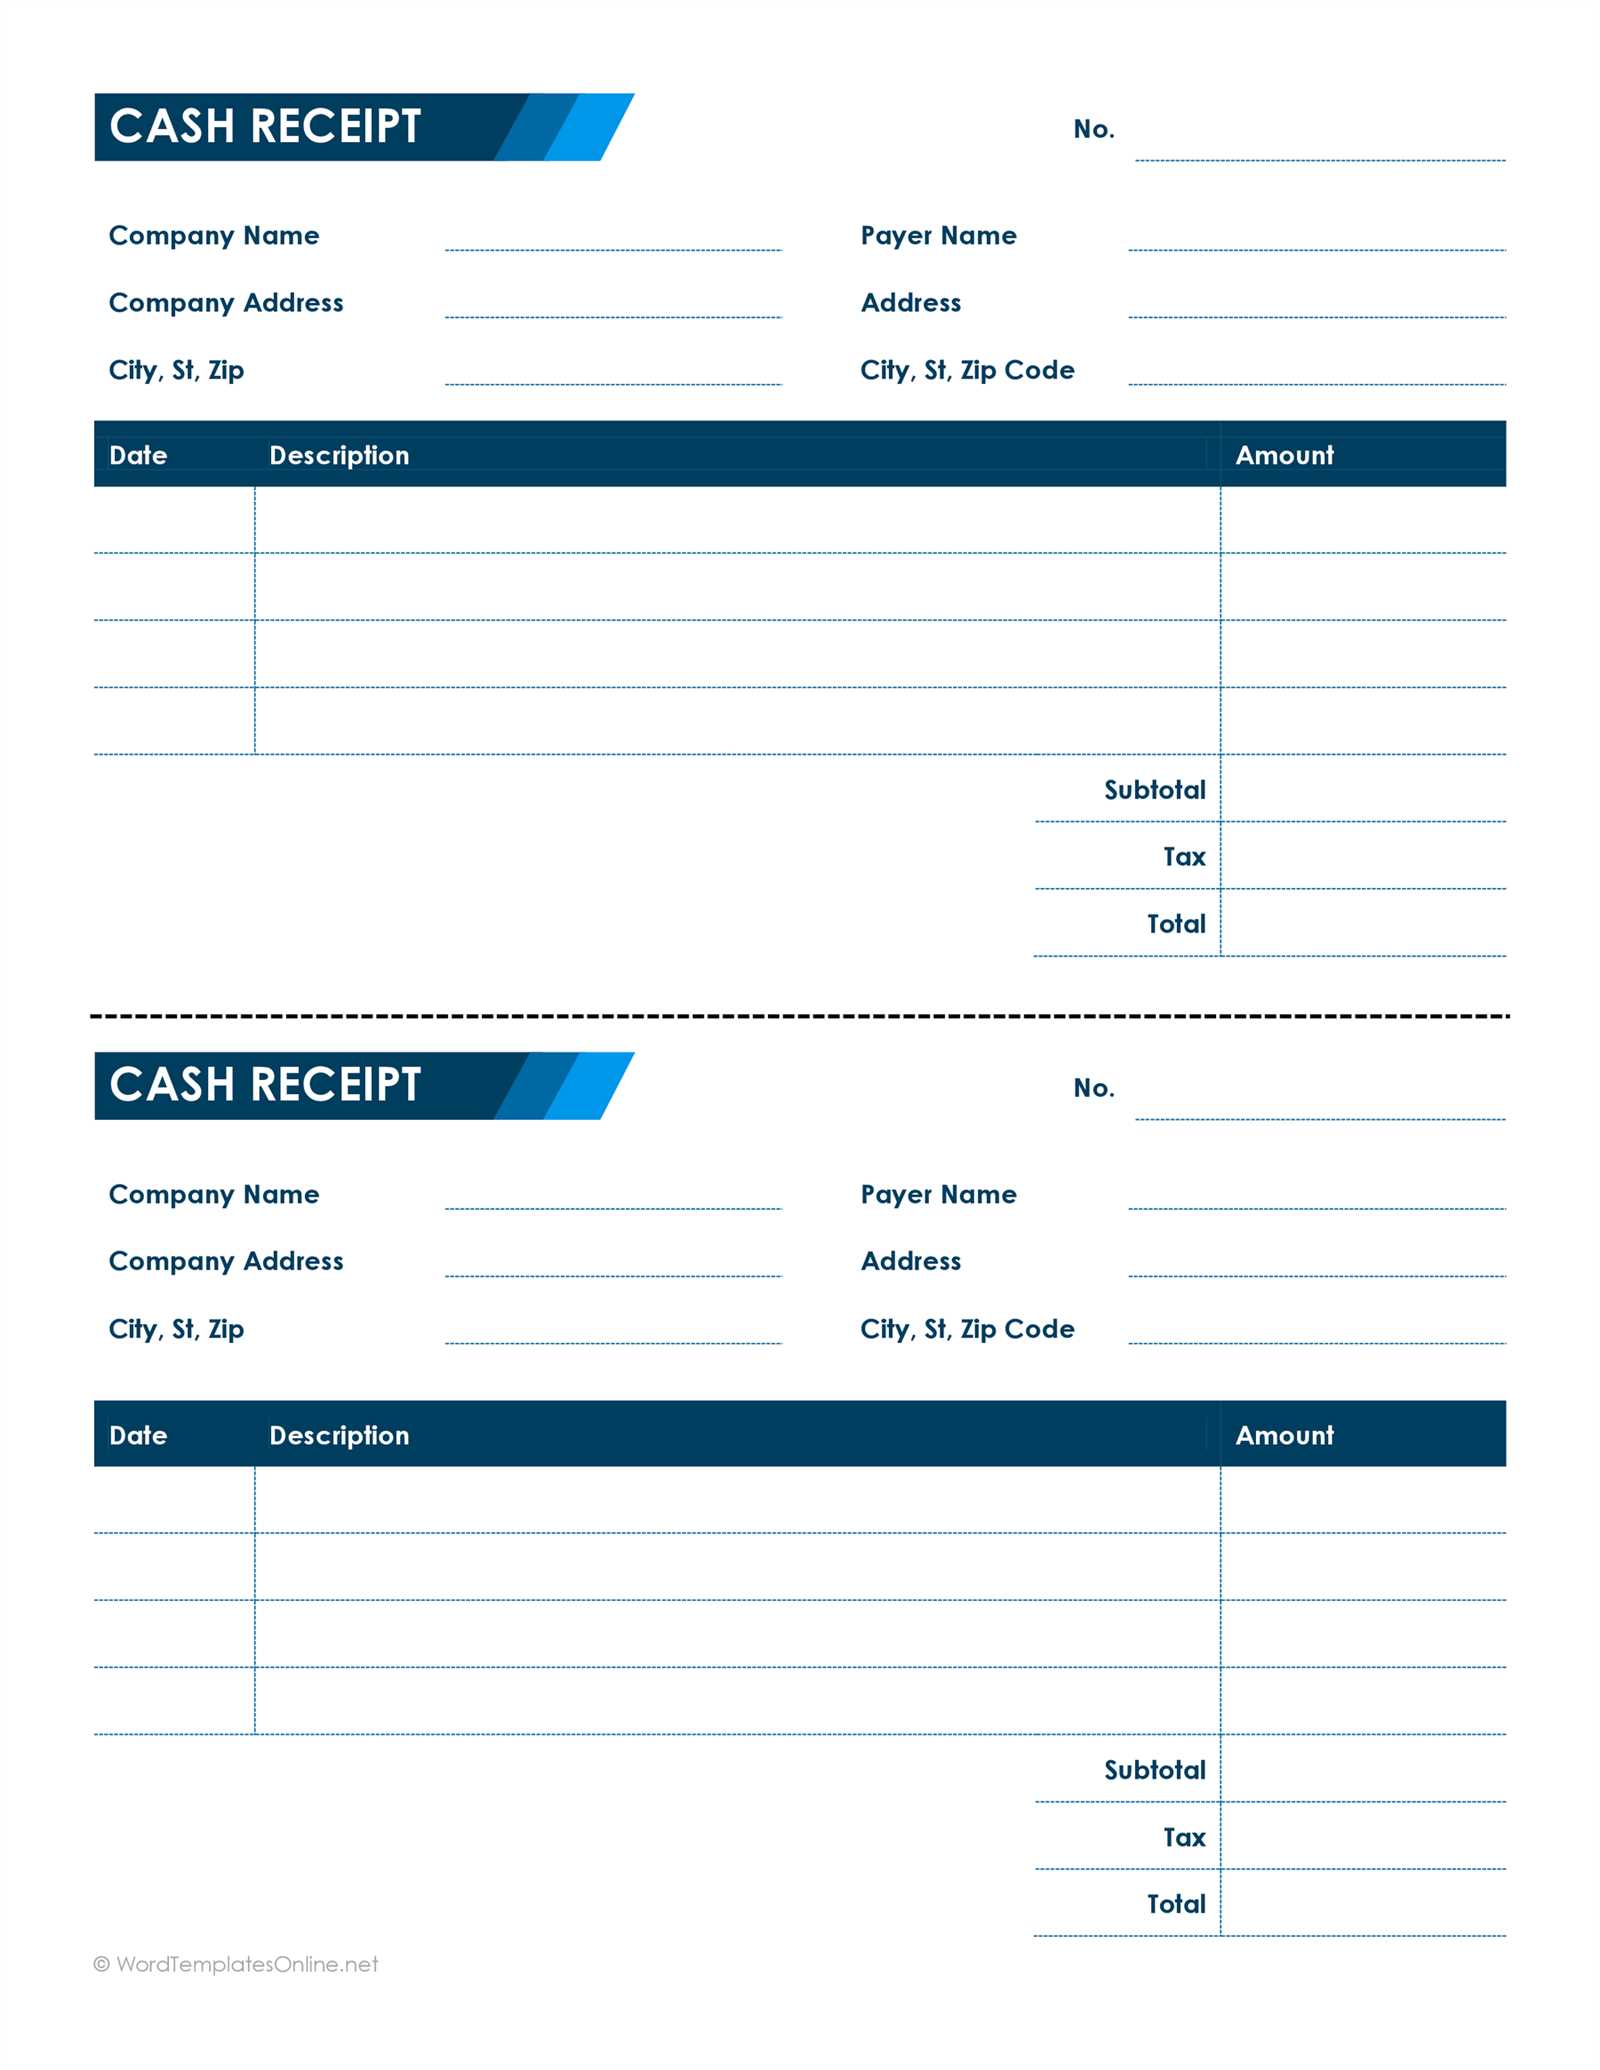
Use Accurate Tax Calculation: Ensure tax rates align with local regulations. Clearly separate subtotal, tax amount, and total cost. If applicable, specify VAT, sales tax, or GST to meet jurisdictional requirements.
Maintain Proper Record-Keeping
Store receipts digitally or in print for the period required by law. Many jurisdictions mandate businesses to retain records for a minimum of three to seven years.
Verify Data Legibility: Use fonts that are easy to read and avoid faded ink or low-quality printing. Digital receipts should be formatted for clarity on both screens and printed copies.
Ensure Consumer Protection
Provide clear refund and exchange policies directly on the receipt or a linked document. If issuing digital receipts, include a direct link to terms and conditions.
Secure Sensitive Information: Mask credit card numbers except for the last four digits. Never print full card details or security codes to prevent fraud risks.
Embedding Automatic Calculations for Accuracy
Use built-in formulas to eliminate manual errors and ensure precision. In a fillable receipt template, include fields that auto-calculate totals, taxes, and discounts based on input values.
Implementing Real-Time Calculations
Set up predefined formulas for subtotal, tax percentage, and grand total. For example, apply a formula that multiplies quantity by unit price to generate an automatic subtotal. Add a tax field that calculates based on a fixed percentage or user-defined rate.
Ensuring Compatibility Across Devices

Use JavaScript for web-based templates or built-in spreadsheet functions in Excel and PDF forms. For PDF templates, enable automatic calculations using Adobe Acrobat’s built-in form field properties. In HTML forms, apply JavaScript event listeners to update values dynamically when users enter data.
Testing the functionality ensures accurate calculations before finalizing the template. Adjust formulas to accommodate different tax rules, rounding preferences, and currency formats.
Optimizing Print and Digital Sharing Options
Use high-resolution PDFs for printing to ensure sharp text and clear details. Set margins to at least 0.25 inches to prevent cropping, and choose vector-based fonts for crisp readability. Test prints on different devices to check alignment and scaling.
Enhancing Digital Accessibility
Convert receipts to interactive PDFs with embedded form fields for easy editing. Use compressed formats to reduce file size without losing quality. Enable metadata tagging for quick searchability and secure files with password protection when needed.
Comparison of Print and Digital Methods

| Feature | Digital | |
|---|---|---|
| Resolution | 300 DPI or higher | Optimized for screens |
| File Format | PDF, PNG | PDF, JPEG, HTML |
| Security | Physical storage | Encryption, password protection |
| Accessibility | Limited to physical copies | Cloud storage, instant sharing |
For seamless integration, offer both print and digital options, ensuring compatibility across platforms. Automate digital distribution via email or cloud services to improve efficiency.
Troubleshooting Common Issues in Fillable Templates
If you are experiencing difficulties with your fillable templates, follow these steps to address the most common issues.
- Fields Not Responding: Ensure the form fields are properly set to be editable. Check that each field is designated with the correct input type (e.g., text, date, or checkbox) in the template’s structure.
- Unable to Save Changes: Verify that the file is saved in a compatible format (such as PDF or DOCX) that supports fillable functionality. If you’re using PDF, confirm that you’re using a reader that supports fillable fields, like Adobe Acrobat.
- Formatting Problems: Check that the field sizes and alignment are properly set. If text is cut off, adjust the field box size or font size to ensure everything fits. You may also need to adjust margins to avoid clipping.
- Issues with Drop-down Menus: If drop-down menus aren’t functioning as expected, confirm that the options are correctly listed and that the input field is set to display them. Ensure no conflicting scripts or form behaviors are interfering with the menu’s functionality.
- Text Not Displaying Correctly: If entered text appears garbled or doesn’t display at all, make sure the text encoding in the template matches your system’s settings. Consider switching to a more widely supported encoding format.
- Print Issues: Sometimes, fillable forms may not print correctly. If this happens, check your printer settings and ensure that the option to include form data is selected. Some PDF readers also have an option to flatten the form before printing to avoid losing form data.
- Missing Buttons or Features: If buttons or additional features (such as submit or reset buttons) are missing, confirm that they are added correctly in the template design. These elements should be linked to their corresponding actions, like sending the data or clearing fields.
By checking these potential issues, you can ensure a smoother experience with your fillable templates and resolve most problems quickly.


