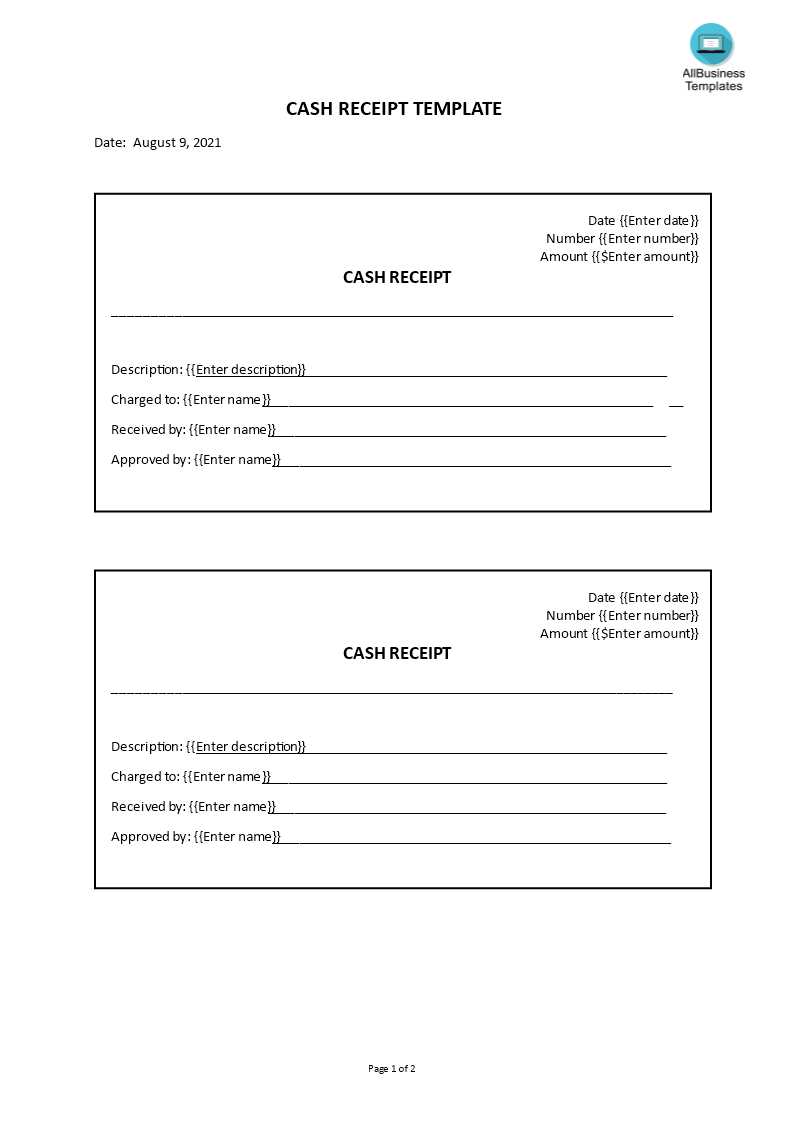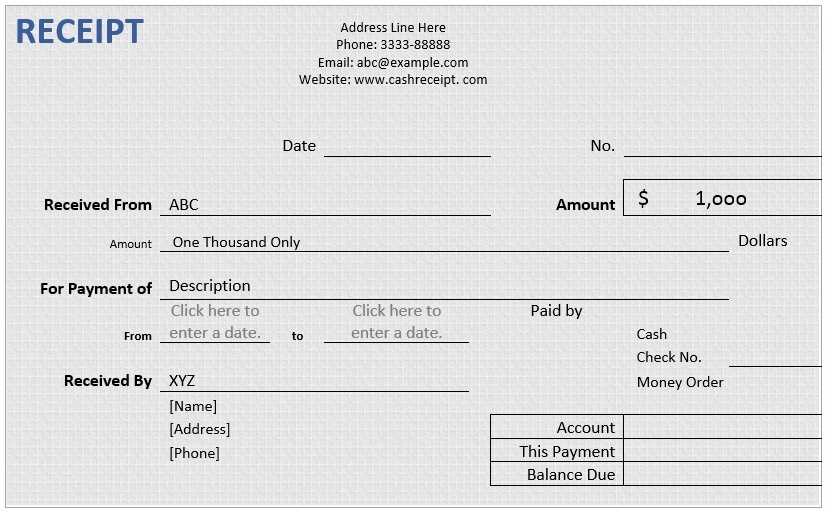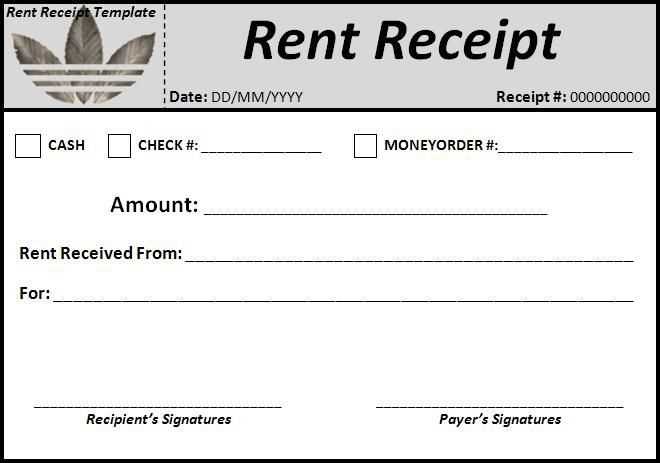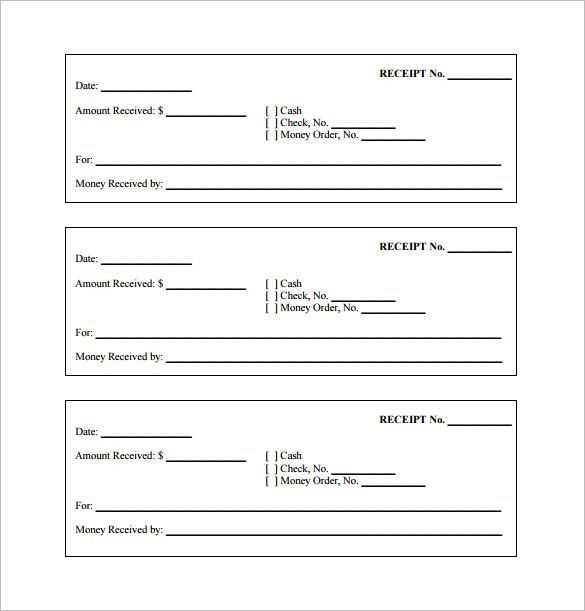
A simple receipt template helps streamline record-keeping and provides both businesses and customers with clear documentation of transactions. This template includes basic fields like date, buyer and seller details, item descriptions, and amounts paid. Using a well-structured format ensures consistency and minimizes errors, making it easier for all parties to reference future transactions.
Start with the basics: include the name and address of the seller, along with a clear breakdown of the items or services purchased. Make sure each item has a description, quantity, and price. This transparency promotes trust and accuracy in the process. Also, always include tax information if applicable, as this might be required for both legal and accounting purposes.
Ensure the template leaves space for payment method details, as tracking whether a payment was made via cash, credit, or another method can prevent confusion. Additionally, it’s helpful to have a receipt number for easy identification in case of returns or future inquiries.
By adhering to a standardized receipt template, you save time and avoid unnecessary mistakes, keeping your business operations smooth and professional.
Generic Receipt Template Guide
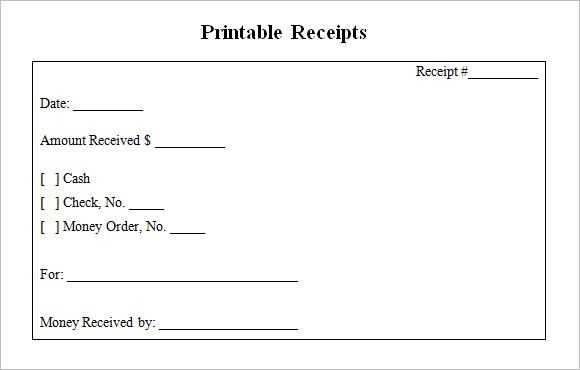
A generic receipt template should contain specific elements to ensure it is clear and functional. These include fields for the date, items purchased, quantities, individual prices, and totals. Adding the seller’s name, address, and contact information is also important for identification purposes. A clear breakdown of taxes and any discounts can further clarify the transaction.
Key Components of a Generic Receipt Template
Ensure the following elements are included in your generic receipt template:
- Date: Specify the date of the transaction for reference.
- Itemized List: Include each product or service purchased, along with quantities and individual prices.
- Total Amount: Show the subtotal, taxes, and final total.
- Seller Information: List the name, address, and contact details of the seller.
- Payment Method: Indicate how the payment was made (cash, credit, etc.).
Formatting Tips
Keep the receipt layout clean and organized. Group related information together, such as the total amount and the breakdown of taxes. Use bold fonts for section headers to make them stand out. Ensure there is enough space between different sections for easy readability. Lastly, leave space at the bottom for any additional notes or disclaimers that may be relevant to the transaction.
Choosing the Right Format for Your Receipt
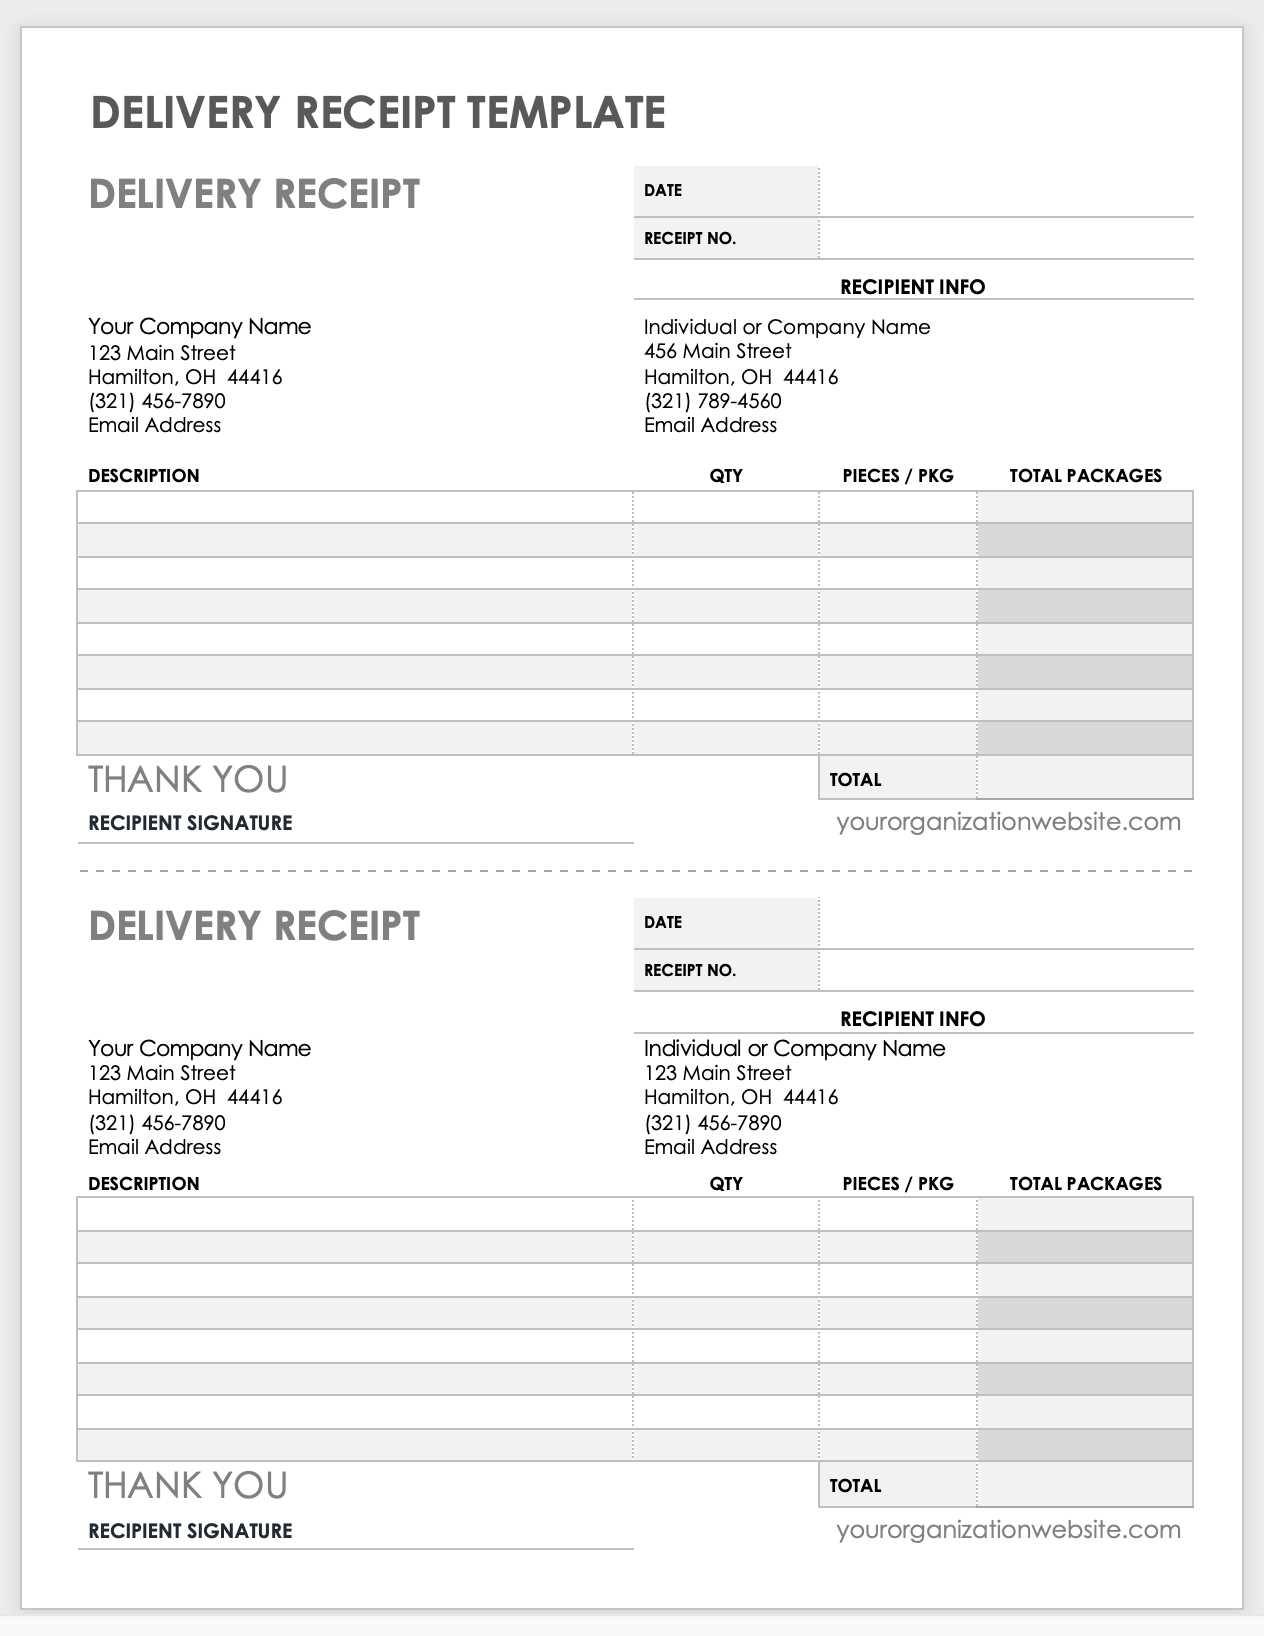
Select a receipt format that aligns with your business needs and customer preferences. If you sell physical goods, a traditional paper receipt might be most suitable. For digital transactions, opt for an email or PDF format. Keep the design clean and organized, ensuring key details like transaction date, itemized list, and total amount are clearly visible.
Consider the storage and retrieval process as well. Digital receipts offer easy access and less space usage. For those who need to track receipts long-term, digital formats can be easily archived and searched. If your customers prefer paper, offering both options can cater to diverse needs.
Customization options matter too. Tailor your receipt to reflect your branding, whether through logos, colors, or a unique layout. This will help reinforce your business identity while ensuring the necessary information is present. Avoid overloading the receipt with unnecessary details that might clutter the essential information.
Lastly, consider legal requirements. Ensure that your chosen format complies with tax regulations and provides enough details for audits. This is particularly relevant for businesses operating in different regions, where receipt content requirements may vary.
Designing the Header Section for Clear Branding
The header section of your receipt template plays a key role in reinforcing your brand identity. Make sure it’s visually distinct and immediately recognizable.
- Logo placement: Position your logo at the top left or center. It should be large enough to catch attention but not overpower the rest of the information. Consistency in size across all templates ensures a unified brand presence.
- Brand name and tagline: Include the company name prominently next to or below the logo. If applicable, add a short tagline or mission statement underneath to further clarify your brand message.
- Color scheme: Stick to your brand’s primary colors for the header background and text. This reinforces your visual identity and ensures coherence across all communication materials.
- Font selection: Use a clean, readable font that aligns with your brand’s style. Avoid using more than two font types in the header to maintain a streamlined and professional look.
- Contact details: Include relevant contact information such as the website, phone number, or email address. Place this in the top right corner for easy access without crowding the design.
A well-crafted header serves as the foundation for clear brand recognition. Keep it simple, functional, and aligned with your brand’s core message.
Detailing Transaction Information Accurately
Each transaction on a receipt must include the exact amount paid, including taxes and any additional fees. Specify the quantity, description, and price for each item or service clearly. This ensures both the customer and the business have a precise record of what was purchased and the total cost incurred.
Itemization and Clarity
List each item individually with its price before applying any discounts or taxes. If there are multiple units of an item, mention the unit price and the total price separately. Avoid vague terms like “miscellaneous” unless absolutely necessary, as it can create confusion.
Tax and Discount Details
Always break down the tax amount separately, showing the percentage rate applied to the subtotal. Any discounts should be clearly stated, indicating the original price, the discount amount, and the final price after the discount. This transparency avoids misunderstandings and provides an accurate account of the transaction.
Including Tax Breakdown and Applicable Discounts
Display both the tax breakdown and any applicable discounts clearly to enhance transparency and make calculations easier for customers. Ensure that each item is shown separately to provide clarity on the total cost.
For taxes, specify the rate and amount for each type applied (e.g., state tax, federal tax). This helps users understand how the total tax is calculated. Include a subtotal line before taxes to show the cost before any tax is added.
| Description | Amount |
|---|---|
| Subtotal | $100.00 |
| State Tax (5%) | $5.00 |
| Federal Tax (10%) | $10.00 |
| Discount (-10%) | -$10.00 |
| Total | $105.00 |
For discounts, include the type (e.g., percentage off, promotional discount) and ensure it is applied correctly to the subtotal before tax. This helps the customer understand how much they saved and how the final total is calculated.
Ensuring Proper Contact Information and Legal Compliance
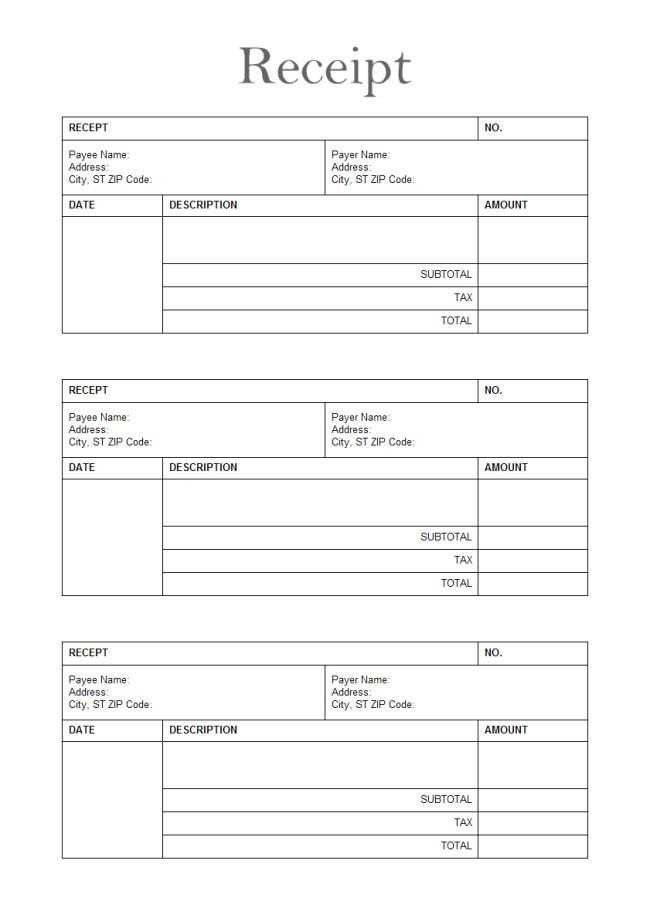
Make sure your receipt template includes accurate and up-to-date contact details for both the business and the customer. Include a business name, address, phone number, and email address. Additionally, verify that any legal notices or tax identification numbers are present if required by local regulations.
Contact Information
Ensure that the contact information is clearly visible and easy to read. It should be placed in a consistent location on every receipt. For businesses, consider adding a customer service number or email for inquiries and follow-ups. For customers, confirm that their contact details (such as their full name, address, and phone number) are properly listed if the transaction requires it.
Legal Compliance
Stay informed about the legal requirements in your jurisdiction. Some countries require receipts to contain specific tax information or terms of sale. Include any required disclaimers, such as refund policies, warranty information, or data protection notices. Regularly review these requirements to avoid potential legal issues.
Saving and Printing Options for Digital and Physical Copies
For saving receipts, use PDF format for digital copies. This ensures the receipt is easy to store, share, and print. Use PDF software like Adobe Acrobat or built-in options like Google Chrome’s “Save as PDF” feature to create high-quality, portable files. PDFs preserve formatting, preventing any data loss or misalignment when accessed later.
Saving Digital Copies
If you want to save your receipts on the cloud for easy access from any device, consider services like Google Drive, Dropbox, or OneDrive. These platforms allow you to organize receipts in folders, making it easier to find specific documents. Set up automatic backups to keep your receipts safe from data loss.
Printing Physical Copies
For printing, choose a high-quality printer with clear resolution. Print in color if the receipt contains color-coded sections for better readability. For bulk printing, use a duplex printer to print on both sides of the paper, reducing paper usage. Adjust your print settings to fit the document size properly without cutting off important information.
If you need multiple copies, make sure to set the printer to the correct number of copies before hitting print. Use durable paper for important receipts that need to be kept for a long time, ensuring they don’t fade or tear easily.
