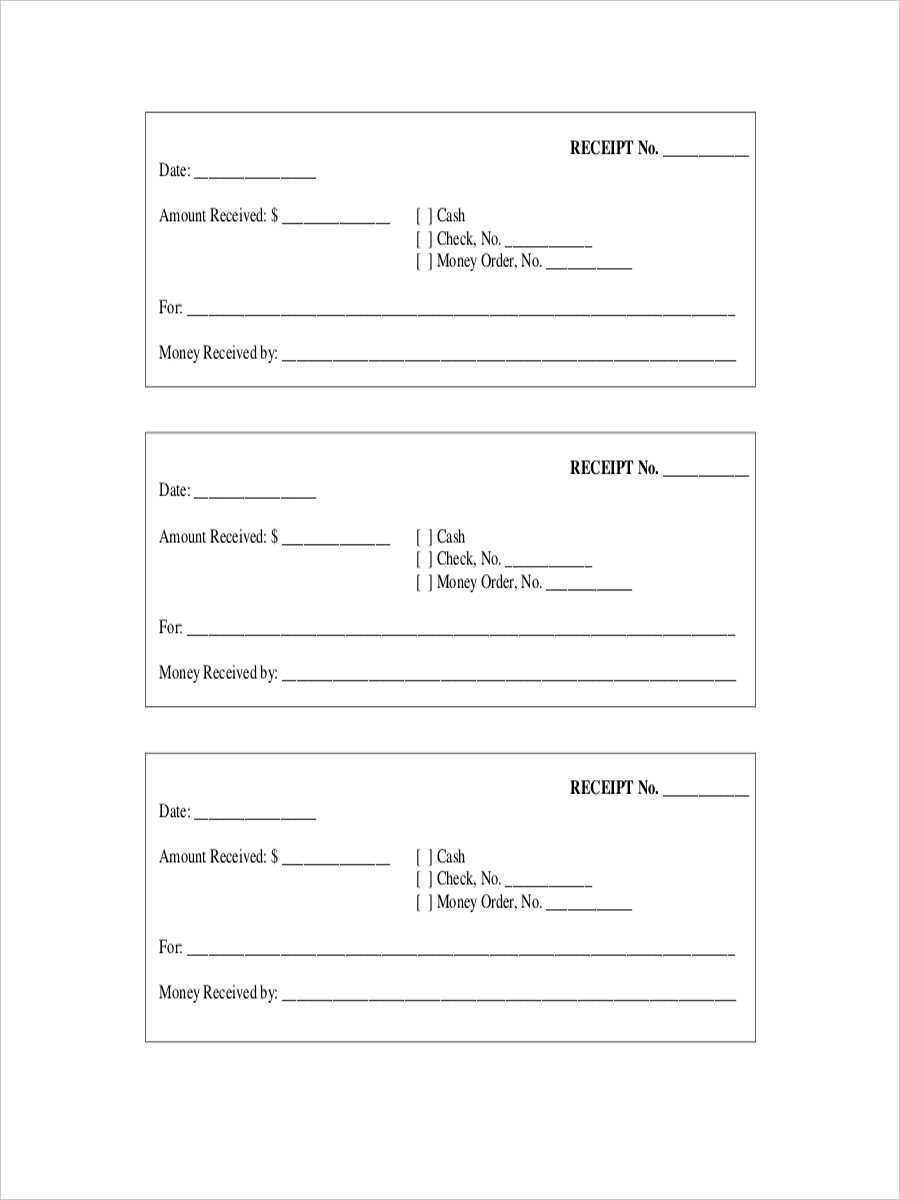
To create a clear and professional German receipt, begin by ensuring that it includes the basic elements such as the vendor’s name, address, and contact information. Make sure the receipt date is clearly visible, along with the unique receipt number for easy reference.
Ensure the itemized list is straightforward, with each product or service described clearly. Include the price for each item, as well as the applicable VAT rate and the total amount due. The net and gross amounts should be distinguished, allowing for easy identification of the tax amount.
A payment method section should be present, indicating whether the transaction was completed via cash, card, or another method. This can help both the business and the customer keep accurate records.
Lastly, ensure the footer includes any additional legal or regulatory information, such as terms of return or warranty details, if applicable. This is especially important for maintaining compliance with German tax laws.
German Receipt Template: A Practical Guide
For businesses in Germany, using a proper receipt template is a must for both customer satisfaction and legal compliance. The template should include key details such as the vendor’s name, address, and VAT number, as well as a clear breakdown of the items or services sold. Ensure that the total price is displayed, including VAT, if applicable. Make sure the receipt is easy to read and includes a unique receipt number for tracking purposes.
Key Elements to Include
Here’s a quick checklist of the essential elements to feature on your receipt:
- Business Information: Company name, address, and VAT identification number.
- Transaction Details: List of purchased goods or services, including quantity, price per item, and total amount before tax.
- Tax Information: Specify the VAT rate, the amount of VAT charged, and the total after tax.
- Payment Method: Indicate how the transaction was completed (e.g., cash, card, bank transfer).
- Date and Time: Record the date and time of the transaction to ensure accurate records.
- Receipt Number: Use a unique, sequential number for each receipt to maintain order in your accounting system.
Design Tips
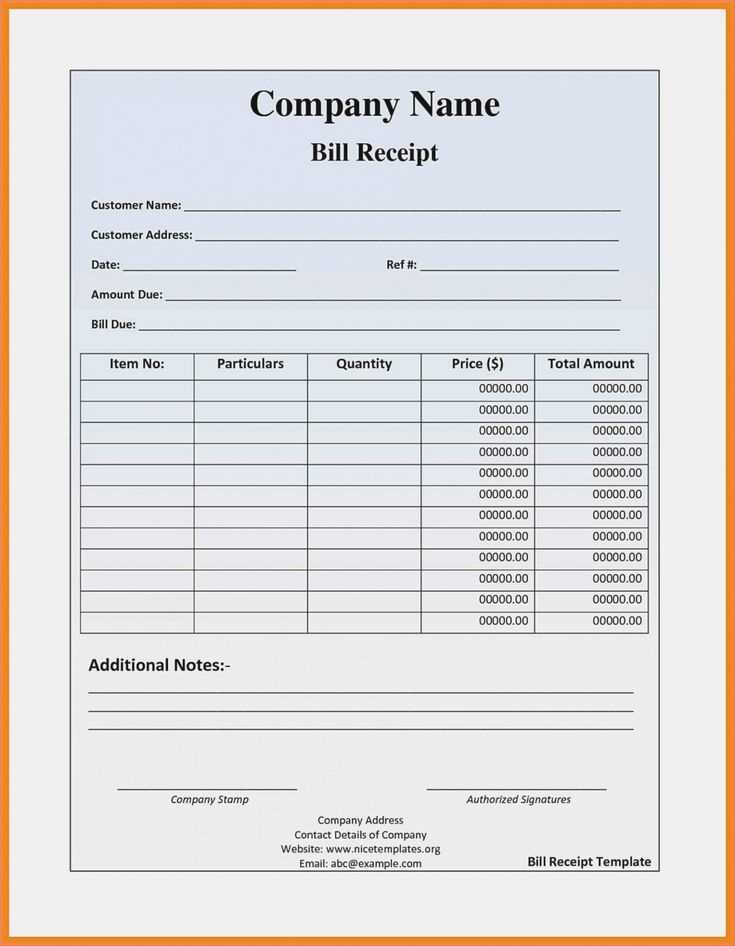
While it’s crucial to include all the necessary information, the layout of the receipt also matters. Organize the details in a logical order. Start with your business information at the top, followed by the transaction details. Ensure the subtotal, tax, and total amounts are easily visible. The font should be clear and legible, and spacing should help separate different sections for better readability.
For businesses that issue a large volume of receipts, using a digital receipt template is a practical solution to streamline the process. This reduces errors and saves time compared to manual entries.
Creating a Customized Receipt for Small Businesses
Designing a customized receipt is a straightforward process that allows you to add a personal touch to your transactions. Start by considering the layout of the receipt. A clean, organized design will make it easy for customers to understand the details of their purchase at a glance.
Key Elements of a Customized Receipt
- Business Information – Include your business name, address, and contact details at the top. This helps customers identify the store and reach out if needed.
- Date and Time – Make sure to print the transaction date and time. This is helpful for both record-keeping and customer reference.
- Transaction Details – List the purchased items, quantity, unit price, and total for each item. Ensure clarity in item descriptions to avoid confusion.
- Taxes and Discounts – Clearly state the tax rate applied and any discounts, if applicable. This gives transparency to the pricing structure.
- Total Amount – The final amount should be easy to spot, and it’s helpful to break it down into subtotals, tax, and total.
- Payment Method – Specify the method of payment (cash, card, etc.) for transparency in financial records.
Customizing Your Receipt Design
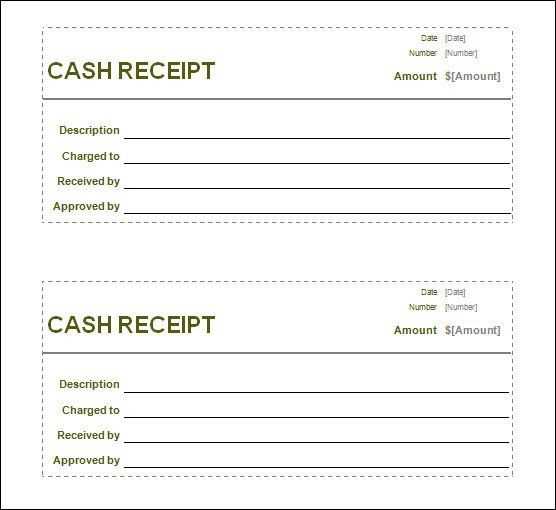
Choose a font that is legible and appropriate for your business. For example, if you run a café, a more relaxed font might suit the vibe, whereas a professional service might require something more formal. Adding your logo to the receipt enhances brand recognition and customer trust.
Consider using colors that align with your brand identity, but ensure the text is still easy to read. Test the layout to make sure all the important information fits comfortably and doesn’t get cut off when printing.
Key Legal Requirements for German Receipts
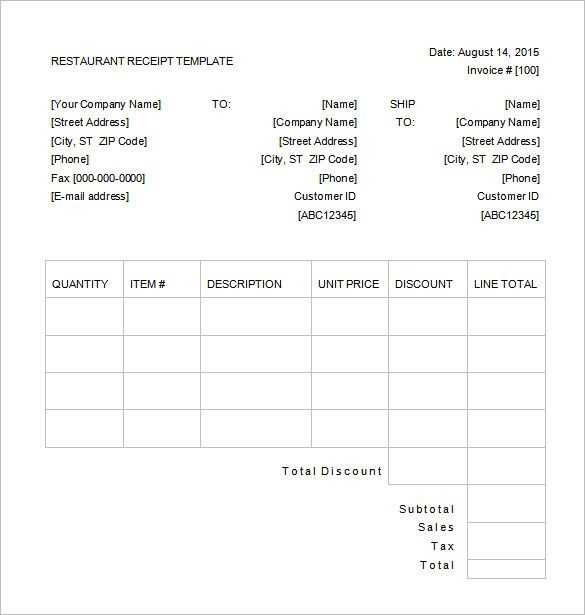
German receipts must include specific information to comply with legal standards. These details ensure transparency in financial transactions and protect both businesses and consumers. Below are the primary requirements for receipts in Germany.
Basic Information
Receipts must display the following data:
- The name and address of the business.
- The VAT identification number (USt-IdNr) of the company.
- The date and time of the transaction.
- A unique transaction or receipt number.
- A clear description of the goods or services purchased.
- The total amount paid, including the VAT breakdown (if applicable).
Specific VAT Requirements
If the transaction involves VAT, receipts must clearly show the applicable VAT rate (e.g., 19% or 7%) and the VAT amount. Businesses must ensure that the calculation is correct and transparent, with separate lines for the net amount, VAT, and total amount.
Designing a Simple and Clear Receipt Layout
Focus on clarity and readability. Use a clean font like Arial or Helvetica, ensuring the text is legible at all sizes. The most important information should be displayed prominently, such as the business name, date, total amount, and payment method.
Key Elements for a Clear Layout
- Header: Place the company name, logo, and contact information at the top. Keep it minimal and professional.
- Itemized List: List each purchased item with its description, quantity, and price. Use a simple table format with clear column separations for easy scanning.
- Total: Make the total amount stand out. Use a larger or bold font to highlight the final sum.
- Payment Method: Include details of the payment method (e.g., card, cash) and any transaction or reference number for future reference.
Layout Tips
- Alignment: Align text to the left for easy reading, especially for item descriptions. Prices can be right-aligned to keep the focus on the amount.
- White Space: Avoid overcrowding. Leave space between different sections to make the receipt visually balanced.
- Contrast: Ensure sufficient contrast between text and background to enhance readability, especially in poor lighting.
Incorporating VAT Details in German Receipts
For German receipts to be fully compliant, it’s necessary to display the VAT (Mehrwertsteuer, or MwSt) details. Start by clearly stating the VAT rate applied to the product or service. In Germany, the standard VAT rate is 19%, but certain items are taxed at a reduced rate of 7%, such as food or books. Both the applicable rate and the corresponding amount should appear on the receipt.
Ensure the receipt includes the gross amount (including VAT) and the net amount (excluding VAT). This distinction helps both the consumer and business understand the breakdown of the total price. If the transaction involves multiple items, list each item’s price separately along with the applicable VAT.
It’s also important to note the VAT number of the business issuing the receipt. This helps verify the legitimacy of the transaction for tax reporting purposes. Ensure that the receipt displays the company’s name, address, and tax ID number, which should align with the official VAT registration.
For businesses that issue receipts electronically, the same details should be displayed, adhering to the same format and regulations as physical receipts. A clear and accurate VAT breakdown on receipts helps avoid misunderstandings and ensures compliance with German tax regulations.
Best Practices for Including Payment Methods and Information
Clearly display payment options at the top of the receipt, ensuring they are easy to locate. Always list the accepted methods, such as credit cards, PayPal, or bank transfers, with clear labels and logos. If a customer used a specific method, highlight it on the receipt for transparency.
Provide a breakdown of any associated fees, including transaction or processing charges. This avoids confusion and enhances trust. For example, include the exact fee amount next to the payment method used.
Ensure the total amount is clearly marked, including taxes, discounts, or any other adjustments. This allows the customer to easily verify the final cost.
Include reference numbers, such as a transaction ID or order number, to allow easy tracking of payments. This is helpful for both customers and businesses in case of disputes or follow-up questions.
If applicable, state the payment terms, such as due dates for installments or refund policies. Make sure this information is concise and easy to understand.
For businesses offering multiple currencies, include the currency used for the payment. This is especially important for international transactions to avoid confusion.
How to Save and Archive Receipts for Tax Purposes
Store receipts in digital format for easier access. Scan or take clear photos using a smartphone to keep a digital copy. Organize the files by category, such as business expenses, travel, or office supplies. Use a cloud storage service like Google Drive or Dropbox to securely back up the receipts. Make sure files are named and categorized to avoid confusion during tax season.
For physical receipts, use a dedicated folder or envelope to keep them organized. Group receipts by month or expense category to make retrieval faster. Consider using a binder with pockets for better organization. If a receipt is difficult to store physically, use a mobile app that scans and saves it instantly to your digital archive.
| Category | Storage Method | Retention Period |
|---|---|---|
| Business Expenses | Digital (cloud storage) | 7 years |
| Travel | Digital (cloud storage) | 7 years |
| Office Supplies | Physical (file folder) | 3 years |
Set reminders to update your records regularly. Dedicate time each month to scan new receipts and file them. Keeping up with this will help you avoid last-minute stress during tax filing time.


