Creating a handwritten receipt is straightforward with the right template. A clear structure helps ensure all necessary details are captured, making the receipt both professional and reliable.
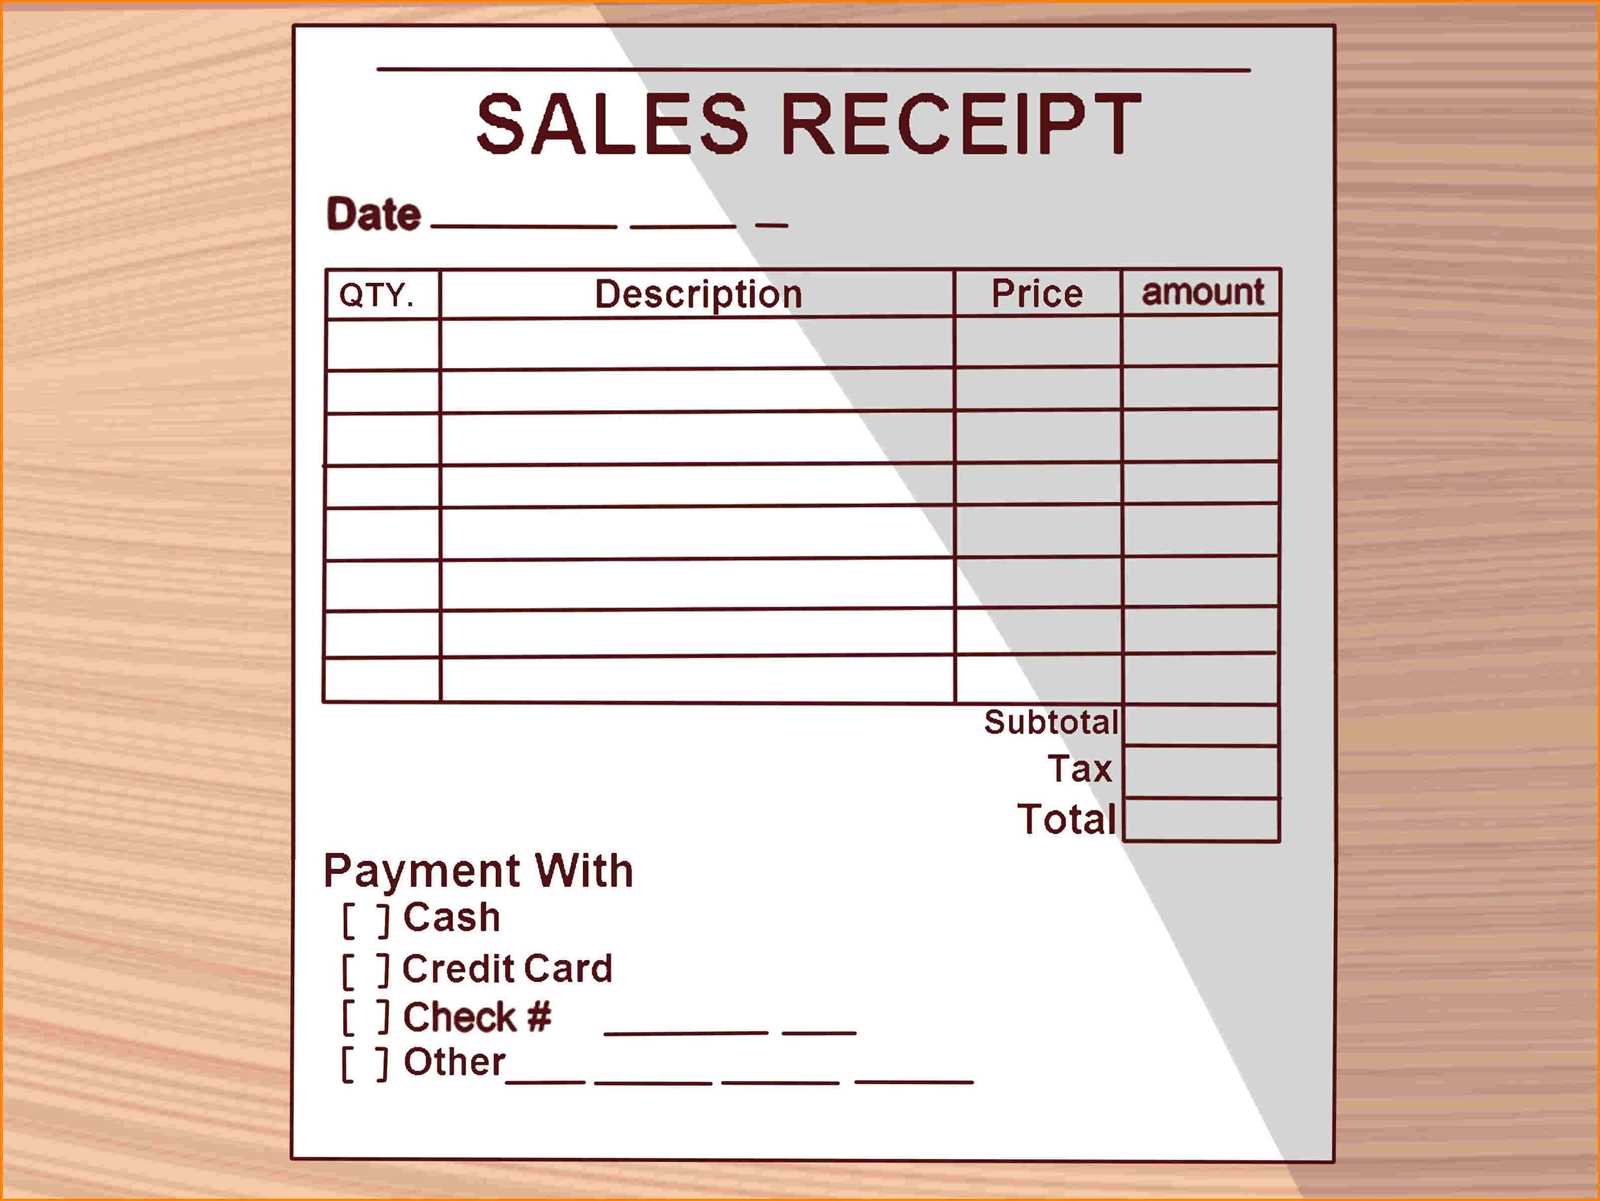
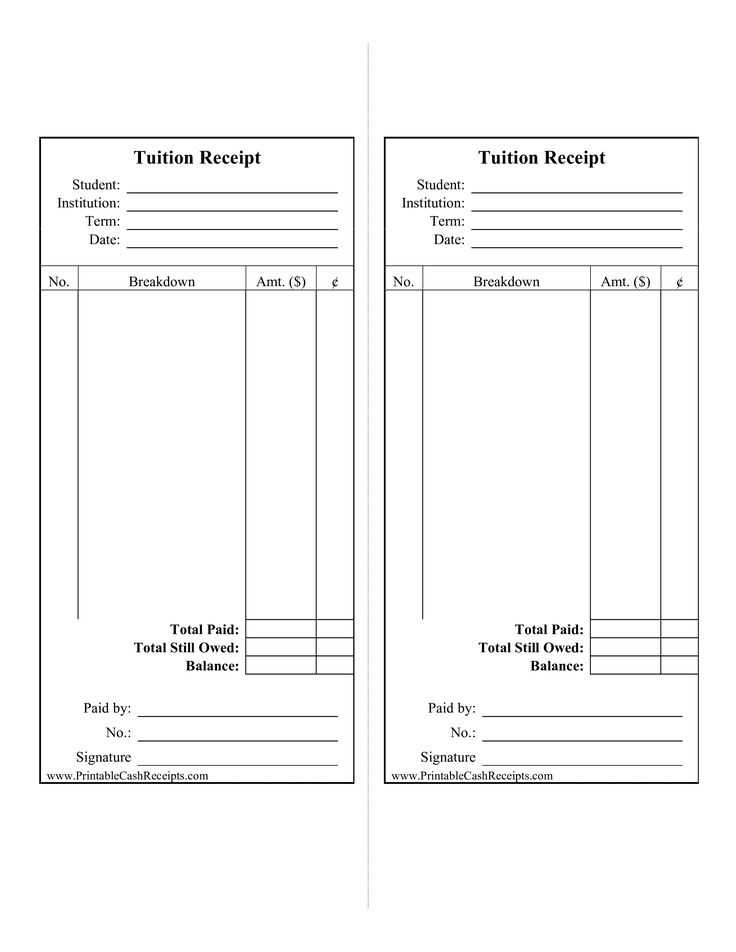
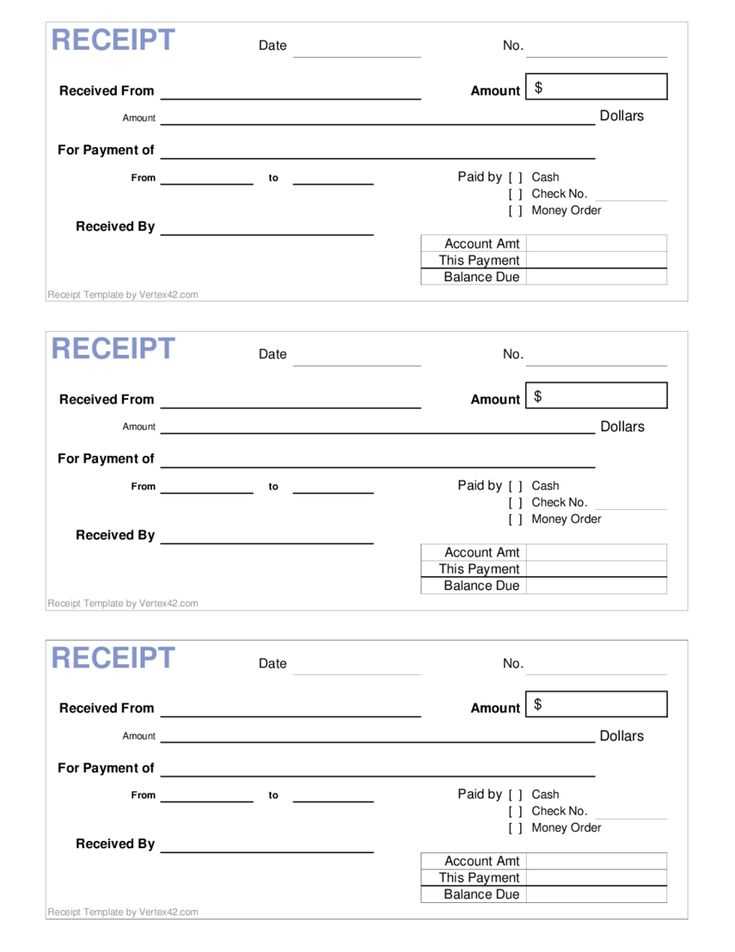
Start with a header that includes your business name and contact information. This is followed by the date and a unique receipt number for easy reference. List the items or services provided, their individual costs, and the total amount due.
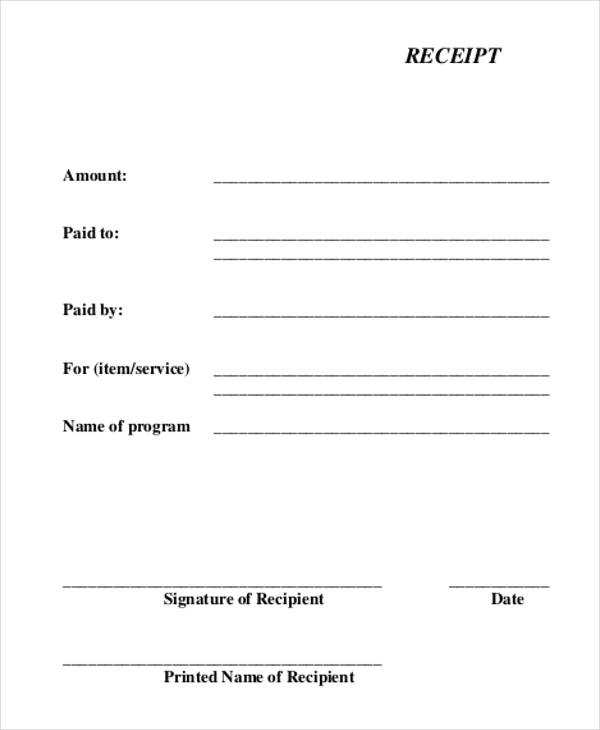
Ensure to include the method of payment and the signature of both the buyer and seller for verification. This adds a level of authenticity and security to the transaction.
Use simple lines and adequate spacing to keep the receipt legible. For a more polished look, you can design your template with neat boxes or borders. A handwritten receipt doesn’t need to be complex–clarity is the key.
Hand Written Receipt Template

Creating a hand-written receipt requires clarity and specific details to ensure both the issuer and recipient are on the same page. Include the date of transaction, the amount received, and the service or product provided. Clearly label the receipt with a title like “Receipt” or “Payment Receipt” at the top. Specify the name of the person or business issuing the receipt, as well as the recipient’s details, if necessary. Always use readable handwriting and ensure the total amount is visible. If applicable, include payment method details (e.g., cash, check, or bank transfer) and any relevant transaction numbers.
For clarity, break down the cost if there are multiple items or services involved. For example, list each item or service with its price and quantity. Provide a subtotal, applicable taxes, and the final total amount. You can use lines to separate different sections, making the receipt easy to follow.
Additional Tips: Keep a copy of every receipt you issue. This can be done by writing a duplicate receipt or taking a photo for digital records. Make sure all fields are filled in completely and accurately to avoid misunderstandings. Lastly, end the receipt with a signature or a printed name to confirm the transaction’s legitimacy.
How to Create a Basic Receipt Template
To create a basic receipt template, focus on including the necessary details for both the buyer and the seller. Follow these steps:
- Header Information: Include your business name, address, and contact details. Make it clear where the receipt originates.
- Receipt Number: Assign a unique number to each receipt. This helps in tracking and organizing your transactions.
- Date and Time: Always add the date and time the transaction occurred. This provides a clear reference point.
- Customer Details: Include the customer’s name and any additional relevant information, such as their contact information if needed.
- List of Items: Clearly list all purchased items or services, along with the price for each. Use a simple, easy-to-read format.
- Total Amount: Sum up the costs and add any applicable taxes, indicating the total amount paid by the customer.
- Payment Method: Mention how the customer paid–whether by cash, card, or another method. This adds clarity to the transaction.
- Footer: Leave space for any additional notes or terms, such as return policies or warranties.
Make sure the template is clear, concise, and easy to understand for both parties. This simple structure helps keep records organized and professional without overcomplicating the format.
Necessary Information to Include on a Receipt
To make sure a receipt serves its purpose, include specific details. These elements ensure the document is clear, accurate, and legally valid.
Key Details to List

| Information | Description |
|---|---|
| Vendor Name and Contact | Include the full name of the business or seller, along with contact details like phone number and address. |
| Transaction Date | Clearly mark the date of the transaction. This helps with record-keeping and verifying the purchase. |
| Itemized List of Goods/Services | Detail each item purchased, including quantity, price per item, and total cost. This makes the receipt transparent and understandable. |
| Total Amount | The final cost, including tax, discounts, and any additional fees, should be highlighted clearly. |
| Payment Method | State how the transaction was paid, such as by cash, card, or other methods. |
| Receipt Number | A unique number helps with tracking and referencing, especially for returns or warranties. |
Additional Details to Consider
Including a refund policy or terms of service may be helpful. These are useful if the receipt is for a product return or service guarantee. Make sure all information is legible and easy to follow for both the buyer and seller.
Formatting Tips for a Clear and Professional Look
Use a clean layout. Avoid clutter by limiting the amount of text and ensuring there’s enough white space. This enhances readability and gives the receipt a neat appearance.
- Choose legible fonts: Stick with easy-to-read fonts like Arial, Times New Roman, or Calibri. Avoid decorative fonts that can be hard to decipher.
- Set a clear hierarchy: Organize information logically. Place the most important details (like the total amount) in larger, bolder text. Keep minor details smaller and less prominent.
- Align properly: Ensure all items, totals, and dates are aligned consistently. Use left, right, or center alignment as needed for clarity.
- Keep margins even: Maintain uniform margins around the edges of the receipt. This gives a balanced, professional feel.
- Group similar information: Separate sections for items, taxes, and totals. This avoids confusion and makes it easier to skim through the receipt.
Ensure all text is properly spaced. Double-check that there is sufficient space between lines and sections. This prevents the receipt from appearing overcrowded.
- Be concise: Use short, clear descriptions for items or services. Avoid long-winded phrases or unnecessary words.
- Highlight key points: Use bold or italic text for important information like dates, totals, or payment methods. This guides the reader’s attention.
Finish with a neat signature or closing statement, ensuring it aligns with the overall design. It adds a professional touch and wraps up the receipt cleanly.
Customizing Templates for Specific Transactions
Tailor each receipt template to match the type of transaction. For example, if you are processing a retail sale, include sections for the item description, quantity, price, and total cost. For services, emphasize details such as hourly rates, service description, and the duration of the service provided. Adjust the layout accordingly to ensure clarity and ease of understanding for the customer.
Adding Transaction-Specific Details
Ensure your template reflects all necessary details for the transaction. A refund receipt should clearly state the original purchase date, the item(s) being returned, and the refund amount. Include a section for the reason for return or refund, if applicable, to avoid confusion. If dealing with a deposit or pre-payment, list the total amount paid, any outstanding balance, and due dates for remaining payments.
Visual Design Customization
Customize the layout to highlight relevant information. Use bold or larger fonts for key figures, such as the total cost or balance due, and use clear dividers to separate sections. For certain transactions, adding company branding or a personalized message can improve the customer experience, leaving a professional impression.
Common Mistakes to Avoid When Writing Receipts
Be precise with the date and time on your receipt. A missing or incorrect date can lead to confusion and disputes. Always double-check that it matches the transaction details.
Incorrect Item Descriptions
Ensure that each item is described accurately and clearly. Avoid vague terms like “miscellaneous” or “various items.” This can cause issues when a customer needs to verify the purchase later.
Missing Payment Information
Always include payment method details. Not indicating whether the payment was made by card, cash, or another method can create confusion. Make sure to specify whether change was given if applicable.
Omitting important tax details is another common mistake. Always list the correct tax rate and the total amount of tax charged. Failure to do so can cause complications with returns or audits.
Lastly, ensure your business name and contact information are clear. A receipt without this detail leaves your customer unable to reach out in case of an issue with the purchase.
Tools and Materials for Writing Receipts by Hand
Use high-quality materials for clear, legible receipts. Start with a good writing tool–an ink pen or ballpoint is preferred. These provide smooth, consistent lines that help avoid smudging. Choose pens with archival ink for durability and better readability.
Paper Types

Opt for thicker paper to prevent ink bleeding through. A weight of 80-100 gsm works well. Select acid-free paper to ensure longevity and preserve the text over time. Consider using carbon copy paper if you need multiple copies of the same receipt.
Formatting Tools
For uniformity, use a ruler to draw lines for the receipt’s sections. This keeps information neatly organized and prevents overcrowding. A stencil for consistent header designs or logo placement may be useful if needed.
These tools and materials help create professional, clear handwritten receipts that are easy to read and record.


