Here is the HTML introduction for your article. Let me know if you’d like any adjustments!
How to Make a Receipt Template
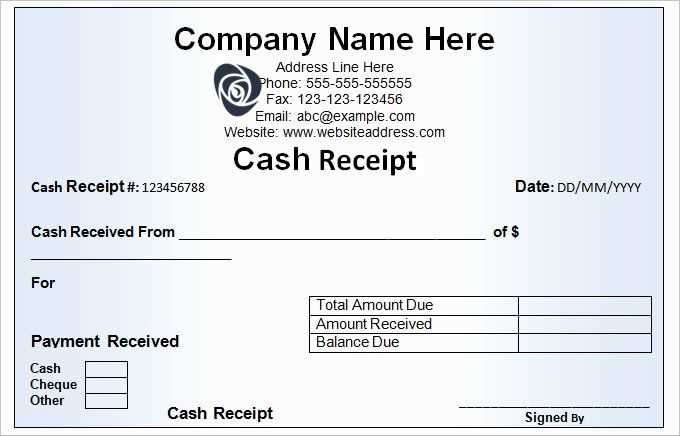
Choose a clear structure with sections for the receipt number, date, seller, buyer, item descriptions, quantities, prices, and total amount. Place the business name and contact information at the top to ensure easy identification.
Use a simple table to organize items, with columns for item name, description, unit price, quantity, and subtotal. Add a row at the bottom to display the total cost, taxes if applicable, and the final amount due.
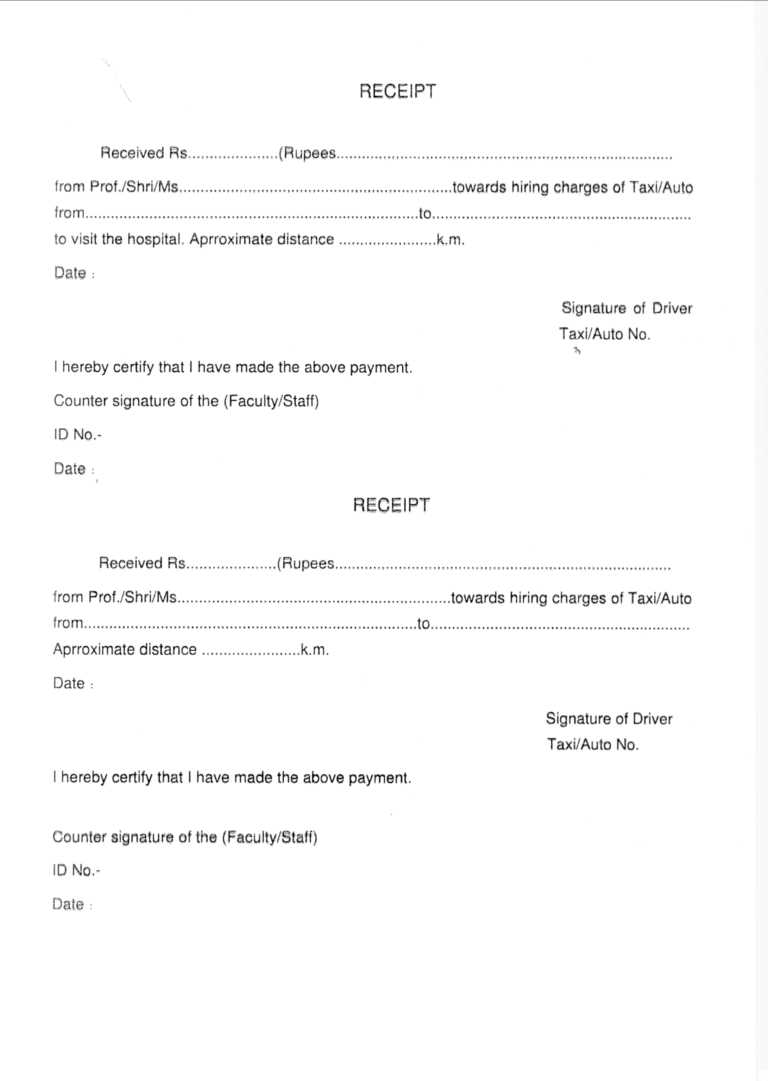
Include payment details such as the method used (cash, credit card, bank transfer) and a reference number if needed. Adding a signature line or a space for a company stamp can help validate the receipt for official purposes.
Save the template in a flexible format like DOCX, PDF, or Excel to allow easy edits. Test it by filling out sample data to ensure readability and accuracy before using it regularly.
Choosing the Right Format for Your Receipt Template
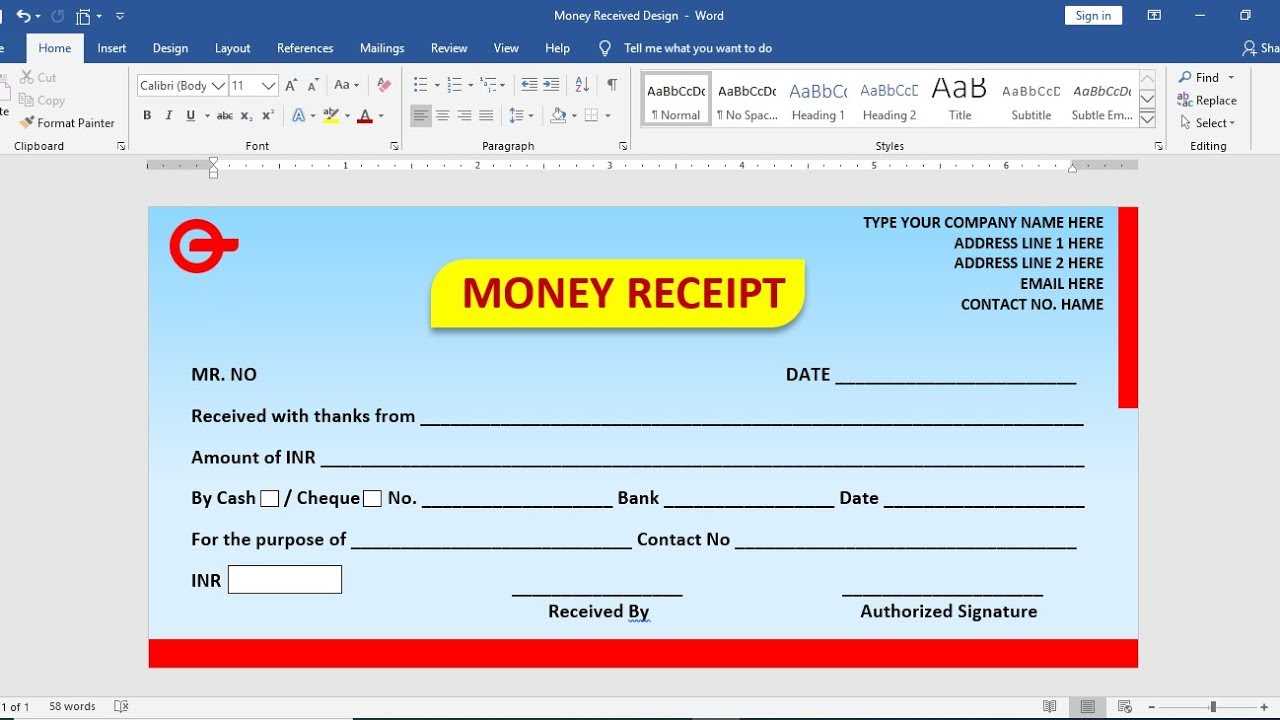
Select a format based on how you plan to issue and manage receipts. For printed receipts, PDF offers consistent formatting across devices, ensuring the layout stays intact. If you need to send receipts electronically and allow easy editing, choose Word or Google Docs. They’re flexible and user-friendly for quick adjustments.
For businesses handling large volumes, Excel or Google Sheets are practical. They support automated calculations, reducing errors in totals and taxes. If integration with accounting software is a priority, consider CSV. It’s lightweight and compatible with most financial systems.
Mobile-focused businesses benefit from app-based receipt templates that simplify on-the-go transactions. Prioritize a format that aligns with your operational needs, storage preferences, and client expectations.
Designing Key Sections: Itemization, Taxes, and Payment Details
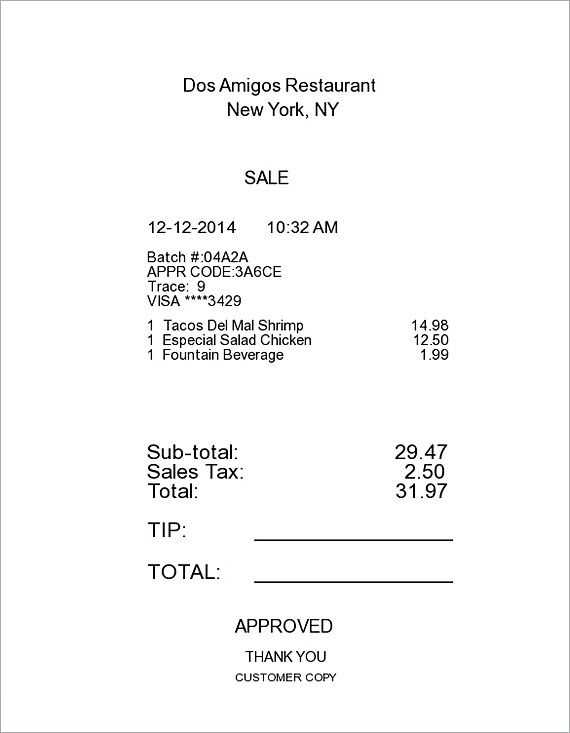
Prioritize clarity when listing items. Use a table format with columns for description, quantity, unit price, and total cost. Keep descriptions concise but specific, helping both parties quickly identify products or services. Align numerical data to the right for easy comparison.
For taxes, clearly separate the taxable subtotal from the tax amount. Specify the tax rate (e.g., 8.25%) and label it appropriately, such as “Sales Tax” or “VAT.” If multiple tax rates apply, list them individually to avoid confusion.
In the payment details section, include the total due in bold to highlight the final amount. Provide multiple payment options with clear instructions, such as bank transfer details, credit card information, or digital payment links. Add the due date to prevent payment delays, and consider including terms like late fees if applicable.
Customizing and Saving the Template for Repeated Use
Adjust the receipt template to match your specific needs by modifying key elements such as the header, company details, item descriptions, and payment terms. Ensure the company logo is positioned clearly, and choose a consistent font style for a professional appearance.
Steps to Customize the Template
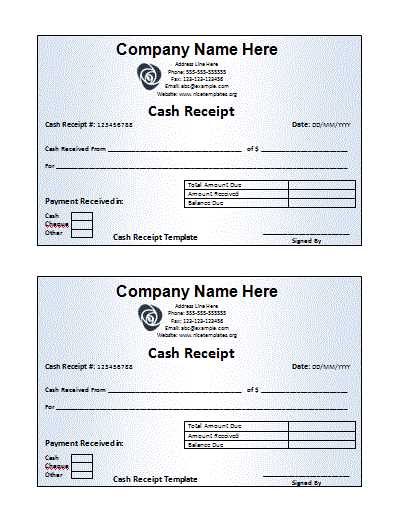
- Edit Company Information: Replace placeholder text with your business name, address, contact details, and tax identification number if applicable.
- Adjust Currency and Date Format: Set the correct currency symbol and date format based on your location or client preferences.
- Personalize Item Sections: Add custom fields like product codes, discount columns, or notes if needed.
- Include Payment Instructions: Clearly outline accepted payment methods and any relevant terms to avoid confusion.
Saving the Template for Future Use
- Save as a Template File: If using software like Microsoft Word or Excel, save the document as a template file (.dotx or .xltx) to retain formatting and structure.
- Create a Master Copy: Keep an untouched master version and duplicate it whenever a new receipt is needed, ensuring consistency across all documents.
- Cloud Storage: Store the template in a cloud service like Google Drive or Dropbox for easy access and updates from any device.
- Version Control: Label each saved version with a date or version number if you make frequent updates, helping track changes over time.
Regularly review and update the template to reflect any changes in business details, branding, or legal requirements.


