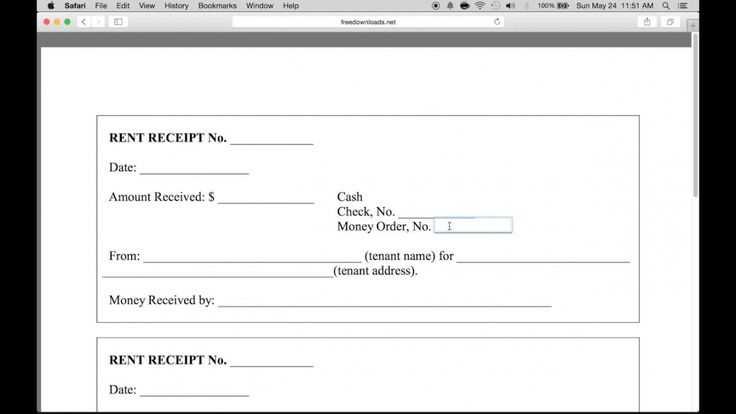
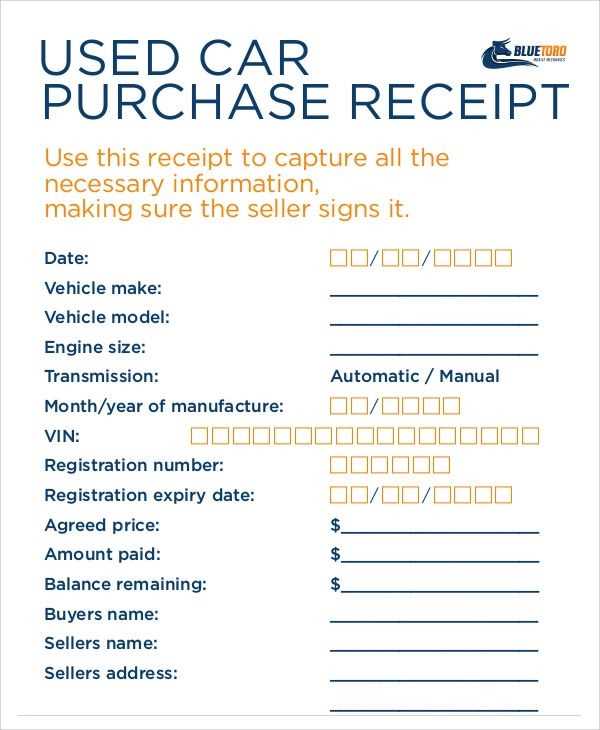
To write a clear and professional car receipt template, include key details like the car’s make, model, VIN, sale price, and payment method. Begin by specifying the transaction date and the names of both the buyer and seller. This helps establish the terms of the sale and prevents future disputes.
Next, list the car’s specifications: year, make, model, and Vehicle Identification Number (VIN). These details are necessary for identifying the car and ensuring that both parties are on the same page. If the car is used, note its condition, including any repairs or issues that were disclosed during the sale.
The total sale price should be clearly stated, followed by the payment method used (e.g., cash, check, or bank transfer). If a deposit was paid, mention the amount and the balance due upon completion of the transaction. Include a brief section on warranties, if applicable, as this clarifies whether the sale is “as-is” or if any guarantees were made.
Finally, add a space for both the buyer and seller to sign, confirming the details of the transaction. Including these elements ensures the receipt is legally binding and helps both parties avoid confusion in the future.
How to Write a Car Receipt Template
Create a clear and professional car receipt template by including the following key details: the buyer and seller’s names, the vehicle’s make, model, year, VIN (Vehicle Identification Number), odometer reading, and the agreed-upon price. These elements help ensure transparency and accuracy for both parties.
1. Include the Transaction Date
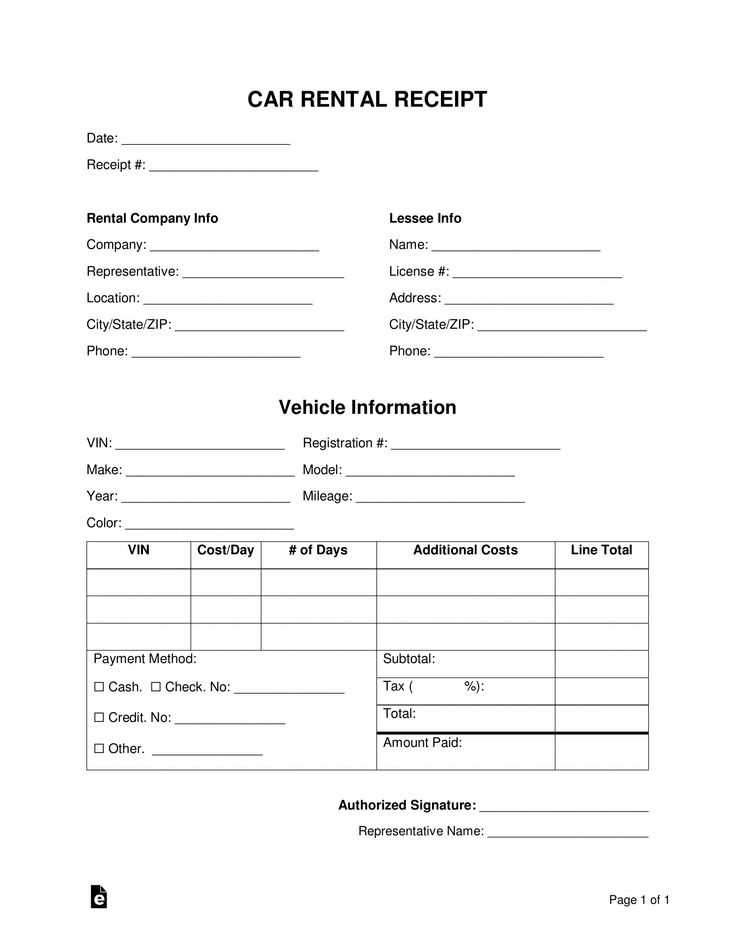
Make sure to list the exact date of the transaction. This allows both parties to reference the receipt in the future if needed.
2. Payment Details
Specify the method of payment (cash, check, bank transfer, etc.) and whether any down payment or deposit was made. If the car was sold as-is, make a note to clarify that no warranties or guarantees are provided.
End the receipt with both parties’ signatures to confirm that all details are agreed upon. Keep the tone professional and straightforward to avoid confusion.
Creating a Clear Header with Essential Information
The header is the first thing a buyer or seller sees. Make sure it includes the most critical details in a clear, easy-to-read format. Begin with the title “Car Receipt” or something more specific, like “Vehicle Purchase Receipt.” Place this title at the top center, using bold text to distinguish it from the rest of the document.
Next, list the date of the transaction. This should appear directly beneath the title, in a smaller font size, but still prominent enough for easy reference. Ensure that the date format is clear, using a standard like MM/DD/YYYY to avoid confusion.
Include the names and contact information of both the buyer and the seller. Position the buyer’s information on the left side, and the seller’s on the right, making sure to list full names, addresses, phone numbers, and email addresses. This separation allows for quick identification of the parties involved.
Finally, include a unique receipt or transaction number. This will help you track the receipt and link it to specific records in the future. Place this number directly below the names, ensuring it stands out with a slightly larger or bold font.
Including Detailed Vehicle Information in the Body
Provide the vehicle’s full details right in the body of the receipt to ensure clarity and avoid confusion. Here’s how to structure it:
Key Vehicle Details to Include
- Make and Model: Clearly list the car’s make, model, and year of manufacture.
- VIN (Vehicle Identification Number): Include the full VIN to uniquely identify the vehicle.
- Odometer Reading: Mention the current mileage, as this can affect the vehicle’s value and condition.
- Color: Specify the vehicle’s color, as it can be a distinguishing factor.
- Registration Number: Provide the registration number or license plate number for further verification.
- Condition: Briefly describe the vehicle’s condition, noting any significant defects or damage.
How to Format Vehicle Information
Use a clear layout, such as bullet points or a simple table, for easy reading. Keeping the vehicle details concise yet comprehensive allows both buyer and seller to confirm accuracy without confusion.
Formatting the Payment Section and Finalizing the Document
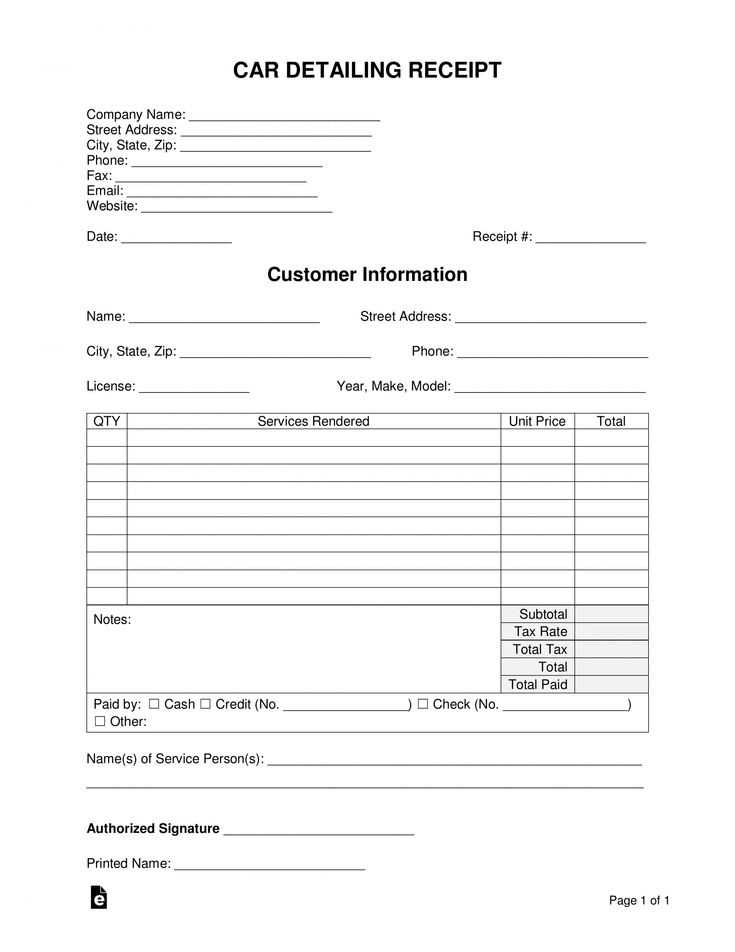
Include a clear breakdown of the payment details to avoid confusion. Start with the total amount paid, followed by the payment method (e.g., cash, credit card, bank transfer). If a deposit was made earlier, specify it and subtract it from the final amount. Include the remaining balance if applicable.
Payment Method and Terms
Provide a line to specify the exact payment method, such as “Paid via credit card ending in 1234” or “Cash payment.” If there are any terms regarding payment, such as late fees or installment options, include them at this point. Clearly state whether the transaction is fully settled or if any balance remains.
Final Details and Signatures
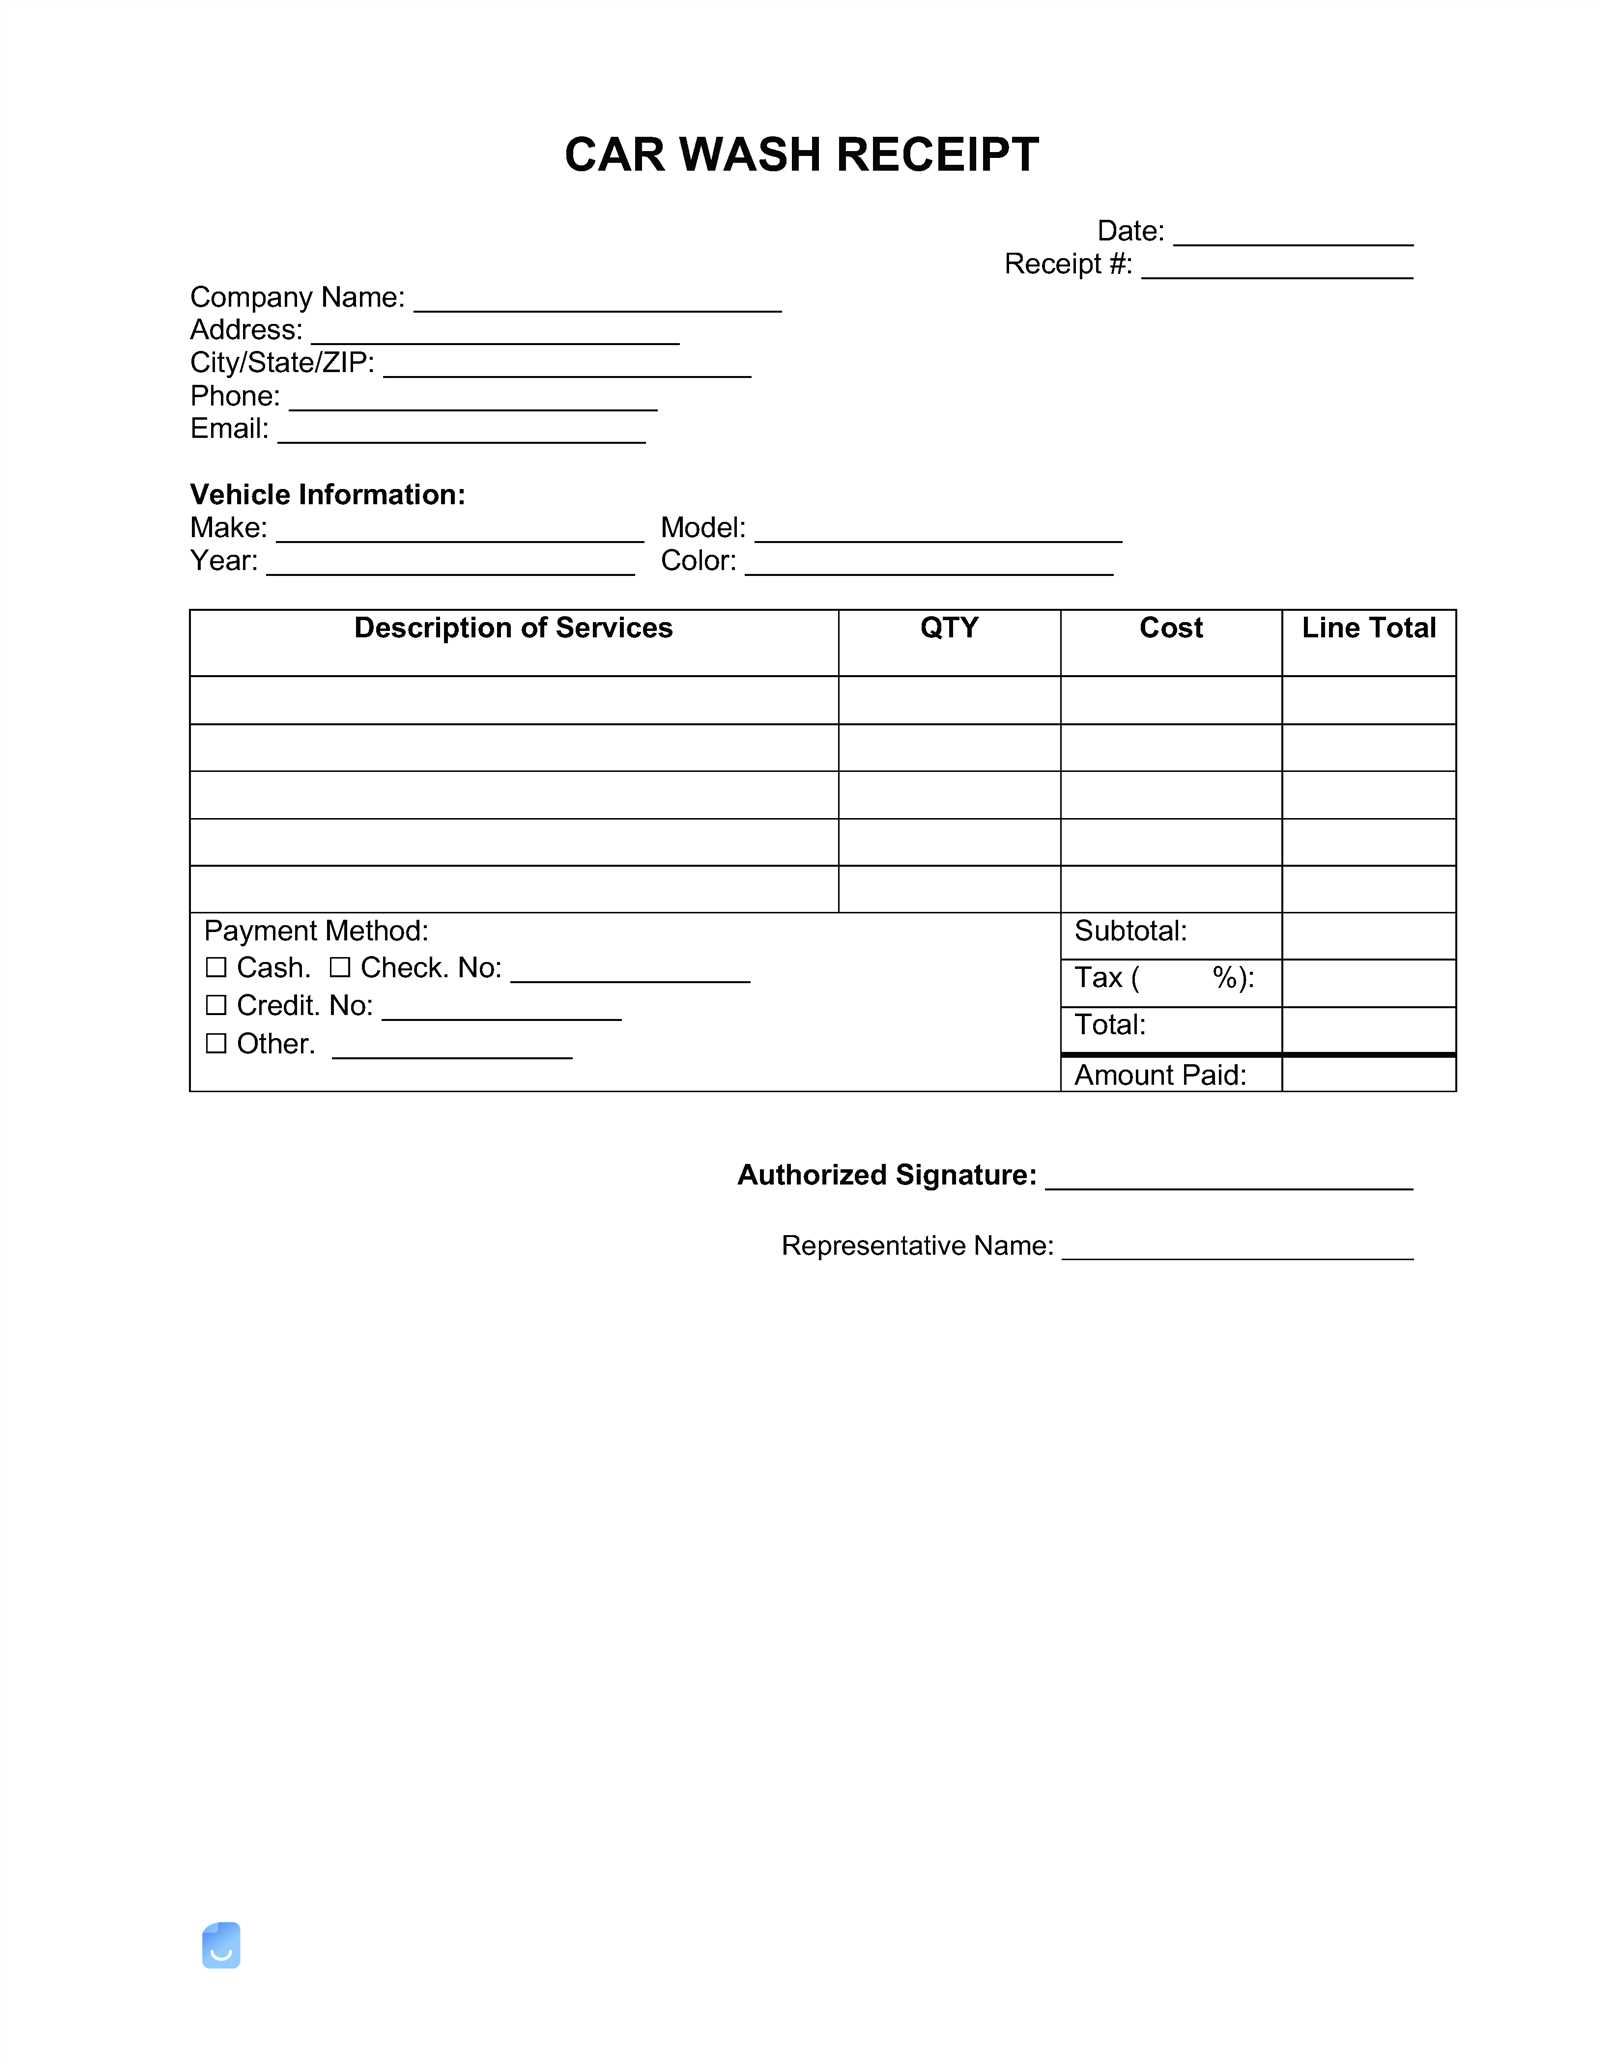
Conclude the receipt by leaving space for both the seller and buyer’s signatures. This helps confirm that both parties agree to the terms. If applicable, add a note like “Thank you for your business!” or any warranty or return policy terms. Include the date of the transaction, ensuring the document is complete.


