Creating a simple order receipt template in HTML can save time and help you manage customer transactions smoothly. A clear, well-structured receipt makes the process of tracking purchases easier for both sellers and buyers. You can quickly generate invoices by using basic HTML elements like tables, lists, and paragraphs, ensuring that all relevant details are organized and easy to read.
Start with a clean layout by using <table> to arrange item details, prices, and totals. This gives the receipt a professional look and keeps the information well-organized. Use <thead> for headings and <tbody> for listing items. For currency formatting, <span> can help highlight totals clearly, making it easier for customers to spot key information.
Next, include the necessary information such as the order number, customer name, and date. A <div> element can help separate these sections, making the receipt neat and readable. Make sure to include space for the company’s contact details and payment method, ensuring everything is covered without overcrowding the layout.
Incorporating CSS can enhance readability, but the main focus should be on making sure that each section is accessible and easily identifiable. With just a few lines of code, you can create a functional and reliable order receipt template that improves transaction efficiency.
HTML Order Receipt Template Guide
Use clear and straightforward HTML elements to create a well-organized order receipt. Focus on structuring the content logically so customers can easily understand the details of their transaction.
Start with a simple header that includes the order number, date, and business contact information. This sets the tone for the rest of the receipt.
For listing the purchased items, use a table with columns for product name, quantity, price, and total. Make sure the table is easy to scan. Each row should represent a single item, and the last row should display the overall total.
Include payment information under a separate section. You can use paragraphs to break down payment methods, transaction ID, or any additional fees that apply.
For a clean look, keep the layout simple by using basic CSS for spacing and alignment. Avoid heavy formatting that could distract from the key details.
Make sure to incorporate clear call-to-action links for customer support or to visit the website again. Simple HTML links (<a>) are sufficient.
Finally, ensure your template is responsive. Customers should be able to view and understand the receipt on any device without zooming or scrolling horizontally.
Setting Up the Basic Structure for an Order Receipt
Begin with a clear, organized layout. Use <div> elements to define sections such as customer details, order items, and pricing. Structure the document using <header>, <main>, and <footer> tags for better readability and accessibility.
For the header, include a business name or logo and the receipt title using <h1> or <h2>. This will help identify the document as an order receipt. Follow with a <div> for order information such as the receipt number, date, and order status.
In the main section, list the items with their descriptions, quantities, and prices inside a <table>. Use <thead> for column titles, <tbody> for the data rows, and <tfoot> to show the total cost or taxes. This ensures a neat presentation of the items and their prices.
The footer should include payment methods and contact details. You can add a <small> tag for terms and conditions or refund policies.
By structuring your order receipt this way, you keep it simple and user-friendly, making it easy for customers to understand and navigate.
How to Include Key Customer Information in Your Template
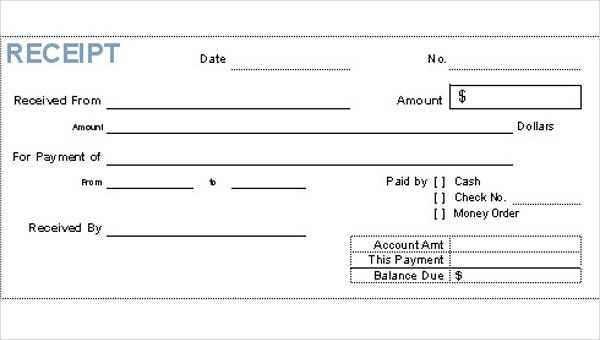
To ensure your order receipt template is clear and complete, include the following customer details:
- Customer Name: Display the full name clearly at the top of the receipt.
- Shipping Address: List the complete address, including street, city, and postal code.
- Contact Information: Include the customer’s phone number or email for easy follow-up.
- Order Number: Ensure the unique order ID is easily visible for tracking purposes.
- Payment Method: Show the method used for payment (e.g., credit card, PayPal).
Formatting Tips
- Use bold or larger font for the customer name and order number to enhance visibility.
- Place contact details near the top, so the customer can find them quickly if needed.
- Group related information together, such as shipping and payment details, for clarity.
Designing a Simple Product List with Pricing and Quantity
Use a clean table layout to display product information, including the product name, price, and quantity. The table should have clear headers, such as “Product Name”, “Price”, and “Quantity”. Structure the table with rows representing each item and columns for the relevant data.
For pricing, ensure the currency is clearly defined next to each price. Use a simple format such as “$10.00” or “€8.50”. Avoid cluttering the table with unnecessary decimal places or symbols.
For the quantity section, use input fields that allow users to adjust the quantity. The input should be numeric with a clear “plus” and “minus” button for easy adjustments. Ensure that users can enter custom numbers if needed, but limit input to valid quantities only.
To keep the design simple and readable, use alternating row colors for better visual separation. Consider adding subtle borders around cells for clarity. Avoid excessive padding or complex font styles to maintain focus on the content.
Ensure that each row has a consistent height, and that text is aligned properly–left-align text and right-align numbers (like price and quantity) for a cleaner look. Adjust font sizes for readability, especially in the price and quantity columns.
Finally, make sure the table is responsive. Adjust column widths for smaller screens, and consider stacking columns vertically on mobile devices. This keeps the user experience smooth across different devices.
Incorporating Payment Details and Transaction ID into the Receipt
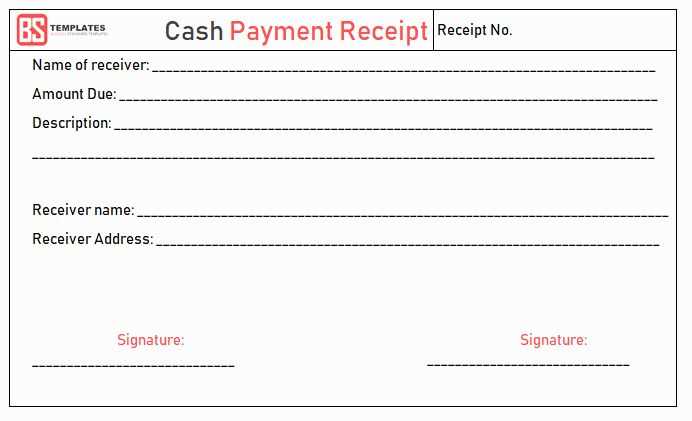
Include the payment method and transaction ID directly on the receipt for clear tracking and transparency. This ensures both the customer and the business have a reference for the transaction.
Place the payment method used (e.g., credit card, PayPal, bank transfer) prominently to avoid confusion. The transaction ID should follow the payment method, acting as a unique reference that ties back to the payment processor’s records.
| Payment Method | Transaction ID |
|---|---|
| Credit Card (Visa) | TXN123456789 |
| PayPal | PP-ABC123XYZ |
Make sure to include a link or reference to the payment processor’s website if the customer needs to access their transaction details. This can be helpful for refunds or payment disputes.
Always double-check that the transaction ID matches the payment logs in your system to avoid discrepancies.
Creating a Clear Date and Time Format for Order Confirmation
Use a straightforward and consistent format for displaying the date and time in order confirmation emails. The format should be easily understood by customers and aligned with their location preferences. For instance, consider using the ISO 8601 format (YYYY-MM-DD) for clarity. If your audience is international, specify the time zone to avoid confusion. You could use 12-hour format with AM/PM for regions where this is common, or stick to the 24-hour format for a more universal approach.
Provide a specific time zone reference like UTC or GMT if orders are handled across different time zones. This reduces misunderstandings about the exact moment the order was placed. Make sure to update the time whenever there’s a change in the customer’s local time zone, such as daylight saving time transitions.
Avoid using unclear phrases such as “soon” or “at a later time.” Stick to precise, universally understood terms that tell the exact moment of confirmation. Always double-check for accuracy and consistency in time formatting throughout your templates.
Optimizing Your Template for Print and Digital Display
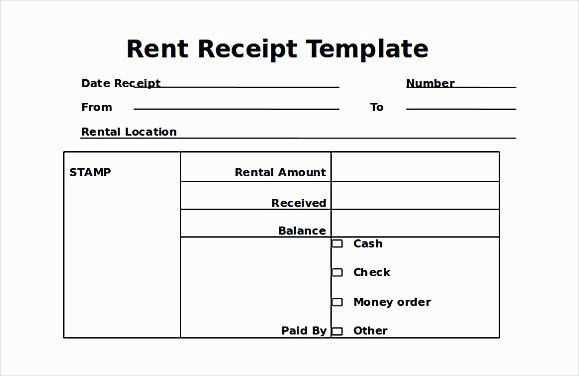
Ensure your template adapts smoothly to both print and digital formats by considering key adjustments that address differences in resolution, layout, and user interaction.
- Use Scalable Vector Graphics (SVGs): For icons and logos, choose SVG format. SVGs are resolution-independent, ensuring clear visuals across screen sizes and when printed.
- Set Clear Print Margins: Adjust margins and padding in your template to avoid text being cut off when printed. Include a specific print media query to optimize layout for paper sizes.
- Optimize Font Sizes: Ensure fonts are legible on both small screens and print by using responsive units like em or rem. Keep the font size large enough for easy reading in all formats.
- Limit Image Usage for Print: Large images can impact print quality. Use compressed or vector-based images for prints to ensure clarity without sacrificing load time on digital platforms.
- Preview Before Finalizing: Always check how the template appears in both print and digital environments. Use browser print preview and digital mockups to identify potential issues before distribution.
- Responsive Tables and Layouts: For digital displays, ensure tables and grid layouts adjust to smaller screen sizes. Consider stacking columns or using scrollable tables for mobile-friendly design.
By addressing these aspects, your template will provide a polished, readable experience whether printed or viewed online.

