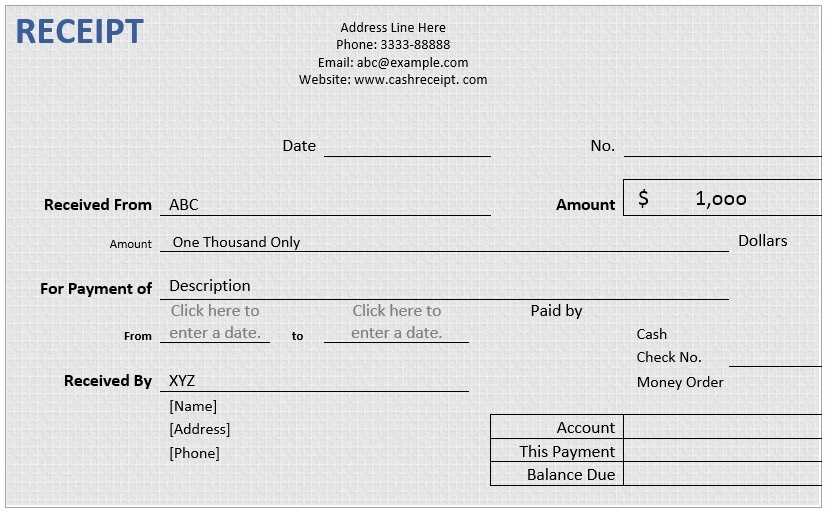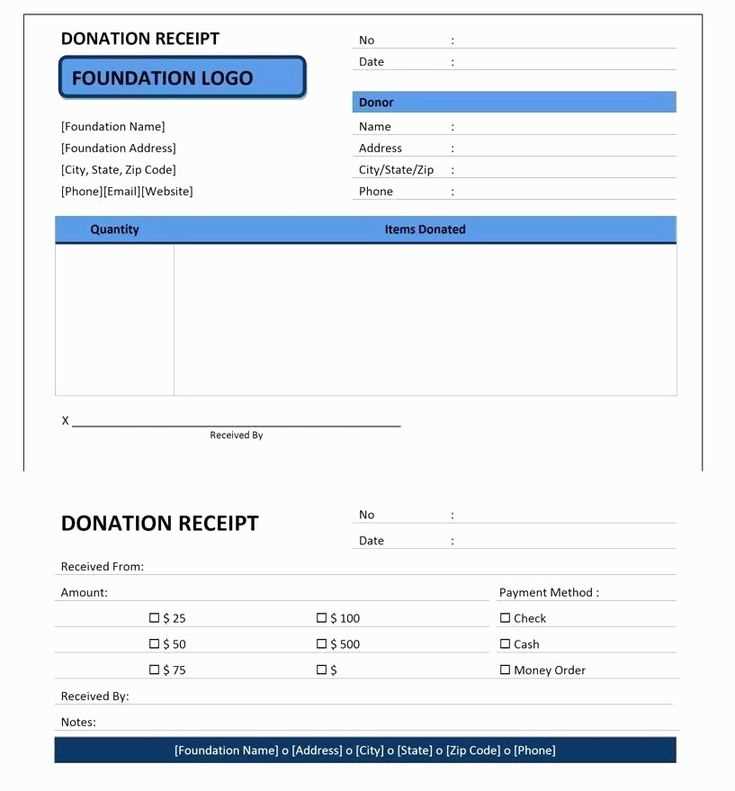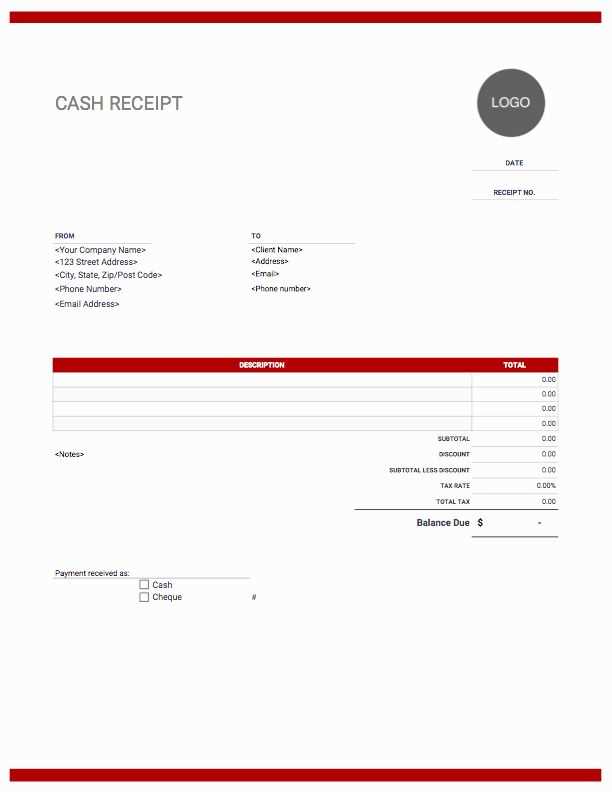
Create a structured and readable receipt using HTML5 with minimal effort. A well-formatted template ensures clarity for customers and simplifies record-keeping. Include essential details like itemized lists, total costs, and payment methods to provide a professional experience.
Use the <table> element to align pricing details neatly. Add <thead> for headers and <tbody> for transaction items. Ensure key fields like date, invoice number, and customer details are clearly visible. Enhancing the layout with CSS can improve readability, but the core structure should remain functional even without styling.
For digital receipts, consider adding a downloadable PDF option using JavaScript or server-side rendering. If emailing the receipt, inline styles ensure better formatting across email clients. Keep the template flexible to accommodate different transaction types while maintaining consistency.
HTML5 Receipt Template

Use a structured layout with semantic HTML5 elements to create a clear and readable receipt. The <header> tag can contain the business name and contact details, while the <section> tag organizes the itemized list.
Include a table for listing purchased items, ensuring each row contains a description, quantity, price, and total. Use <tfoot> for subtotal, tax, and final amount. Wrap the entire receipt in a <article> tag for better structure.
To improve usability, add inline CSS classes for easy styling and ensure text alignment for readability. Use monospace fonts for better numeric clarity. Keep the layout print-friendly by setting appropriate media queries.
Enhance functionality by integrating JavaScript for dynamic calculations. Use event listeners to update totals when item quantities change, ensuring real-time accuracy.
For digital receipts, implement a downloadable PDF option using JavaScript libraries like jsPDF. This allows users to save or print their receipts directly from the browser.
Structuring a Receipt Layout with HTML5 Elements

Use the <header> element to display the store name, logo, and receipt title. This keeps key details organized at the top.
For purchase details, structure items within an <article> or <section>. Use an unordered list <ul> to display product names, and a description list <dl> for prices and quantities.
Summarize the total cost in a separate <footer>. Include a <table> for subtotal, taxes, and final amount. Label each row clearly to improve readability.
Wrap transaction metadata (date, payment method, and reference number) in an <aside>. This keeps extra details accessible but visually distinct.
For digital receipts, add a <nav> section with links to return policies or account history. This enhances usability without cluttering the main layout.
Applying CSS for Print-Friendly Receipt Styling
Use a dedicated print stylesheet to remove unnecessary elements and optimize layout. Define styles within a media query for print:
@media print {
body {
font-family: Arial, sans-serif;
font-size: 12pt;
color: #000;
background: none;
}
.no-print {
display: none;
}
.receipt {
width: 80mm;
margin: 0 auto;
padding: 10px;
border: none;
}
}
Optimize Text and Layout

- Set a readable font size to ensure clarity on different printers.
- Use monospace for numbers to align totals properly.
- Remove background colors and non-essential graphics to save ink.
Control Page Breaks
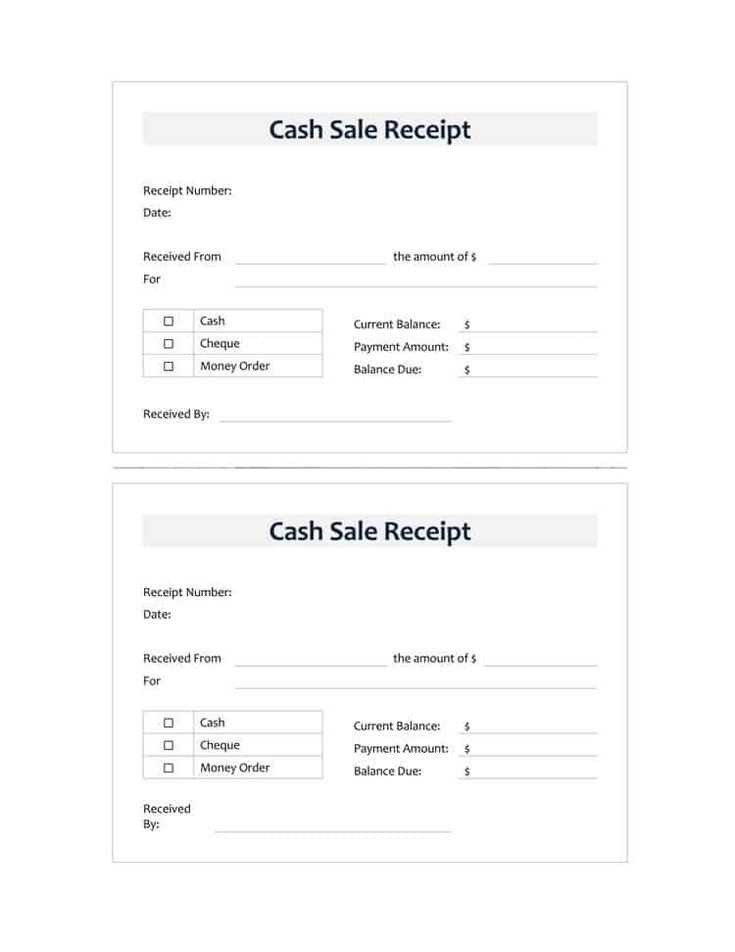
Prevent receipts from splitting at awkward points using:
.receipt {
page-break-inside: avoid;
}
Adjust margins and padding to fit content within a single page.
Integrating Dynamic Data Using JavaScript
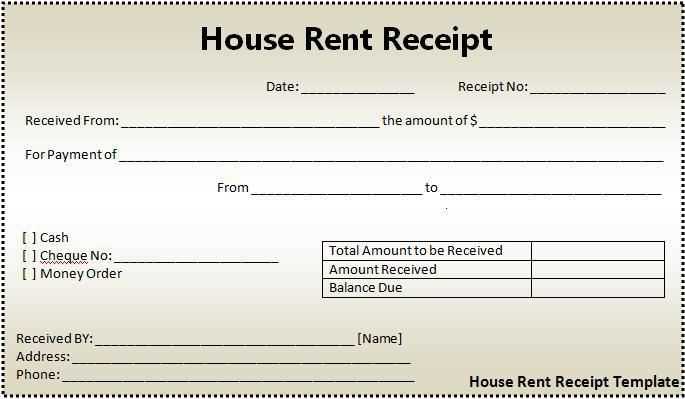
Use fetch to retrieve live data from an API and update the receipt template in real time. Define a function that requests data and injects it into the necessary fields.
Example:
fetch('https://api.example.com/receipt')

  .then(response => response.json())

  .then(data => {

    document.getElementById('total').textContent = data.total;

    document.getElementById('date').textContent = data.date;

    document.getElementById('items').innerHTML = data.items.map(item => `
`).join('');
});
Bind user inputs to receipt fields using event listeners. Attach an event to a form field to update the receipt instantly.
document.getElementById('customerName').addEventListener('input', (event) => {

  document.getElementById('receiptName').textContent = event.target.value;

});
Leverage localStorage to preserve entered data. Store and retrieve values to maintain receipt details across sessions.
localStorage.setItem('receiptData', JSON.stringify(receiptObject));

const savedData = JSON.parse(localStorage.getItem('receiptData'));
By combining these methods, the receipt template remains interactive and adapts to changes dynamically.

