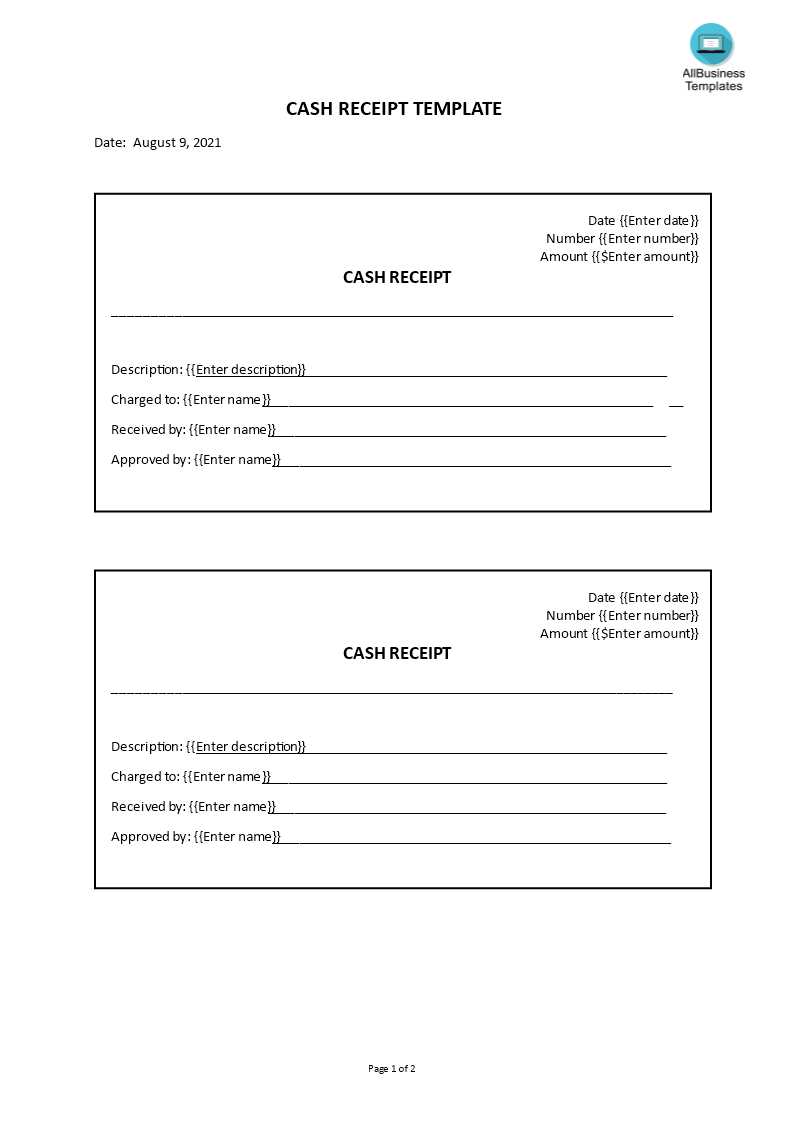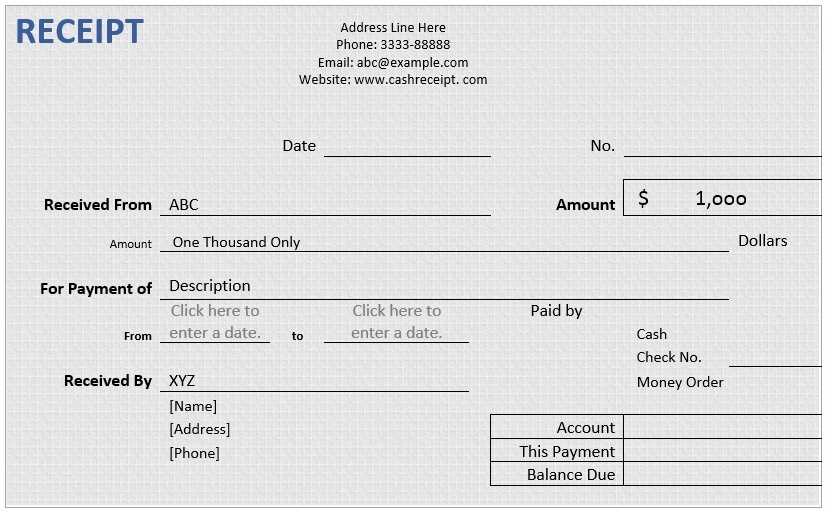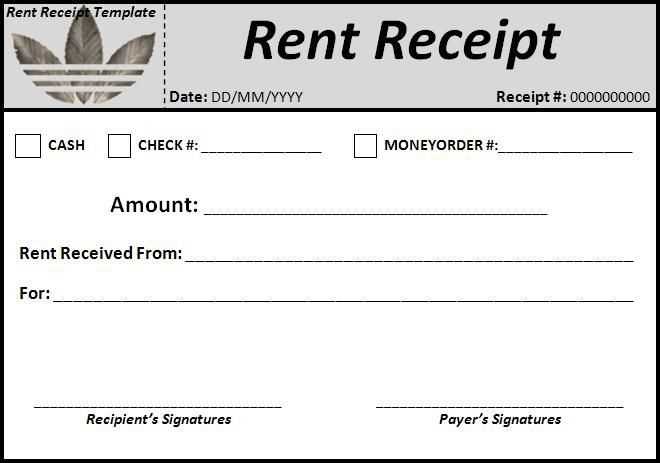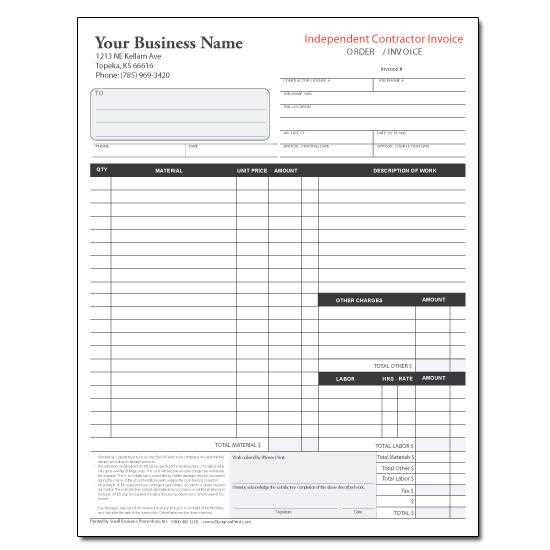
If you are an independent contractor, providing clear and professional receipts to your clients is key for maintaining transparency and ensuring smooth financial transactions. A well-organized receipt can protect both you and your clients during audits or disputes. This template is designed to make your invoicing simple and straightforward.
Use the header section of the receipt to include your name, business name, address, and contact information. Include the date of the transaction and a unique receipt number for easy reference. Make sure to clearly state the services rendered with a brief description and the rate or fee charged for each task performed. This level of detail avoids confusion and ensures that both parties are on the same page.
For the payment section, include the total amount charged, the method of payment (cash, bank transfer, credit card, etc.), and whether the payment was made in full or partially. You may also want to include a space for any additional notes or terms of service, which is useful in case there are specific agreements tied to the transaction.
By using this template, you will have a clear record for both you and your client. It helps track income for tax purposes and offers a straightforward summary of each transaction for future reference.
Independent Contractor Receipt Template
Use a simple and clear receipt template when documenting payments received as an independent contractor. This ensures transparency for both parties and provides a record of the transaction for tax purposes.
What to Include
Your receipt should contain the following key details:
- Contractor’s Name: Include your full legal name or business name.
- Client’s Name: Specify the full name of the client.
- Date of Service: Clearly indicate the date the service was completed or when payment was received.
- Description of Work: Provide a brief but clear description of the services rendered.
- Payment Amount: List the total amount paid, specifying the currency.
- Payment Method: Mention how the payment was made (e.g., cash, check, bank transfer, etc.).
- Receipt Number: Assign a unique receipt number for tracking purposes.
Sample Receipt Template
Below is an example of a receipt template you can use:
| Item | Description |
|---|---|
| Contractor Name | John Doe |
| Client Name | XYZ Corp |
| Service Date | March 15, 2025 |
| Services Rendered | Website Development |
| Payment Amount | $2,500.00 |
| Payment Method | Bank Transfer |
| Receipt Number | 12345 |
Ensure that all fields are filled accurately. If you issue multiple receipts, maintaining a numbered system will help with tracking and organization.
How to Include Contractor Name and Contact Information
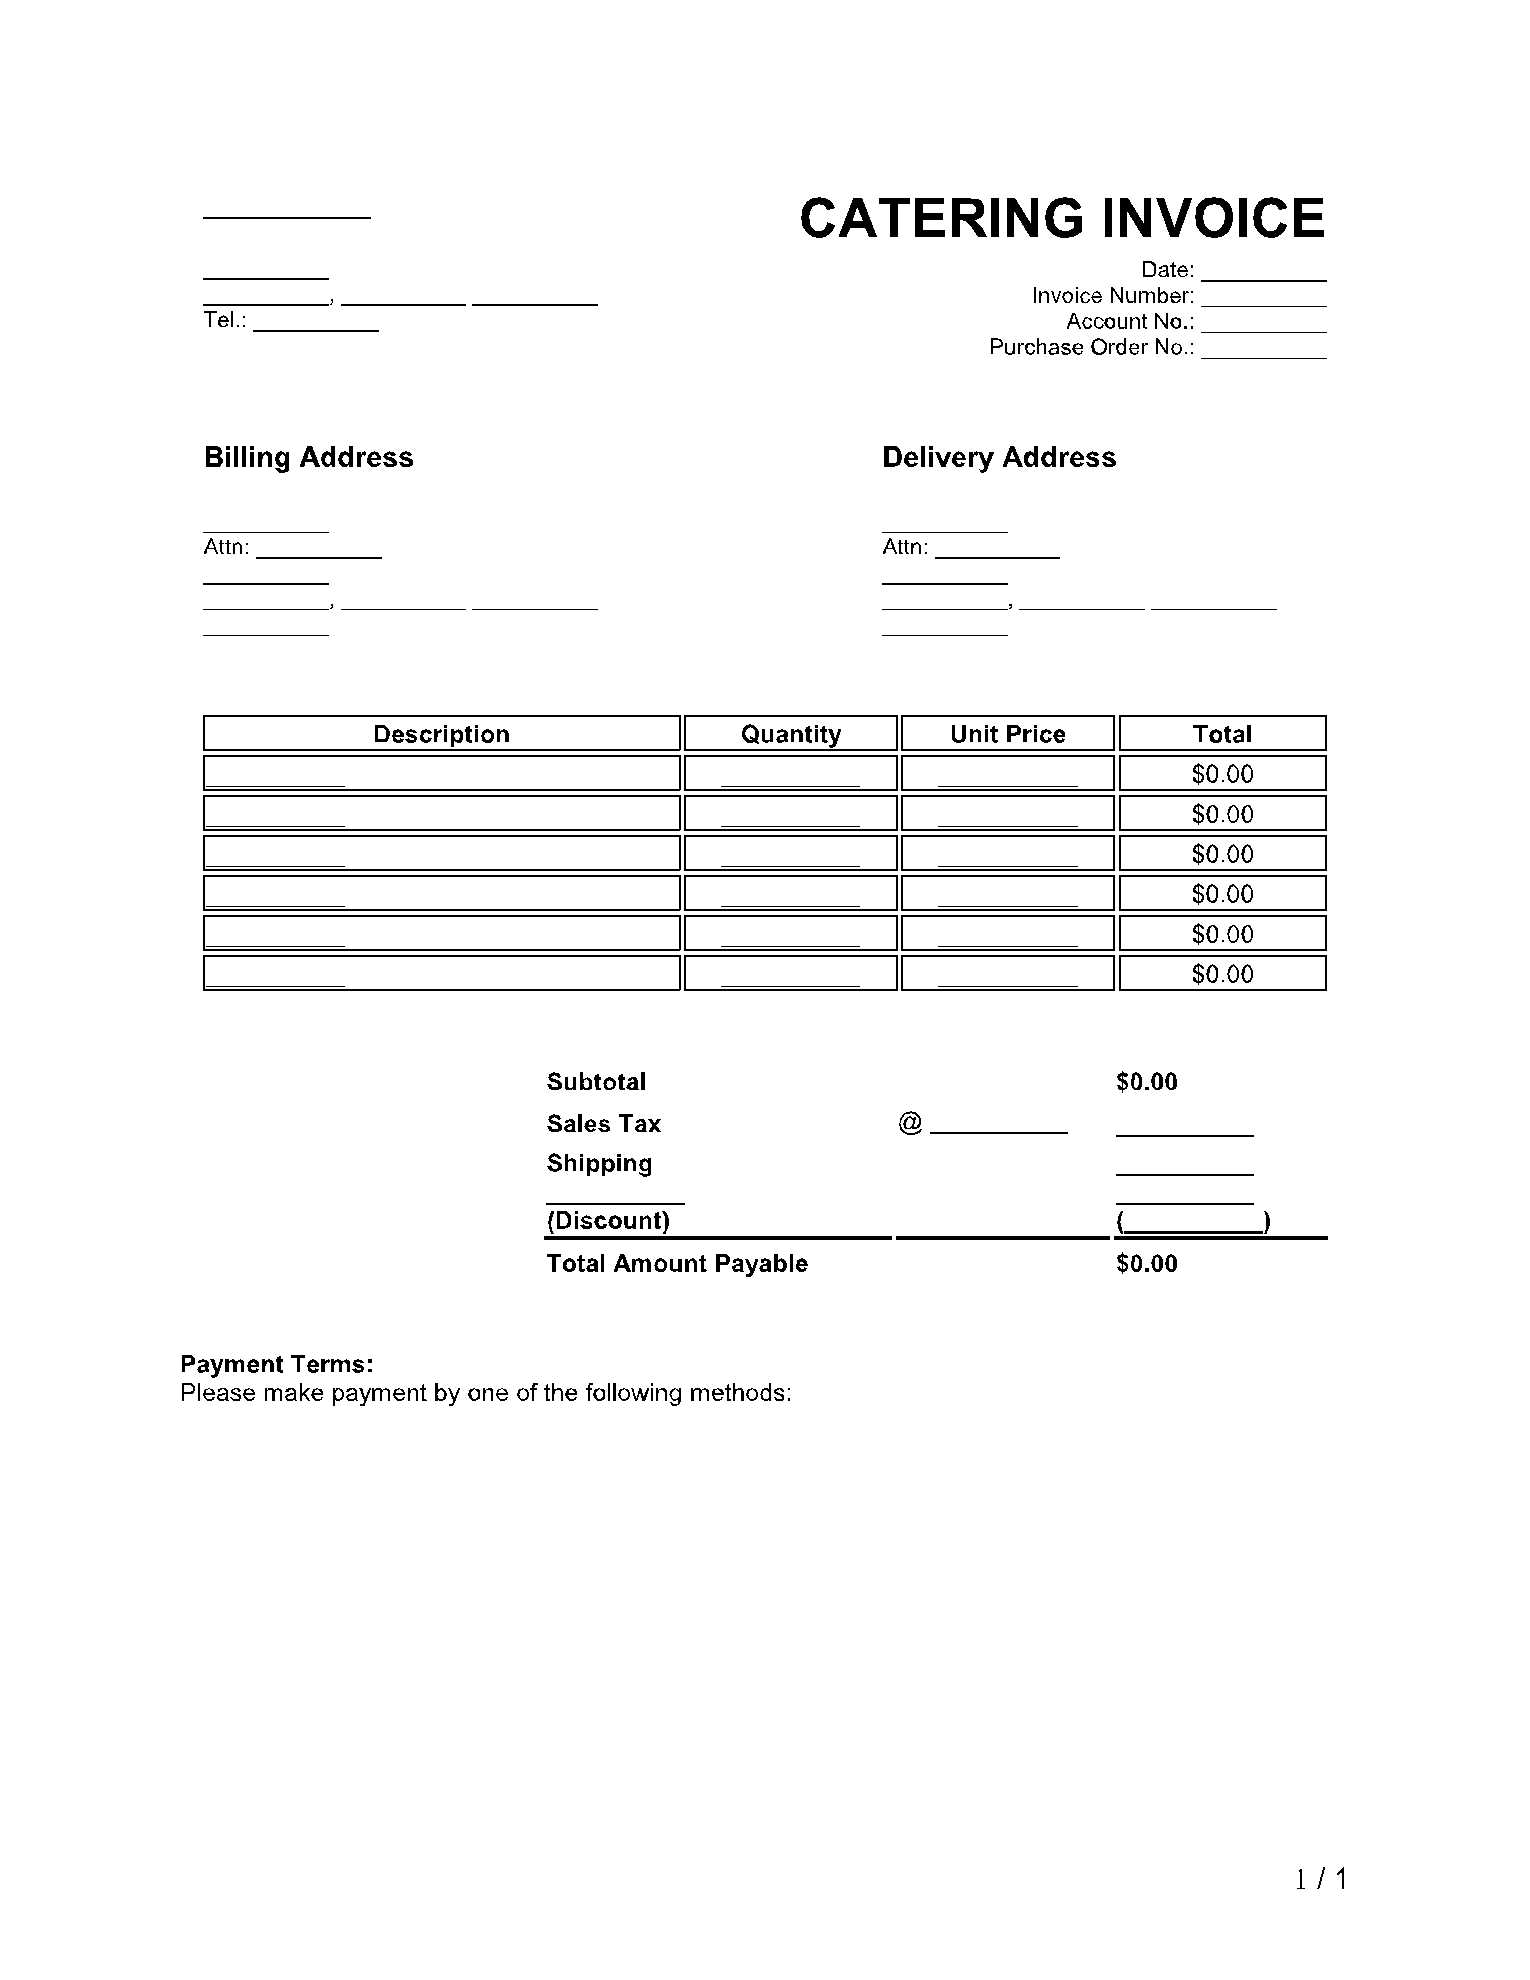
Place the contractor’s full legal name at the top of the receipt, making sure it’s accurate and matches the official documents. Include any business name, if applicable, directly below the individual’s name.
Next, provide the contractor’s primary phone number. This should be a direct line for easy communication. If the contractor uses email for professional purposes, include their email address as well. Make sure both the phone number and email are correct and up to date.
Finally, add the contractor’s physical address, whether it’s a home address or business address. This is particularly important for contractors working from a registered business location. If the contractor operates solely online or remotely, listing a general city or region can suffice.
Choosing the Correct Payment Amount and Method
Set a clear and reasonable payment amount based on the scope and complexity of the work. Consider your hourly rate or a fixed project fee. Ensure that the amount reflects the time spent, expertise, and the value provided. Be transparent about the total cost upfront to avoid misunderstandings later on.
Hourly vs. Fixed Rate
If the project involves uncertain hours or ongoing tasks, an hourly rate might be a better option. However, for well-defined projects with specific deliverables, a fixed rate ensures both parties know exactly what to expect. Factor in possible revisions or unexpected work to set a fair rate for either option.
Preferred Payment Methods
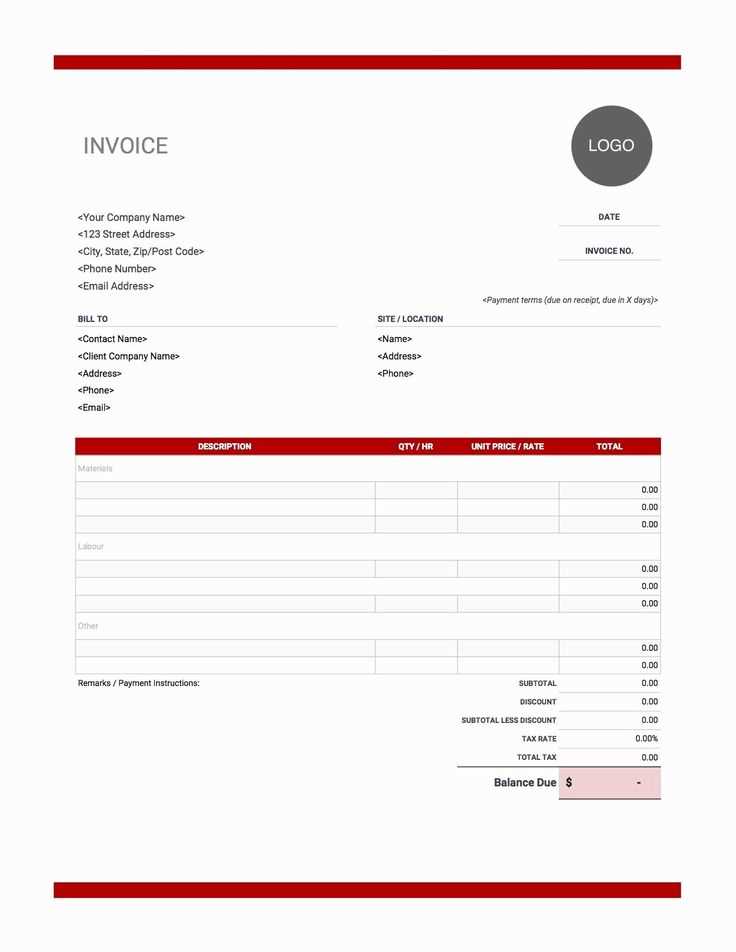
Choose a payment method that suits both your and the client’s convenience. Common options include bank transfers, PayPal, or digital invoicing platforms. Ensure that the method you select is secure and easy for the client to process. For larger payments, consider using more formal methods like checks or wire transfers for added security.
Clearly Stating the Service or Work Performed
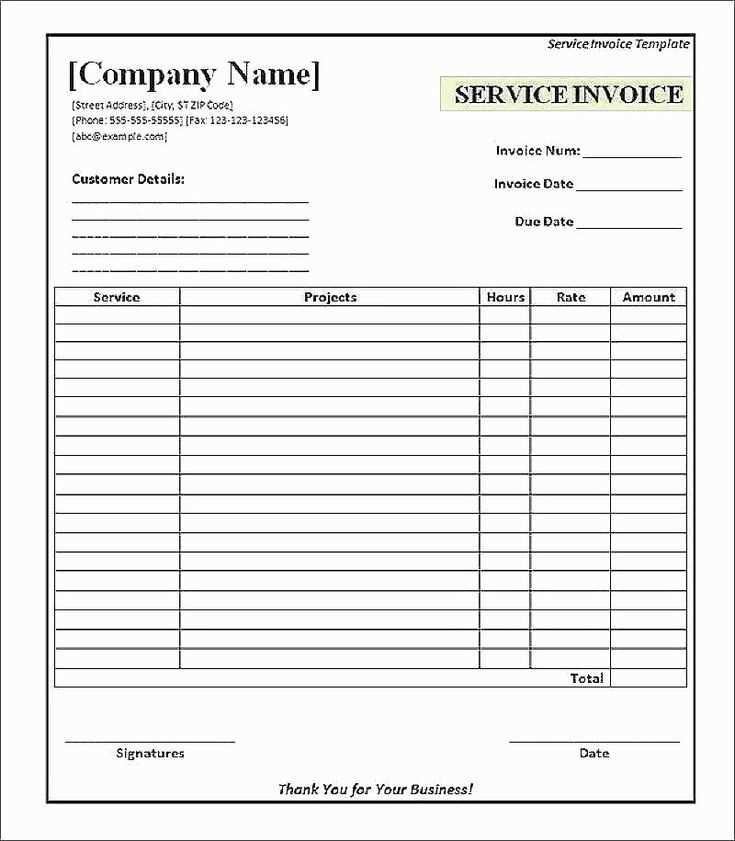
Describe the exact work completed or services provided. Use clear and concise language to ensure both parties understand the scope of the transaction. This helps prevent confusion and establishes a transparent agreement.
Details to Include:
- Type of Service: Specify the exact nature of the service or work provided. For example, “Web design,” “Accounting services,” or “Plumbing repair.”
- Timeframe: Mention the duration or specific dates the work was performed. If the service was ongoing, indicate the start and end points.
- Scope: Highlight any major tasks completed during the project. This could include specific milestones, such as “Completed website layout” or “Repaired leak in the kitchen sink.”
- Materials Used: If applicable, list any materials or supplies used to perform the service. For example, “Used 5 meters of copper piping” or “Installed 10 new LED lights.”
Be Specific
Clarity is key. Avoid vague descriptions like “Worked on the project” or “Provided assistance.” Instead, detail what was done and how it contributes to the project’s completion. For instance, instead of saying, “Helped with the website,” write, “Created a homepage layout, added graphics, and integrated contact forms.”
Including Payment Date and Invoice Number Details
Always include a payment date and an invoice number in your independent contractor receipts. This ensures both parties have a clear reference for the transaction and helps with record-keeping. A payment date allows you and the client to verify when the payment was made, preventing any confusion about late or early payments.
How to Format the Payment Date
Place the payment date clearly on the receipt. Use a consistent format, such as “MM/DD/YYYY” or “DD/MM/YYYY,” depending on your region’s standard. The payment date should match the date the funds were received, not the date the invoice was issued. This keeps your records accurate and up to date.
Incorporating the Invoice Number
Assign a unique invoice number to each transaction. This helps track invoices and payments, especially when you deal with multiple clients. Use a simple sequential numbering system, like “INV001,” “INV002,” etc., or a more complex system that includes the client name or project details. The invoice number should be included prominently at the top of the receipt, ensuring easy reference for both you and your client.
Understanding Tax Implications for Independent Contractors
Independent contractors are responsible for paying their own taxes, unlike employees whose taxes are automatically withheld by employers. This means contractors need to estimate and pay their taxes throughout the year rather than in a lump sum at the end of the tax season. The first step is to understand which taxes apply to your income: income tax, self-employment tax, and potentially state or local taxes depending on your location.
Income Tax
As an independent contractor, you will pay income tax on your earnings. This is calculated based on your total income minus any deductible expenses. It’s crucial to track all business-related expenses, as these can lower your taxable income. The IRS requires you to report your income and file taxes yearly, using forms such as the 1040 and the Schedule C for reporting profit or loss from your business.
Self-Employment Tax
Self-employment tax covers Social Security and Medicare. It is calculated on your net earnings from self-employment and currently amounts to 15.3%. You must pay both the employer and employee portions of these taxes, which is one of the key differences between being an independent contractor and an employee. However, half of the self-employment tax is deductible when filing your income tax return, effectively reducing your taxable income.
Make estimated quarterly payments to avoid penalties. The IRS expects these payments to be made if you anticipate owing more than $1,000 in taxes when you file your return. Tracking income and expenses regularly will ensure you stay on top of your tax obligations and avoid surprises at tax time.
Ensuring Legal Compliance in Your Receipt Template
Include the date of the transaction and a unique receipt number to help track and reference payments. The receipt must specify both the seller’s and buyer’s names and contact information. Clearly state the goods or services provided, including quantities, prices, and any applicable taxes. This ensures that both parties have a clear record of the transaction details.
If you’re charging sales tax, ensure the tax rate is indicated separately from the total price. Be aware of local tax laws to apply the correct rate. Keep your receipt format in line with local tax authorities’ requirements to avoid potential fines or complications. If you’re in a jurisdiction that requires tax identification numbers (TINs), be sure to include yours on the receipt.
Including payment method information can also help protect against disputes. List whether payment was made by credit card, cash, check, or other methods. If a payment plan was agreed upon, outline the terms, including amounts and dates for further payments.
Lastly, ensure the receipt contains a disclaimer if necessary, particularly if there are refund or return policies. This can help clarify your business practices and protect both parties in case of issues after the transaction.
