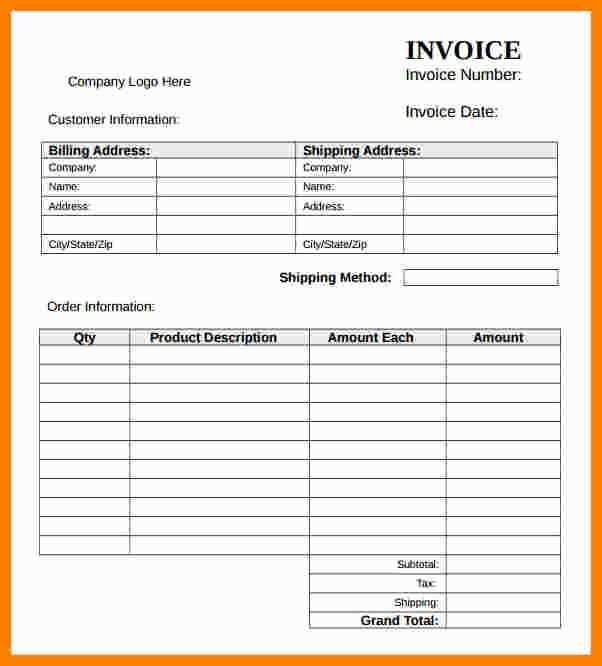
To create a clear and functional itemized receipt list, make sure to break down each purchase into specific details. Start by listing the item name, followed by its description and quantity. Use a table format for easy reference, with each row dedicated to one item. Include prices per unit, total cost for each item, and any applicable taxes or discounts.
Make sure to provide a subtotal for all items before taxes. Add a line for any extra charges, like shipping fees or handling costs. End with the final total, clearly indicating the amount paid. This structure ensures transparency and helps the recipient easily track each purchase. It’s also helpful to include the date of purchase and the store’s contact information for future reference.
Tip: Keep the layout simple but organized. Avoid unnecessary information that could distract from the main details of the transaction. The goal is to make the receipt easy to read and understand at a glance.
Itemized Receipt List Template
Use this template to structure an itemized receipt that clearly shows the purchased items, their individual prices, and the final totals. It helps maintain accuracy and transparency in billing.
Template Breakdown
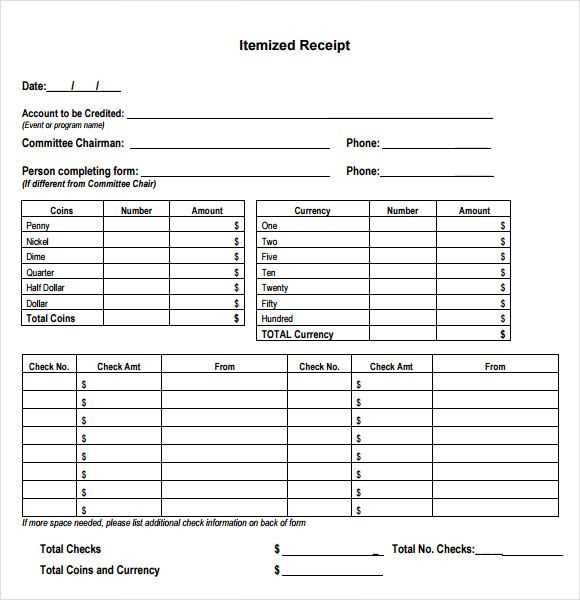
The following columns should be included in an itemized receipt:
- Item Description: Name or short description of the item or service.
- Quantity: Number of units purchased.
- Unit Price: Price per single unit of the item or service.
- Total Cost: Cost for the item (Quantity x Unit Price).
- Tax: Tax applied to the item or service.
- Discount: Any discount applied to the item or overall total.
Example of an Itemized Receipt
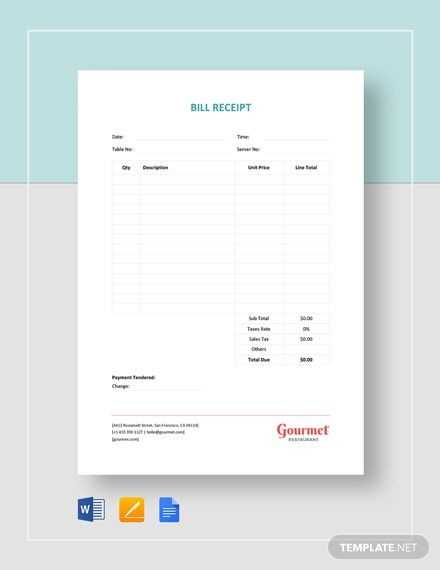
Here is an example of an itemized receipt:
| Item Description | Quantity | Unit Price | Total Cost | Tax | Discount |
|---|---|---|---|---|---|
| Bluetooth Headphones | 1 | $50.00 | $50.00 | $4.00 | $0.00 |
| Wireless Mouse | 2 | $15.00 | $30.00 | $2.40 | $5.00 |
| Total | $80.00 | $6.40 | $5.00 |
This format provides a clear breakdown of each item’s cost, the applicable tax, and any discounts applied, making it easier for customers and businesses to track transactions.
How to Structure the Columns of an Itemized Receipt
Keep the columns clear and concise, focusing on the most relevant details for both the customer and the business. Typically, an itemized receipt includes at least four key columns: Item Description, Quantity, Price per Item, and Total Price. Each column should be aligned and easy to read, ensuring that all relevant information is accessible at a glance.
Item Description
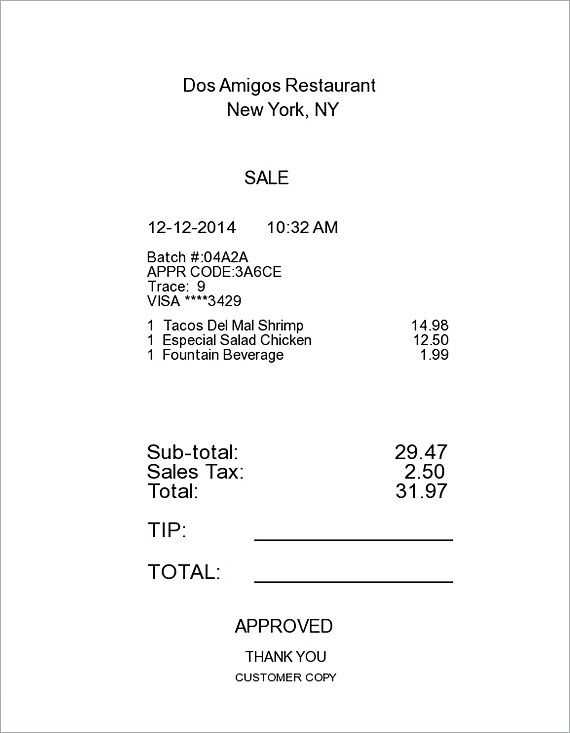
This column should briefly identify each product or service purchased. Use simple language and avoid excessive details. Include the name, model, or any relevant code that helps the customer identify the item quickly.
Quantity and Pricing
List the quantity of each item or service purchased in the next column. The Price per Item column should follow, listing the cost of one unit of the item. This allows customers to see both the individual cost and how it contributes to the overall total. The final column should show the Total Price for each item, calculated as Quantity multiplied by the Price per Item.
Best Practices for Including Tax and Discounts on Receipts
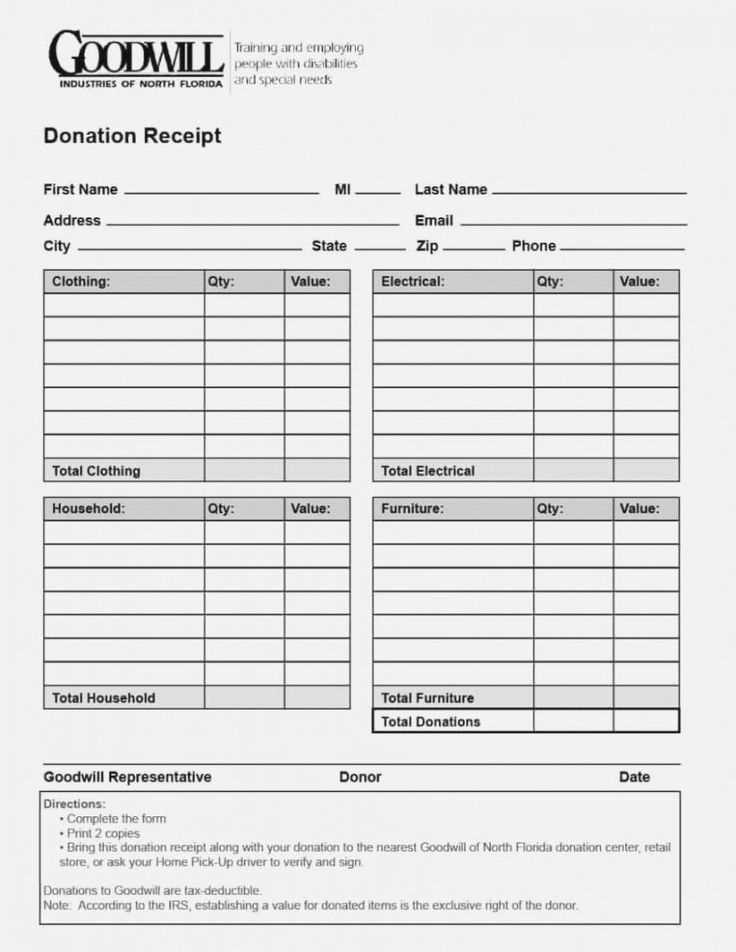
Include tax and discount details in a clear and straightforward manner. List the tax separately from the total price, showing both the rate and the amount. This transparency helps customers understand how much they are paying for taxes and encourages trust in your pricing structure.
Separate Taxes from Item Prices
Clearly distinguish between the base price of the items and the taxes applied. This can be done by listing the tax amount as a separate line item, with the total tax rate specified. Avoid integrating taxes into the price of the goods to prevent confusion.
Display Discounts Explicitly
If a discount is applied, list it separately as well. Show both the original price and the discounted price, followed by the discount amount. This makes it easy for customers to verify the discount applied and ensures accuracy in the final total.
Ensure that any promotional codes or special offers are clearly referenced with the discounted price. Specify the terms of the discount if necessary, like “10% off for a limited time,” to avoid misunderstandings.
Choosing the Right Software to Generate Itemized Receipts
Select software that directly meets your business needs, focusing on accuracy, ease of use, and integration with other tools. Look for programs that allow you to input item details, including quantities, prices, taxes, and any additional fees, to generate a clear, detailed receipt. Make sure the software offers customization options for branding and supports various formats like PDF or email.
Key Features to Consider
Opt for a software solution with an intuitive interface, ensuring fast and smooth entry of transaction details. It should allow easy retrieval and editing of past receipts. Customizable fields, such as product codes and descriptions, can add value, especially for businesses with specific inventory management needs. Ensure the software also supports multiple payment types and currency options for versatility.
Integration with Accounting Systems
Choose software that syncs seamlessly with your existing accounting or point-of-sale systems. This integration helps streamline the process of tracking income and managing financial reports without the need for duplicate data entry. Look for solutions that offer API integrations or pre-built connectors for popular platforms like QuickBooks or Xero.
Formatting Item Descriptions for Clear Understanding
Use concise and accurate descriptions. Each item should be clearly identified with specific details that explain what it is, its purpose, and any relevant features. Avoid ambiguity by focusing on key attributes like size, color, quantity, and specific model details. For example, instead of “Laptop,” use “15-inch Dell Inspiron 5500 Laptop, 8GB RAM, 512GB SSD.” This level of detail helps customers identify the product quickly and understand its features at a glance.
Be Specific with Quantities and Units
Always include the quantity and measurement units when applicable. For instance, instead of “Paper,” write “500 sheets of A4 80gsm paper.” This ensures the buyer knows exactly what they’re receiving without any confusion. Providing clear units also eliminates potential misunderstandings in inventory and ordering.
Avoid Jargon or Overcomplicated Terms
Keep language simple and straightforward. Avoid using terms that may confuse a customer who is unfamiliar with the product category. If technical terms are necessary, provide brief explanations. For instance, instead of just listing “Bluetooth 5.0,” you might write “Bluetooth 5.0 wireless connection for faster data transfer.” This approach ensures the description remains clear and accessible to a wider audience.
Ensuring Accuracy in Quantity and Price Details
Double-check the quantities and prices for each item listed on the receipt. Ensure that the amounts reflect the actual items purchased and any applicable discounts or promotions.
- Verify Item Quantities: Cross-reference the number of items listed with the items received. It’s common for errors to occur during checkout, so make sure the total number matches the physical count.
- Check Unit Prices: Confirm that each item’s unit price matches the advertised or agreed-upon rate. Small discrepancies can often be overlooked but add up quickly.
- Assess Discounts: If there are any discounts or promotional prices, check that they have been correctly applied to the appropriate items. The discount should be reflected as a separate line item on the receipt.
- Review Total Calculations: Recheck the subtotal, tax, and final total to ensure that all figures are accurate. Mistakes in totals can happen, especially during manual entries.
By focusing on these key details, you can ensure that the quantities and prices on the receipt reflect what was actually purchased, avoiding misunderstandings or errors down the line.
Customizing Templates for Different Business Types
Tailor your receipt templates based on the nature of your business. For retail shops, include product names, quantities, and prices. Use clear formatting to ensure customers can quickly review what they’ve purchased.
For service-based businesses, focus on breaking down labor and material costs. Include specific service descriptions, hours worked, and rates. This helps build transparency and trust with clients.
Restaurants should highlight itemized food and beverage lists along with taxes and tips. Make sure to incorporate space for custom notes such as special requests or discounts.
If you run an e-commerce store, the receipt must reflect shipping fees, taxes, and any promo codes used. Ensure order numbers and delivery details are clearly visible.
Adjust fonts, layout, and color schemes to reflect your branding. A clean, organized design is essential across all business types, but the details you choose to highlight will vary depending on your specific needs.


