Creating a Clear and Professional Lawn Mowing Receipt

A lawn mowing receipt should be straightforward and easy to understand. Start by including your business name, contact information, and logo (if applicable). This establishes credibility right from the beginning.
Key Elements to Include
- Client Information: Name, address, and contact details should be listed for easy identification.
- Service Date: Clearly state the date the mowing service was completed.
- Description of Services: Include a brief description of the work done, such as lawn mowing, trimming, and edging.
- Amount Charged: Specify the cost for the service, including any additional fees or taxes if applicable.
- Payment Method: Indicate how the payment was made (e.g., cash, card, or check).
- Service Provider’s Information: Provide your business details, including contact information and license number, if necessary.
Formatting Your Receipt

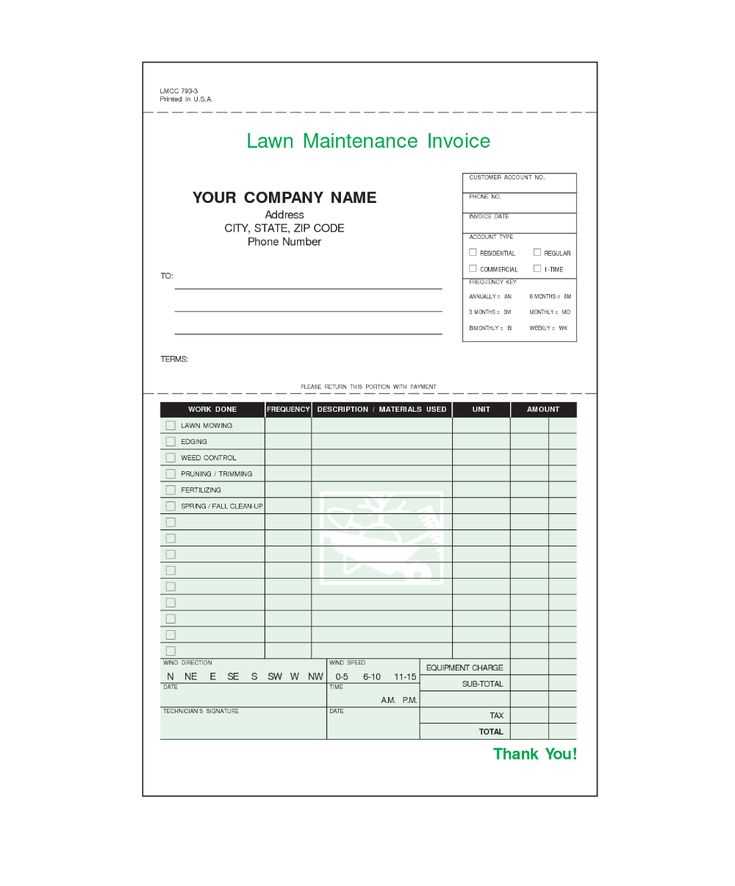
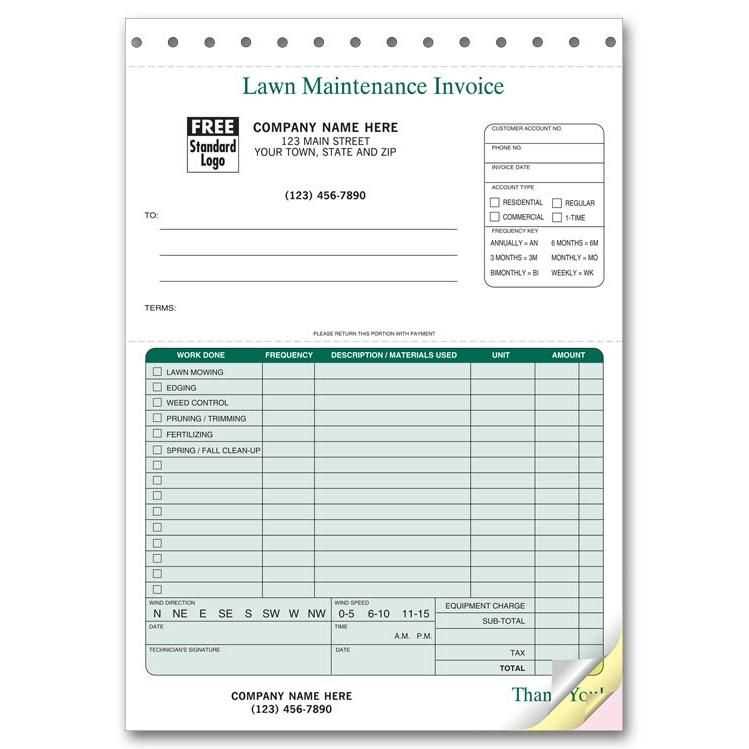
Organize the receipt with clear sections so the client can easily read and verify the details. Include a line item for each service rendered, showing the breakdown of costs, taxes, and discounts if applicable. A subtotal should appear before the final total, making it easier for both parties to understand the charges.
Finalizing the Receipt

Before handing over the receipt, double-check all information. Ensure that the total amount reflects any discounts or additional fees. You can add a thank-you note or a call-to-action encouraging the client to book again.
With a well-structured lawn mowing receipt, you help establish trust and professionalism with your clients while ensuring clarity and transparency in your transactions.
Lawn Mowing Receipt Template

Creating a clear and accurate lawn mowing receipt requires focusing on specific details. Start by including your business name, contact information, and the client’s details. Next, break down the services provided: list the areas mowed, the type of service, and the duration.
Pricing details should be structured with transparency. Clearly show the hourly rate or flat fee, any extra charges for special requests (such as edging or cleaning), and applicable taxes. This way, clients can easily understand how their total cost is calculated.
Choose a format that suits both digital and paper versions. A simple, professional template will look equally good on a phone or printed out. For digital copies, use a PDF format, ensuring the layout is preserved across devices.
Legal considerations are important when issuing receipts. Ensure the receipt complies with your local tax laws and includes necessary details like tax numbers or identification if required. Some regions may require specific wording for proof of services rendered.
Customize your template based on your clients’ needs. For example, regular customers may appreciate a more simplified version, while one-time clients may need a more detailed breakdown of services. Customization builds rapport and makes your service more personalized.
Avoid common mistakes like omitting the service description or failing to include the date of service. Also, check for typos in client details or pricing. Accuracy and attention to detail will reflect professionalism in your invoices.


