To create a lease receipt that meets legal standards and ensures clarity for both parties, start with a basic template that includes essential details. Begin with the full name of the lessor and lessee, along with their contact information. This provides an immediate reference for both parties involved.
Next, specify the rental property details. Include the address, unit number, and any other specific identifiers related to the property. Be clear about the rental period, payment due dates, and the amount received, whether it’s for a partial or full payment.
Clearly state the method of payment, such as cash, cheque, or bank transfer, and include the transaction reference if applicable. This can prevent any future misunderstandings. Additionally, ensure the receipt is signed by both the lessor and the lessee, confirming mutual agreement on the transaction.
Lastly, keep the document concise, ensuring that all necessary details are included without unnecessary information. This helps avoid confusion and makes the process more streamlined for both parties.
Lease Receipt Template: A Practical Guide
To create a lease receipt, ensure the document contains key details. This will provide clarity for both the lessor and lessee. Here’s what should be included:
- Lease Information: Include the full address of the leased property, the names of the landlord and tenant, and the lease start and end dates.
- Payment Details: Specify the rental amount, payment frequency (e.g., monthly), and payment method (e.g., check, bank transfer).
- Payment Period: Clearly state the period for which the rent is paid (e.g., February 1–28, 2025).
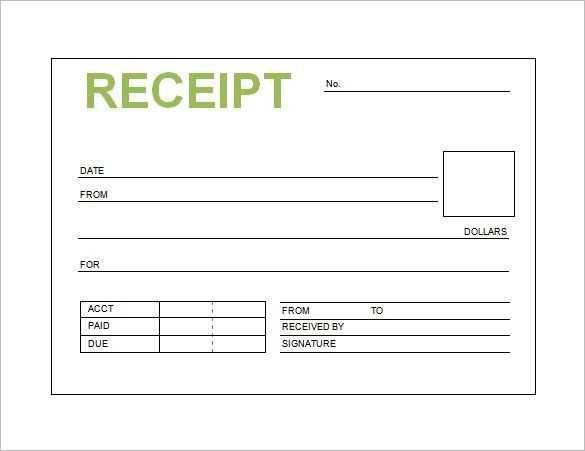
- Signature: Both parties should sign the receipt. This serves as proof of the transaction.
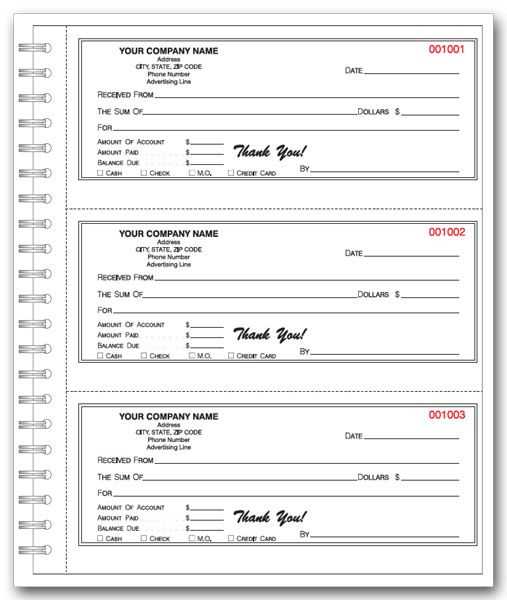
- Receipt Number: Including a unique receipt number helps track payments for future reference.
These elements will help both parties verify the transaction and maintain accurate records. A well-structured receipt also acts as a safeguard against disputes. Keep copies of all receipts for your records.
How to Create a Lease Receipt Template

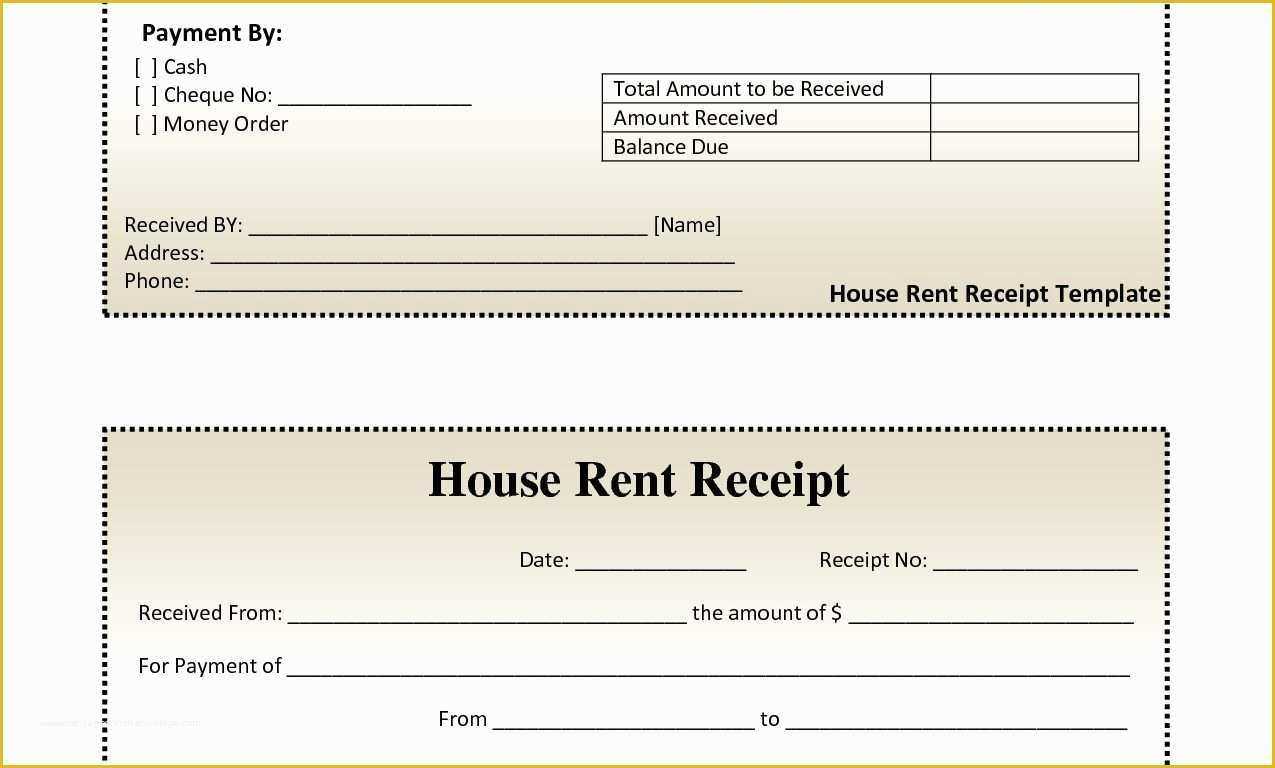
To create a lease receipt template, focus on clarity and accuracy. Begin with including the basic details: the tenant’s name, the landlord’s name, the property address, and the amount of rent paid. Specify the date the payment was made and the period the payment covers. This ensures both parties have a clear record of the transaction.
Include Payment Method
Clearly state the payment method, whether it’s cash, check, or bank transfer. This helps to avoid any confusion in the future regarding how the payment was made. If applicable, include the check number or transaction reference.
Additional Information to Include
For a more detailed receipt, add any late fees or discounts applied to the payment. If there are any special terms related to the payment (such as a partial payment or advance payment), note them clearly. Conclude with a section for the landlord’s signature to confirm receipt of the payment.
By organizing the template with these key components, you ensure that both parties have a reliable, transparent record of the transaction.
Key Information to Include in the Template
Begin by clearly identifying the names of the parties involved, specifying the landlord and tenant. This establishes who is responsible for the terms outlined in the lease agreement.
Next, include the property address, providing details about the leased premises to avoid confusion. Make sure the full address is correct, including any unit numbers if applicable.
The lease term should be specified, including the start date and end date. If the lease is month-to-month or renewable, clarify this to avoid misunderstandings.
Clearly state the payment terms, such as the rent amount, payment due dates, and the method of payment. Also, indicate any additional fees like late charges or maintenance costs that the tenant may be responsible for.
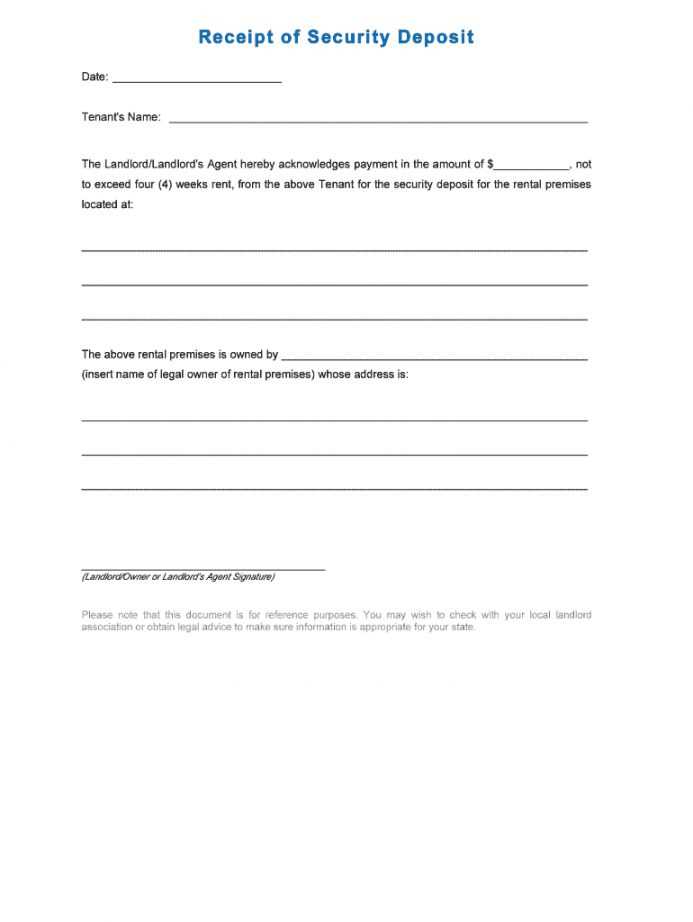
Include a security deposit clause, outlining the amount required and the conditions for its return at the end of the lease. Specify any damages or violations that could affect the deposit.
Detail the maintenance responsibilities for both parties. Specify whether the landlord or tenant is responsible for upkeep and repairs during the lease term.
Incorporate an early termination clause, explaining the process and any penalties involved if either party wishes to end the lease before the agreed-upon end date.
Finally, add a section for signatures, indicating the agreement and understanding between both parties. Include spaces for signatures, names, and dates for full legal validity.
Common Mistakes to Avoid When Using Lease Receipt Templates

Double-check the rental amount. It’s easy to overlook if the total amount reflects the agreed terms, such as rent adjustments or partial payments. A mistake here can cause confusion for both parties and lead to misunderstandings.
Incorrect Dates

Ensure the date of payment is accurately listed. An incorrect date may complicate financial tracking, especially when tenants make payments that coincide with late fees or grace periods. Keep dates aligned with the actual transaction date to avoid discrepancies.
Missing Signatures

Both the tenant’s and landlord’s signatures should be included. Skipping this step can lead to disputes about the validity of the receipt. Having both parties sign solidifies the agreement and ensures that the transaction is acknowledged by both sides.
Be precise with payment methods. Whether it’s cash, check, or electronic transfer, make sure the receipt clearly states how the payment was made. Not specifying this can lead to confusion about how funds were transferred, which is critical for proper documentation.


