Adjusting Layout and Branding
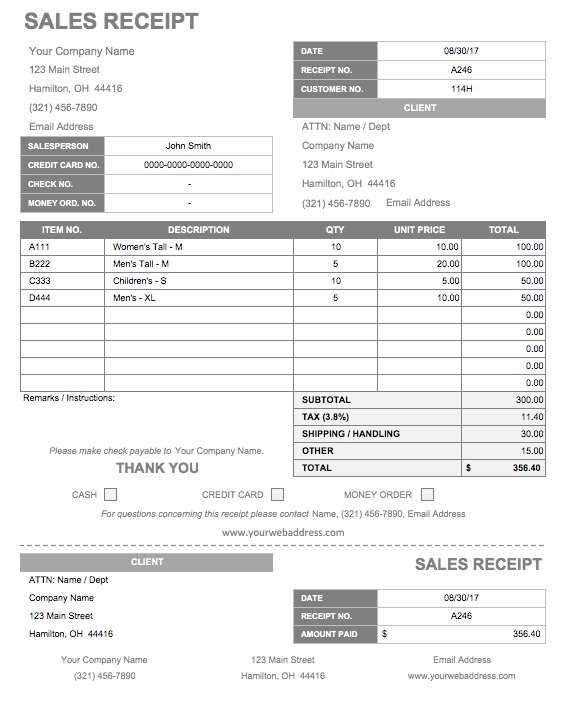
Modify the receipt template to align with your store’s branding. Access the customization panel in Lightspeed by navigating to Settings > Receipts. Update the header with your store logo by uploading an image file and adjusting the placement using the available alignment options.
To structure the receipt layout, adjust the line spacing and font size in the design editor. If additional sections are needed, insert custom text fields under the Footer settings. This area is useful for return policies, promotional messages, or contact information.
Editing Receipt Content
Modify the information displayed on receipts by enabling or disabling specific fields. Lightspeed allows adjustments to:
- Product details: Show or hide item descriptions, SKU numbers, and discount breakdowns.
- Payment information: Choose whether to display payment method details, including partial payments or gift card usage.
- Customer details: Include customer names and loyalty points if applicable.
Adding Custom Messages
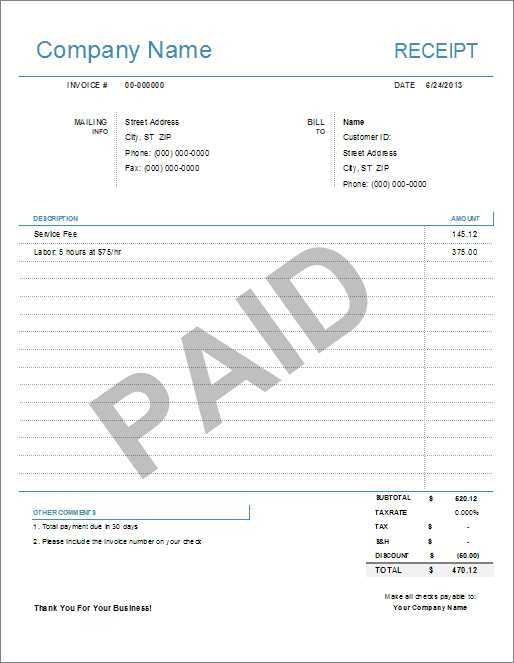
Enhance receipts with personalized messages. Navigate to Settings > Receipts and locate the Custom Text section. Enter promotional messages, seasonal greetings, or warranty information. This section supports basic text formatting, allowing emphasis on key details.
Printing and Digital Options
Control how receipts are delivered to customers by configuring print and email settings. Lightspeed supports:
- Printed Receipts: Adjust printer settings for different paper sizes and formats.
- Email Receipts: Enable automatic email receipts to customers by default.
To reduce paper usage, consider setting email as the primary receipt delivery method while keeping printed receipts as an optional setting.
Lightspeed Receipt Template: Customization and Enhancement
Understanding the Structure of a Lightspeed Receipt Format
Adjusting Fonts, Colors, and Layout for Branding
Incorporating Custom Fields and Messages in Receipts
Embedding QR Codes and Barcodes for Transactions
Refining Content for Legal and Tax Compliance
Saving, Testing, and Implementing Custom Templates
Understanding the Structure of a Lightspeed Receipt Format
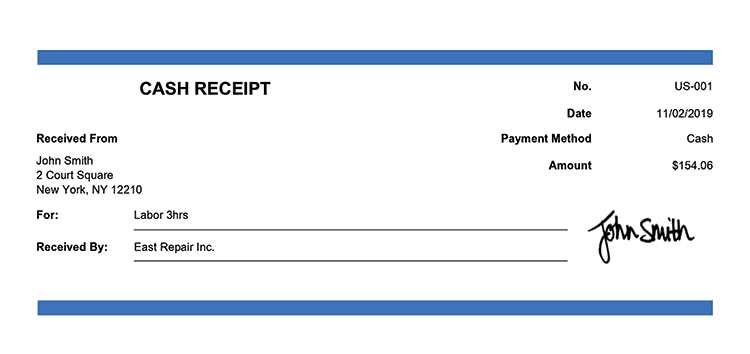
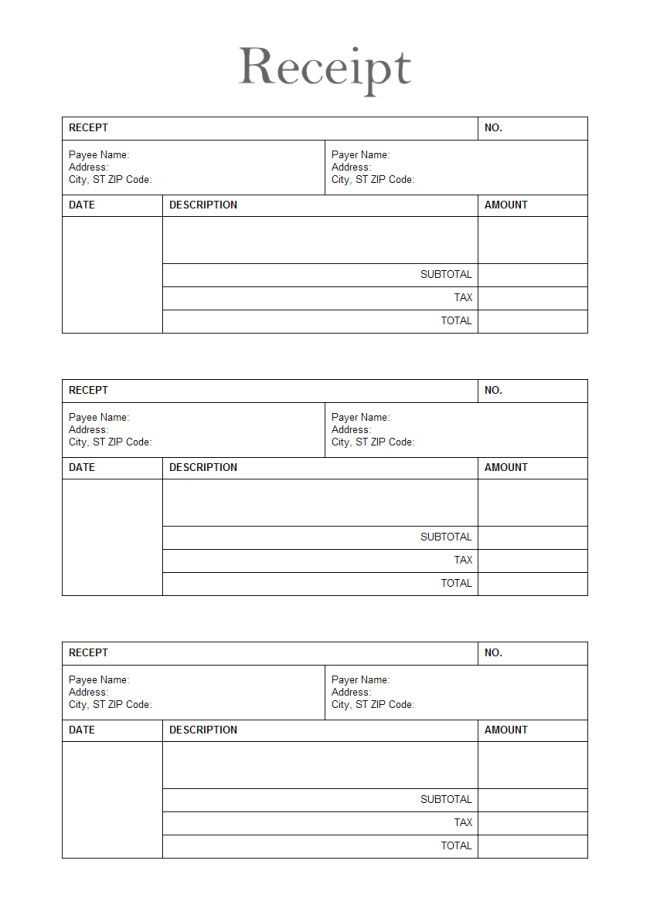
Lightspeed receipts use a structured format based on HTML and Liquid syntax, allowing dynamic content generation. Each section–header, body, and footer–can be customized. The header typically contains the store name and logo, while the body lists purchased items, taxes, and total amounts. The footer often includes additional messages, policies, or promotions. Modifications should maintain readability and compliance with local regulations.
Adjusting Fonts, Colors, and Layout for Branding
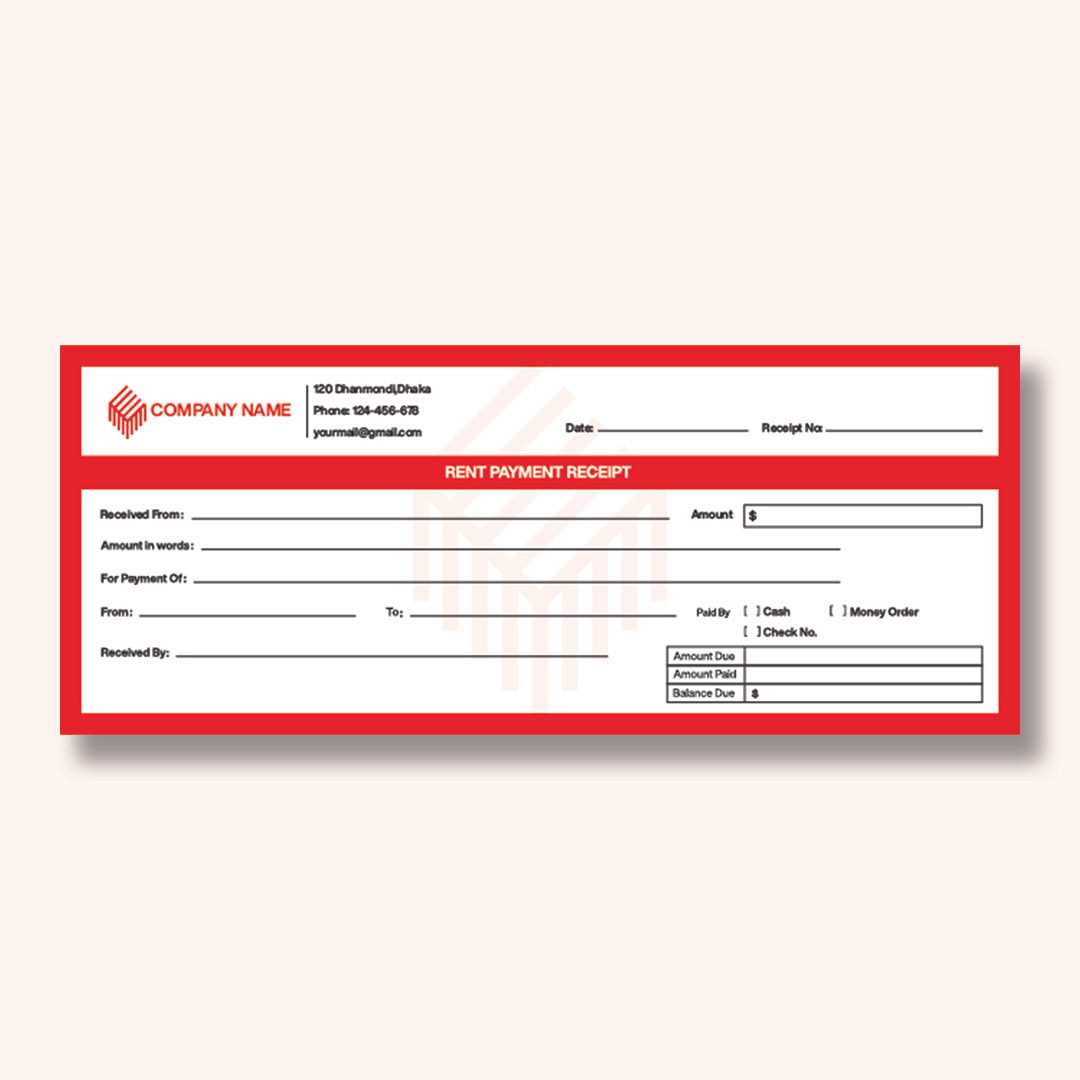
Customize fonts using CSS within the template editor. Specify styles with <style> tags or inline properties. For example:
<style> .receipt-header { font-family: Arial, sans-serif; color: #333; } </style>
Use color codes to align the receipt with brand identity. Adjust layout by modifying table structures and spacing to improve presentation.
Incorporating Custom Fields and Messages in Receipts
To include additional details, use Liquid variables. For instance, a custom message can be added:
<p>{{ settings.custom_message }}</p>
This ensures dynamic updates without altering the template manually.
Embedding QR Codes and Barcodes for Transactions
Generate QR codes for quick reorders or loyalty programs using Google’s API:
<img src="https://chart.googleapis.com/chart?chs=150x150&cht=qr&chl={{ order.id }}">
For barcodes, integrate standard barcode generation libraries or use Lightspeed’s built-in capabilities.
Refining Content for Legal and Tax Compliance
Ensure compliance by including required tax details and legal disclaimers. Modify templates to display tax breakdowns:
<p>Tax: { order.tax }</p>
Consult local regulations for mandatory information.
Saving, Testing, and Implementing Custom Templates
After modifications, preview the template in Lightspeed’s editor. Test multiple transactions to confirm accuracy. Save versions before publishing changes to avoid unintended formatting issues.


