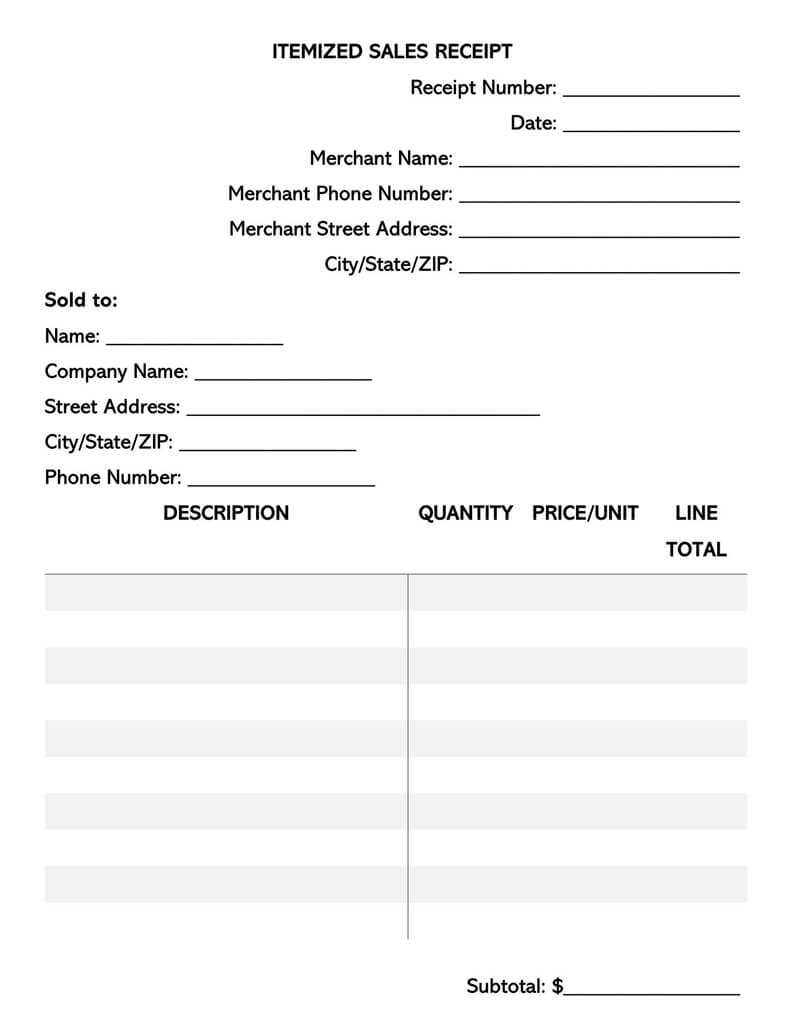
If you’re looking to create a streamlined receipt template for your transactions, using Mac Numbers offers a convenient and accessible option. By leveraging the powerful features of Numbers, you can set up a receipt template that suits your business or personal needs. Customize the design and layout to match your branding or personal style.
Start by creating a table with all necessary fields, such as item description, price, quantity, and total. Make use of built-in functions for calculating totals automatically, ensuring accuracy with minimal effort. You can also add columns for discounts, taxes, or tips, allowing for flexible adjustments depending on your specific needs.
For a more polished look, use Numbers’ formatting tools to align text, adjust fonts, and apply borders to sections for better organization. Once your template is set up, you can easily reuse it for future transactions, saving time and effort every time you create a new receipt. Keep it simple but functional, and tailor it to your requirements for a seamless experience.
Detailed Guide on Using Mac Numbers Receipt Template
Open Mac Numbers and choose a receipt template from the template gallery. Select a design that fits your needs, whether it’s for a simple transaction or something more complex like detailed invoicing. Once you’ve chosen a template, click “Choose” to open it in a new document.
Customizing Your Receipt
Modify the text fields to reflect the correct details of the transaction. Replace placeholder information with your business name, address, and contact details. Update the item list with accurate descriptions, quantities, and prices. Mac Numbers makes it easy to calculate totals by setting up formulas that automatically sum up the prices and apply taxes if needed.
Formatting and Personalization
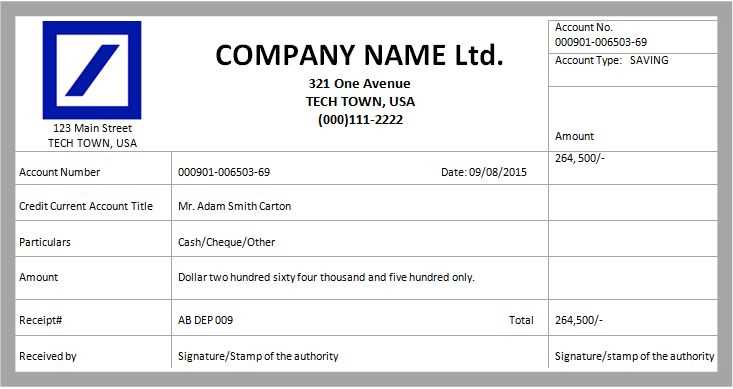
Adjust fonts and colors to match your brand’s style. You can change the layout by resizing columns and rows, or even adding new sections for extra information like discounts or payment methods. To make sure everything is aligned properly, use the cell formatting tools for consistent spacing and neatness.
Once you’ve finished customizing the receipt, save the document for future use or export it as a PDF to send to customers. This method ensures you always have a professional, consistent template ready for your next transaction.
Setting Up a Receipt Template in Mac Numbers
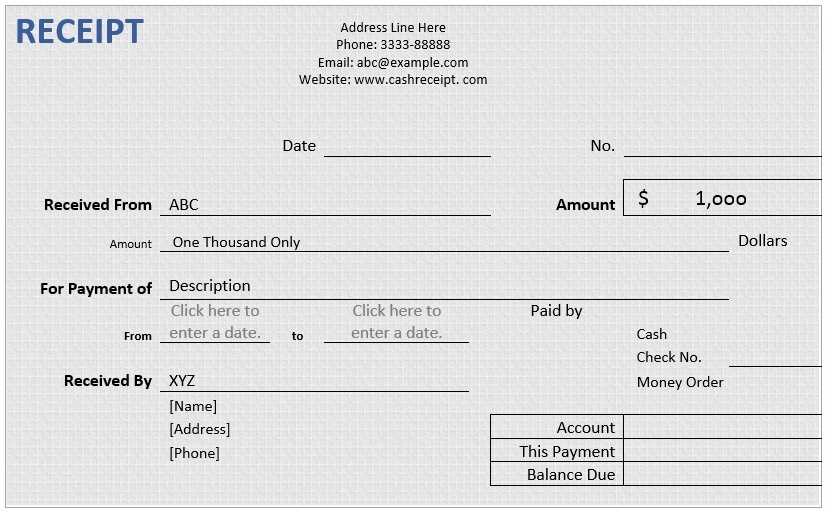
Open Mac Numbers and create a new spreadsheet. Choose a blank template to start fresh. Add headers for the key details of the receipt, such as “Date,” “Item Description,” “Quantity,” “Unit Price,” and “Total.” You can use bold formatting for the header cells to make them stand out.
Next, adjust the column widths so all your data fits neatly. Highlight the columns and drag the edges to resize them as needed. This will ensure that everything is aligned and readable.
In the first row below the headers, enter sample data to define your structure. You can use formulas for calculations, such as multiplying quantity by unit price to get the total. For instance, in the “Total” column, type “=B2*C2” to multiply the values from the “Quantity” and “Unit Price” columns.
After the basic setup, style your template. Add borders to the cells to separate the sections clearly. You can also apply background colors to certain rows or columns to visually distinguish different parts of the receipt.
Finally, save the document as a template for future use. Go to “File” and select “Save as Template.” Give it a name and save it to the Template Chooser for quick access when creating new receipts.
Key Functions for Editing and Managing Receipts
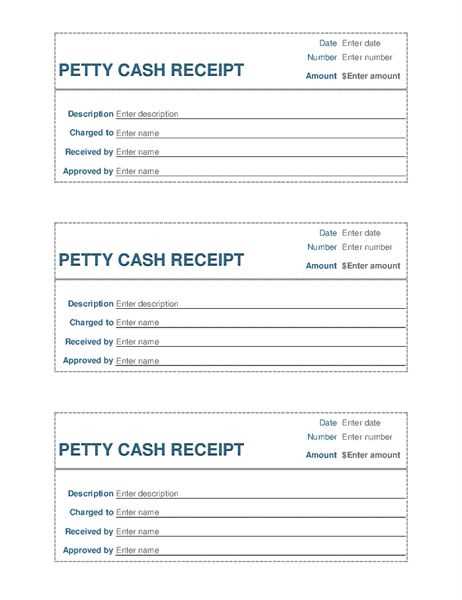
Use these practical tools to streamline your receipt editing and management process:
1. Edit Receipt Information Quickly
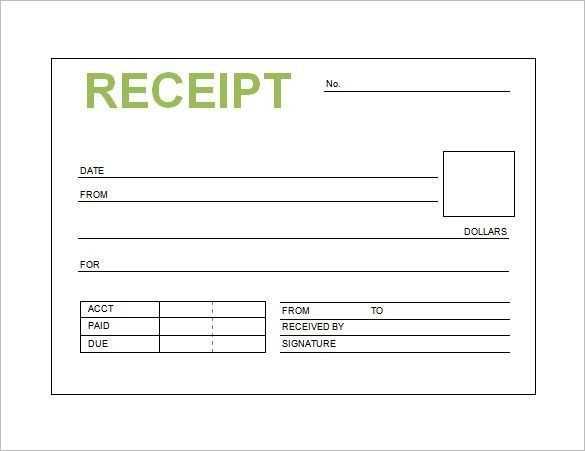
- Modify transaction details, such as date, amount, and description.
- Adjust itemized lists of purchased goods and services as needed.
- Replace or remove inaccurate entries instantly.
2. Organize Receipts into Categories
- Group receipts by type, such as purchases, refunds, or taxes.
- Use tags for additional sorting options, like “business” or “personal.”
- Generate reports based on categories to simplify tracking.
3. Customize Receipt Layout
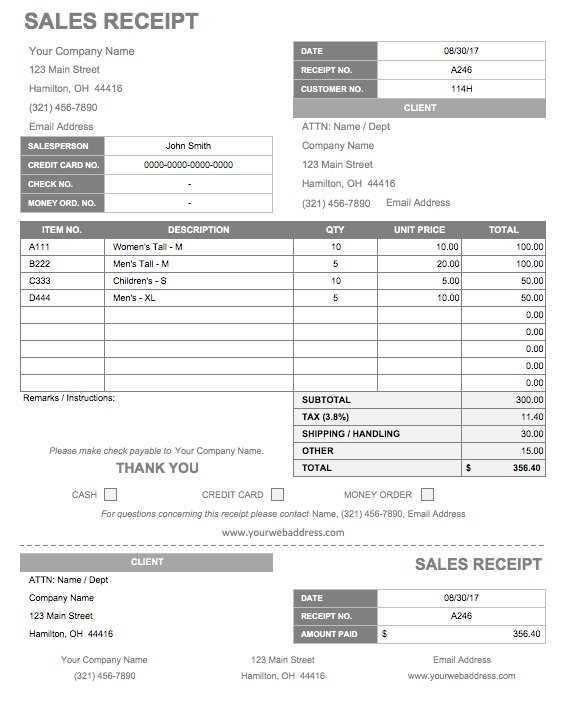
- Choose from predefined templates or create your own for consistent design.
- Adjust fonts, colors, and logo placement to align with your branding.
4. Store and Search Receipts Efficiently
- Save receipts in a secure cloud storage for easy access.
- Use advanced search filters, such as date range, amount, and vendor.
Saving and Sharing Your Receipt Templates
To save your receipt template in Numbers, click on “File” in the menu, then select “Save” or “Save As” to store the template on your device. Choose a location that’s easy to access for future use.
For sharing, go to “File” and select “Share”. You can send the template via email or share a link to cloud storage services like iCloud or Google Drive. Be sure to adjust privacy settings if needed to control who can view or edit your template.
If you want to reuse the template regularly, consider saving it in a dedicated folder or pinning it to the sidebar in Numbers for quicker access. This will streamline your workflow and make it easy to find later on.


