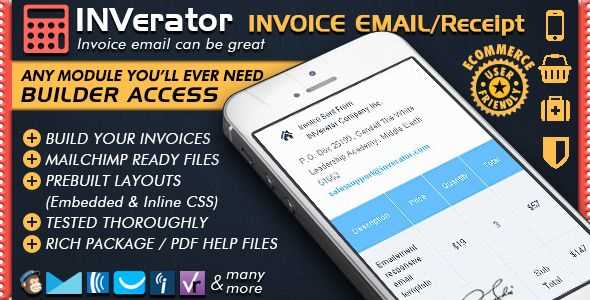
To create a Mailchimp receipt template, focus on clarity and simplicity. Organize the key elements into sections for easy reading. Each receipt should include the purchase details, a thank you message, and contact information. Avoid clutter by keeping the layout clean and well-spaced. Here’s how to structure your template:
Key Elements of a Receipt
- Header: Include your company logo and a clear title like “Receipt” or “Invoice.”
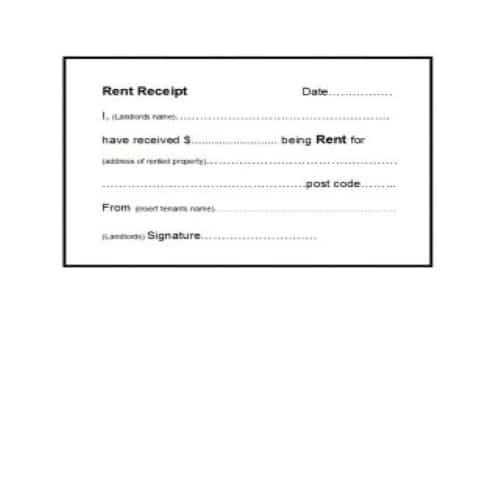
- Purchase Details: List the purchased items, their prices, and the total amount.
- Payment Method: Specify how the payment was made (e.g., credit card, PayPal).
- Date of Transaction: Clearly mention the date and time of purchase.
- Contact Information: Provide your customer service contact, such as an email or phone number.
Design Tips
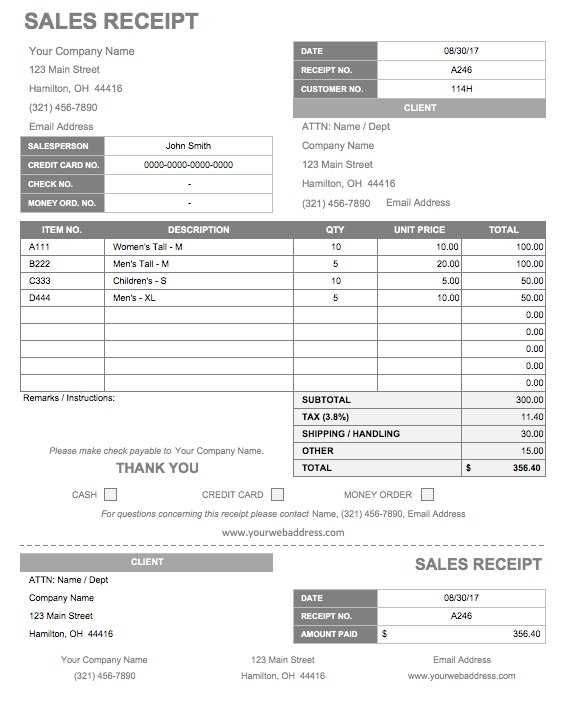
Use a simple font and keep text sizes consistent. Highlight important information like the total amount and transaction number using bold or larger font sizes. Ensure there’s enough space between sections so customers can easily locate details. Include clear calls to action, like a “Return to Shop” button if you want them to make another purchase.
Personalizing the Template
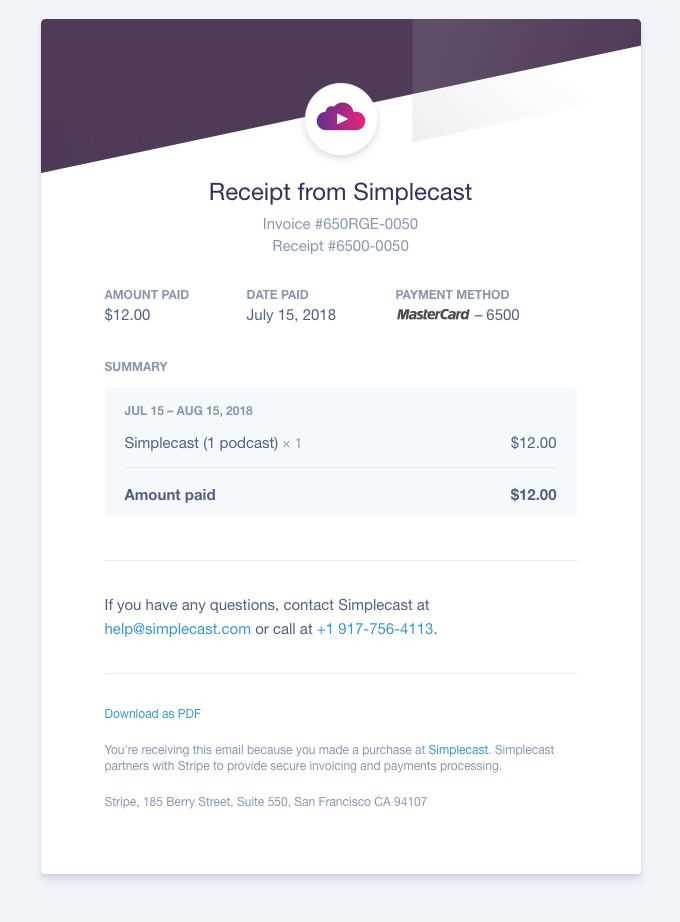
To make your receipt more personal, include a customized thank-you message and a discount code for future purchases. Mailchimp allows you to insert merge tags to personalize each email with the customer’s name, product, or other details. This small touch can enhance the customer experience and encourage repeat business.
Testing the Template

Before sending the receipt template, send test emails to yourself to ensure everything appears as it should. Check for any formatting errors, broken links, or missing information. Adjust spacing and font sizes as needed to make sure your template is mobile-responsive and user-friendly.
Mailchimp Receipt Template: A Practical Guide
Customizing your Mailchimp receipt template requires adjusting the layout to reflect your brand’s identity and offering a seamless customer experience. Begin by selecting the appropriate template from Mailchimp’s pre-designed options. Modify colors, fonts, and logos to align with your brand guidelines. You can easily drag and drop elements, such as text blocks and images, directly into the receipt template for quick changes.
How to Customize Your Mailchimp Template
To personalize your template, open the design editor and focus on the most important areas: header, product details, and footer. Add a clear, branded message in the header, ensuring it includes your logo and any essential contact information. In the product section, showcase the purchase details like product name, quantity, and price, ensuring it’s easy for customers to understand. Lastly, add your return policy or customer support information in the footer for easy access.
Integrating Payment Options into Your Receipt
Integrating payment options into your Mailchimp receipt is straightforward. Use the dynamic merge tags to display payment information automatically, such as the transaction ID or payment method. This allows you to offer transparency and clarity regarding the customer’s payment. To make it even more practical, add an option for customers to download or print the receipt directly from the email, enhancing convenience.
Ensure that you incorporate all necessary transaction data, such as tax and shipping fees, in a clean, easy-to-read format. This will reduce confusion and potential disputes while reinforcing trust in your business.
Best Practices for Testing Your Template
Before sending the receipt to customers, run a series of tests. First, send the receipt to yourself to check the layout, ensuring that all dynamic fields (like customer name and purchase details) populate correctly. Verify that all links work, especially the unsubscribe or support links, and check that the receipt looks good on both mobile and desktop devices. Lastly, consider using Mailchimp’s A/B testing feature to evaluate different design elements and content placements to optimize the customer experience.
