Creating a clear and professional makeup receipt is key for both service providers and customers. Whether you’re a freelance artist or running a beauty business, having a well-organized receipt ensures transparency and trust. A template allows you to customize details like service descriptions, pricing, and payment methods, making transactions smoother.
Ensure Accuracy: Your receipt should accurately reflect the services provided. List each service separately, along with its cost, so the customer can easily understand what they are paying for. Include any discounts or promotions applied, and always be clear about taxes and fees.
Include Payment Details: Clearly state how the payment was made, whether via credit card, cash, or another method. This ensures that both parties are aligned on the transaction. If applicable, provide information on refunds or cancellation policies for better customer service.
Professional Design: A clean, minimal design gives a professional touch. Ensure your business name, contact details, and logo are visible. This makes it easy for customers to reach out in case of any questions or future appointments.
Makeup Receipt Template

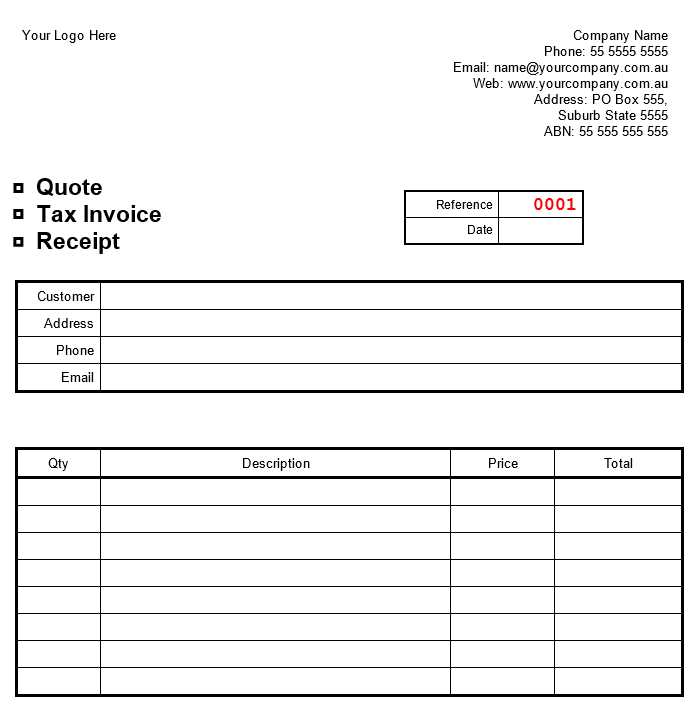
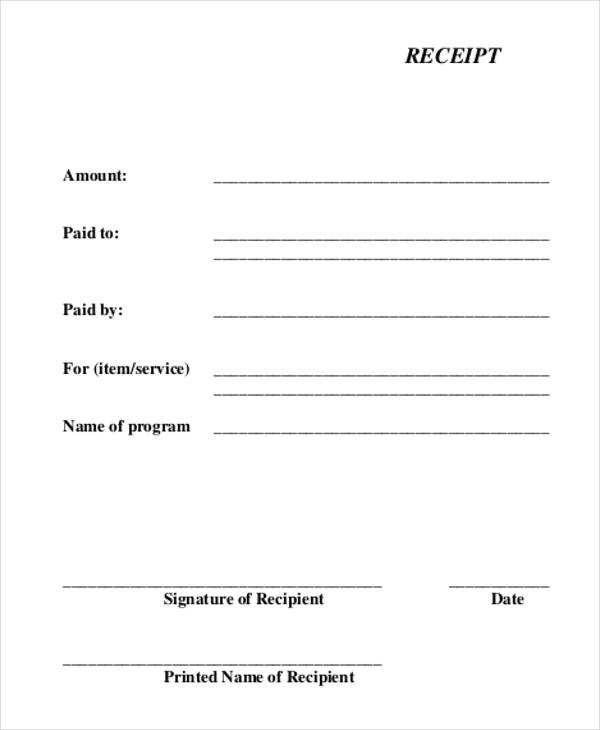
A well-organized makeup receipt template is a practical tool for beauty professionals and clients. It provides clear documentation of services rendered and helps maintain transparency. Here’s how to structure a simple yet informative makeup receipt:
- Business Information: Include your business name, address, phone number, and email at the top of the receipt. This ensures clients can reach you easily if needed.
- Client Details: List the client’s name and contact information for reference.
- Service Description: Write a detailed breakdown of the services provided, such as makeup application, special requests, or additional features like lashes or airbrush makeup.
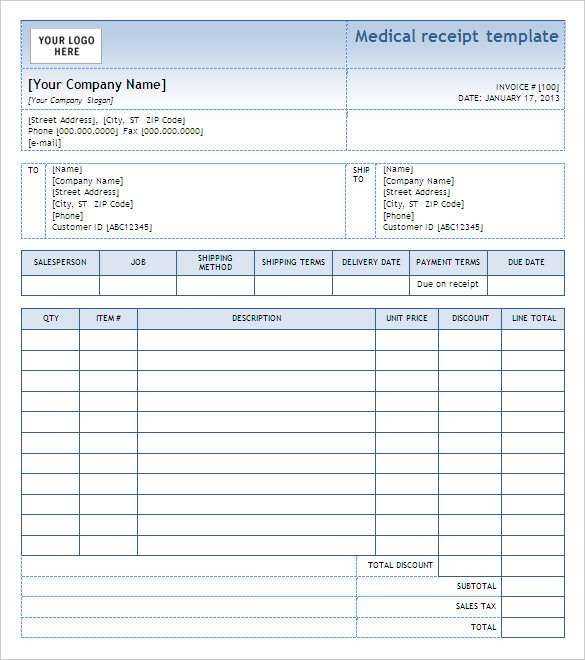
- Price Breakdown: Include the cost for each service, followed by a subtotal. If there are any discounts or promotions, mention them clearly.
- Tax and Total: Add the appropriate tax based on your local rates and provide the total amount due.
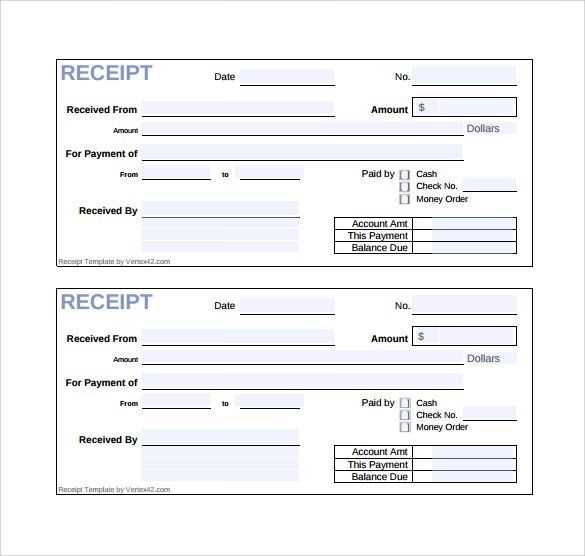
- Payment Method: Clearly indicate the payment method used (credit card, cash, etc.).
- Date of Service: Include the date of the makeup session for easy tracking.
By keeping the structure clear and concise, the makeup receipt not only helps in organizing transactions but also builds trust between service providers and clients.
Customizing Your Makeup Receipt Template for Business Use

Modify the layout of your receipt template to match your branding. Include your business logo, color scheme, and contact details to make it recognizable and professional. This not only strengthens brand identity but also provides clients with easy access to your information.
Clearly categorize the products or services provided. List the makeup items purchased along with their prices, and if applicable, add service details such as makeup application time or any special requests. Ensure that the product name, quantity, and price are legible and easy to read.
Incorporate a payment section. Include the total amount, tax information, and any discounts offered. If you accept multiple payment methods, such as credit card or cash, include that detail for clarity. Make sure to provide a clear breakdown of costs, so clients can see exactly where their money is going.
Incorporate a section for client notes or special instructions. This can be useful for future appointments or for providing personalized service. Clients can note specific preferences for future visits, making them feel valued and increasing their likelihood of returning.
Make the template easy to update. Create editable fields for prices or promotions, allowing you to quickly adjust receipts as needed. A flexible template ensures that you can quickly adapt to changes without having to redesign the entire document.
Incorporating Product Details and Pricing Accurately
Include precise product names, sizes, and quantities to avoid any confusion. Clearly specify the brand, type, and any unique features that differentiate the product. Use exact pricing, including any taxes or discounts, and indicate whether the price is per unit or in total. Double-check that all details are aligned with the actual purchase agreement to maintain accuracy.
Clarifying Product Variations
For products with different sizes, colors, or models, list these options separately. This ensures customers know exactly what they are paying for and prevents any misunderstandings. It’s helpful to include stock numbers or SKU codes for easy identification.
Transparent Pricing Breakdown
Provide a breakdown of the total cost, including the base price, taxes, shipping, and any additional charges. This transparency fosters trust and helps customers understand the full price. If a discount or coupon is applied, note it clearly next to the original price.
Including Tax and Discount Information Clearly
Show tax and discount details on the receipt in separate, easy-to-read lines. Display the tax amount and rate clearly, so the customer can easily verify the tax calculation. Include a short description, such as “Sales Tax,” and the total amount applied. Use percentages for taxes where applicable.
For discounts, provide a breakdown of the discount amount along with the reason, like “Seasonal Discount” or “Coupon Discount.” Indicate whether the discount is applied before or after taxes to avoid confusion. Be transparent about the method used for calculating the final price after discount.
List the final amount due at the bottom, making it stand out with bold text or a larger font size. This ensures the customer knows exactly what to pay after all adjustments.
Designing a User-Friendly Layout for Clients

Choose a clean, minimalist design to make the receipt easy to read. A simple, organized structure allows clients to quickly understand their purchase details without unnecessary distractions. Avoid clutter by focusing on essential elements like item names, prices, and total amount.
Clear Sections and Labels
Divide the receipt into clearly labeled sections such as “Items,” “Discounts,” “Tax,” and “Total.” These categories guide clients through the document and reduce confusion. Use bold headers for each section to make them stand out at a glance.
Readable Fonts and Spacing
Select fonts that are legible, even at smaller sizes, and ensure there’s enough spacing between lines and sections. This reduces eye strain and makes the information easier to digest, especially for older clients or those with visual impairments.
Ensuring Compliance with Local Invoice Regulations
Always verify that your makeup receipt template includes the necessary details required by local tax authorities. Double-check the jurisdiction’s requirements to avoid penalties. Key elements such as the business name, tax identification number, and a breakdown of applicable taxes must be listed clearly. Each country or state may have specific laws related to the format and contents of invoices.
Key Information to Include
Ensure the following information appears on your receipt template:
| Required Information | Description |
|---|---|
| Business Name | Full legal business name registered with the appropriate authorities. |
| Tax Identification Number (TIN) | The unique identifier assigned to your business for tax purposes. |
| Itemized List of Products/Services | Detailed list including names and quantities of items or services sold. |
| Tax Information | Clearly show the amount of tax charged, broken down by rate if necessary. |
| Receipt Number | A unique reference number for each transaction to facilitate tracking. |
Review Local Tax Regulations
Research the local tax authority’s guidelines for invoice documentation. These rules may define specific terminology or require additional details, such as exemption numbers or unique barcode formats for certain transactions. Tailor your receipt template accordingly to stay within legal boundaries.
How to Export and Print the Makeup Receipt Template
Follow these steps to quickly export and print your makeup receipt template.
- Choose the Template Format: Select the appropriate file format for your receipt template. Common options include PDF, PNG, or Word. Ensure the format supports your intended use, such as printing or sending electronically.
- Export the Template: Once you have selected the format, click the “Export” or “Download” button in your template editor. Make sure to save the file in a location where you can easily access it, such as your desktop or designated folder.
- Check the Template Layout: Open the exported file to confirm that the layout and content are correct. Ensure there are no distortions or missing elements. Adjust margins or spacing if necessary for optimal printing.
- Connect to a Printer: Ensure your printer is connected to your device and has enough ink and paper. You can connect via USB, Wi-Fi, or Bluetooth, depending on your printer’s capabilities.
- Print the Template: Open the exported file and select the “Print” option. In the print settings, make sure to choose the correct paper size and orientation (landscape or portrait). You can also adjust the print quality and color settings as needed.
- Preview Before Printing: Always preview the template before finalizing the print job. This will help identify any adjustments needed for alignment or formatting.
- Print the Receipt: Once satisfied with the preview, click “Print.” The receipt will be generated according to your settings. Collect your printed copies and store them as needed.


