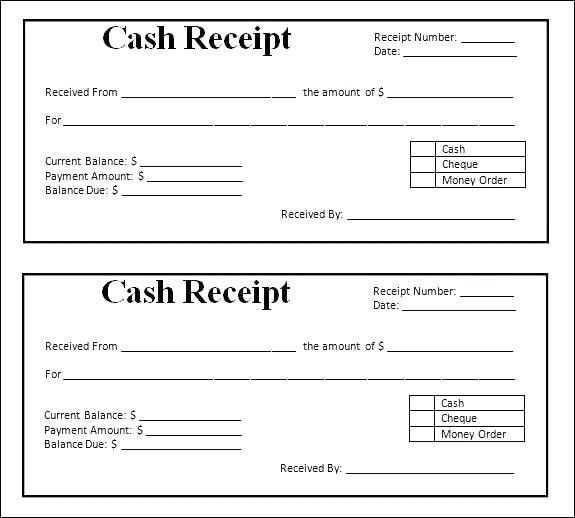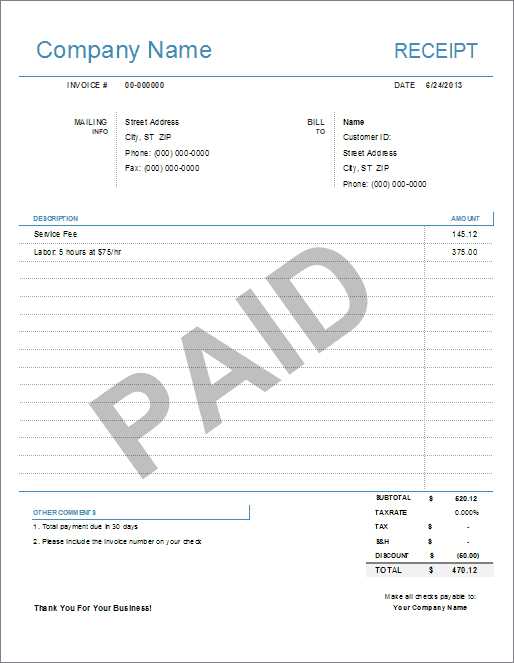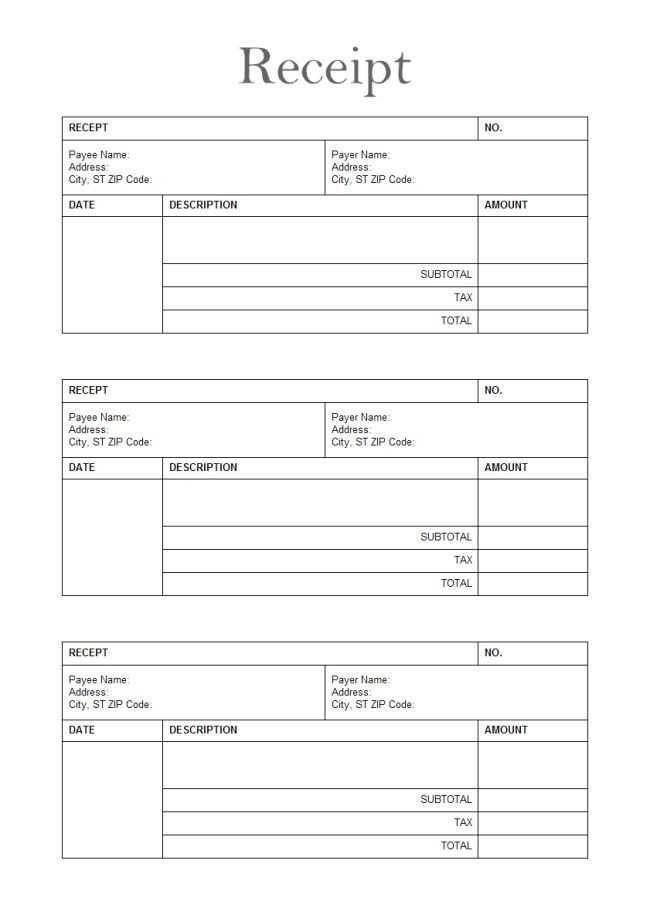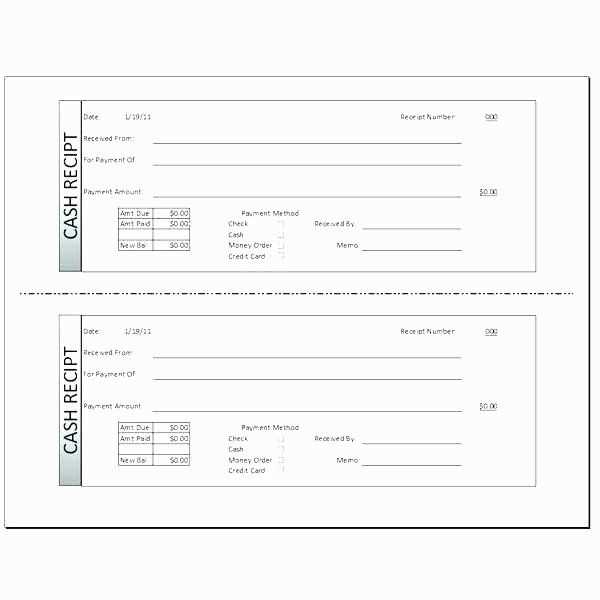
Creating a manual receipt template ensures consistency and professionalism when issuing receipts for transactions. Focus on the clarity of the information included, ensuring that both the seller and buyer can easily reference details. Each receipt should clearly identify the transaction, including the items or services provided, the total cost, and the payment method.
The layout should be simple and organized, with a dedicated space for the company name, address, and contact information. A line-by-line breakdown of purchased goods or services, with corresponding prices, should follow. This format helps both parties quickly understand the transaction details.
For added clarity, make sure to include fields for the transaction date, receipt number, and the method of payment (e.g., cash, card, etc.). It’s also helpful to leave room for any additional notes or terms that might apply to the sale. This makes the receipt versatile for various types of transactions and businesses.
Manual Receipt Template

To create a manual receipt template, include the following key elements: the name of the business, the receipt number, the date of the transaction, and the total amount. Clearly list the items or services provided, their individual prices, and any applicable taxes. Include a space for the payment method used (cash, credit card, etc.), and a signature section, if necessary, for validation. Ensure that the template is easy to read and formatted consistently for all transactions.
Use a simple structure to avoid confusion. Start with the business information at the top, followed by transaction details in a table format for clarity. At the bottom, provide space for additional comments or instructions, like return policies or warranties. Always leave room for any legal disclaimers if required.
To keep it consistent, use the same font and layout across all receipts. This will help establish a recognizable format for your customers. Ensure your template is adaptable for both small and large transactions, and that the font size is legible for easy reading.
Designing a Basic Structure for Your Receipt
Begin by dividing your receipt into clear sections to maintain readability and organization. Prioritize including key information that serves both as a record for the transaction and as a point of reference for future queries.
- Header: This should contain your business name, contact details, and any relevant identifiers such as a tax ID or registration number. Ensure the logo is positioned prominently, if applicable.
- Date and Time: Clearly mark when the transaction took place, including the date and time, to avoid confusion in case of returns or exchanges.
- Itemized List: Provide a detailed breakdown of each item purchased, including the description, quantity, unit price, and subtotal. This enhances transparency.
- Tax Information: Include the applicable tax rate and the total amount of tax charged on the items. This is necessary for both legal and accounting purposes.
- Total Amount: Display the final amount due, including taxes and any discounts. Highlight this number so it’s easy to spot.
- Payment Details: Clearly indicate the method of payment used, such as credit card, cash, or another form. Include a transaction ID or authorization code if available for better tracking.
- Footer: Optional elements like return policy, warranty information, or customer service contacts can be placed at the bottom for easy access.
Maintain a balanced design by using sufficient white space, legible fonts, and simple lines. Avoid clutter, which could lead to confusion during future reference. A straightforward structure ensures that the receipt serves its practical purpose without unnecessary complexity.
Customizing Fields for Your Business Needs
Adjust the template fields to match your specific requirements. If your business needs to track additional data, modify the existing fields or add new ones. You can create custom labels for any section, such as customer names, product details, or transaction IDs, and tailor the receipt to better reflect your brand’s identity.
Creating Specific Field Labels

Labeling fields accurately ensures that all relevant details are included. Replace generic labels with terms that resonate with your operations, such as “Service Description” or “Item Code”. This customization enhances clarity for both your team and customers.
Adding Custom Information
If your business requires additional information, such as loyalty program codes or specific taxes, incorporate custom fields. This can be done by adding input boxes or dropdown menus for easy entry. With this flexibility, you can maintain precise and personalized records for every transaction.
Including Legal Information in the Template
Ensure that your receipt template includes necessary legal disclaimers and terms. These can vary depending on local regulations, but commonly required details include tax information, refund policies, and business registration details. Make sure to specify your company’s registration number, address, and any applicable tax identification number to meet legal standards.
Include a statement about the refund and exchange policy. Clearly outline any conditions regarding returns or exchanges to avoid confusion and disputes. Specify whether you offer full refunds, exchanges, or store credit, and the time frame in which customers can request these services.
If you’re collecting personal data, include a privacy notice that complies with data protection laws. Mention how the data will be used and stored, and who can access it. It’s important to stay transparent with customers regarding how their information is handled.
Finally, don’t forget to include any other legally required information that may apply to your specific business or location, such as industry-specific disclaimers or licenses. Regularly review and update these sections to stay compliant with any changes in the law.
Adjusting Layout for Different Printing Sizes
For manual receipt templates, adjusting the layout to fit various printing sizes is key to maintaining readability and functionality. Begin by determining the print size you are working with, such as A4, A5, or thermal receipt paper. Each size has its own dimensions and aspect ratio, so it’s important to align your content accordingly.
Scaling Text and Elements
Text size and element spacing should adapt based on the print size. For larger paper sizes like A4, text can be slightly larger, but for smaller sizes, such as thermal paper, you may need to reduce font size and adjust line spacing to avoid overcrowding. Ensure the margins are appropriately set for each print size to avoid cutting off content. Test printing to verify that the information fits neatly on the page without overlaps or empty spaces.
Using Relative Units for Consistent Layouts
Consider using relative units like percentages or ems instead of fixed pixel values. This ensures your layout scales proportionally across different print sizes, maintaining consistency. Adjust grid systems or columns to fit the paper size without stretching the content too thin or causing distortion. Fine-tuning these settings guarantees the layout remains clear and legible, no matter the print dimensions.
Ensuring Readability and Clarity of the Receipt
Use a simple, easy-to-read font such as Arial or Helvetica. Make sure the text size is large enough to be readable without straining the eyes. For most receipts, a font size between 10pt and 12pt works well.
Organize Information Clearly
Group related information together in a logical order. The most important details, such as the total price, payment method, and date, should stand out. Consider using bold text or underlining for these sections, while less important details can be smaller or placed in less prominent positions.
Align Text Properly
Align text consistently to enhance readability. For example, align item descriptions to the left, prices to the right, and totals at the bottom center. This consistent alignment will help customers scan the receipt quickly and understand the charges without confusion.
| Description | Price |
|---|---|
| Item 1 | $15.00 |
| Item 2 | $25.00 |
| Total | $40.00 |
Avoid clutter by limiting the amount of information on the receipt. Focus on necessary details, such as item names, prices, taxes, and payment confirmation. Redundant information can distract from key points and complicate the reading process.
Integrating with Digital Tools and Software

To streamline manual receipt processes, integrate your templates with digital tools and software. By doing so, you reduce the risk of errors and speed up data collection and processing. Begin by selecting software that supports custom templates and can export data to various formats like CSV or PDF.
Choosing the Right Software
Pick software that aligns with your business needs. Consider solutions that allow you to:
- Create and edit receipt templates easily.
- Export data in formats compatible with accounting software.
- Automate email or printing of receipts for customer convenience.
Automating Data Entry and Storage
Automation minimizes human error and saves time. Link your receipt templates with inventory management or point-of-sale (POS) systems. This way, the data on each receipt is automatically captured and stored for future reference. Many POS systems allow you to integrate receipts with customer profiles, improving record-keeping and customer service.
Integrating digital tools into your manual receipt process enhances accuracy, efficiency, and customer satisfaction while saving time on routine tasks.


