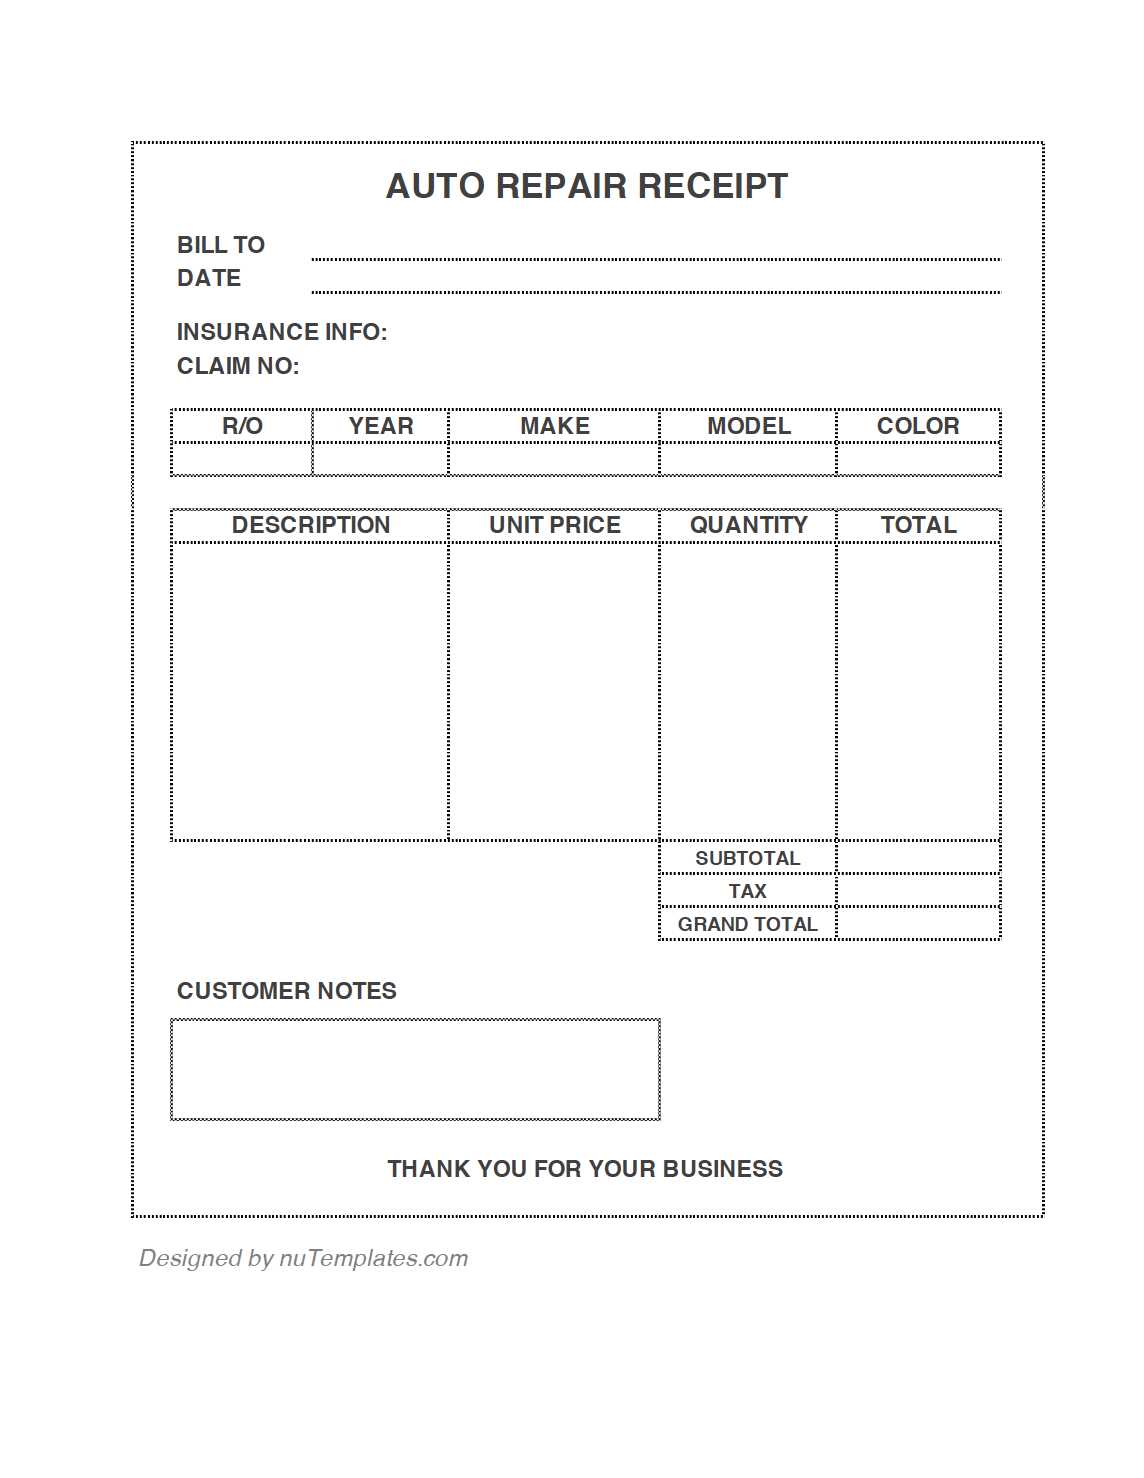
To create a clear and accurate receipt for mechanical services, begin by breaking down the job into two core components: parts and labor. List each part used along with its cost. Be sure to specify quantities and any unique details about the part, like serial numbers or model specifications. For labor, include the total hours worked and the rate charged per hour. If multiple technicians are involved, itemize their individual hours.
For transparency, provide a description of the work done. Use simple language that outlines tasks performed and any additional charges, such as disposal fees or shop supplies. This ensures that your customers know exactly what they are paying for without confusion.
Ensure your template includes sections for the business name, contact information, and receipt number for easy tracking. Adding a section for terms and conditions, like warranties or payment terms, helps prevent misunderstandings and ensures both parties are clear on the agreement.
Mechanics Parts & Labor Receipt Template
A well-structured receipt helps build trust with customers and ensures transparency. The key to an effective receipt is clarity. Make sure it includes details about parts, labor costs, and any other relevant charges. Here’s how to organize it:
1. Header Section: Start with your business name, contact details, and logo (if applicable). Include the date of the transaction and a unique receipt number for easy reference.
2. Customer Information: Include the customer’s name, contact info, and the vehicle details (make, model, year). This provides context for the work done and ensures proper identification.
3. Part Details: List each part used, along with part numbers, descriptions, and prices. Ensure parts are broken down clearly to avoid confusion. If there are any warranties or return policies for parts, note them here.
4. Labor Charges: Specify the labor hours worked, the rate charged per hour, and a brief description of the work performed. Use clear language to describe the services provided to avoid any ambiguity.
5. Additional Fees: If applicable, list any additional charges like taxes, disposal fees, or shop supplies. Be transparent about these charges to prevent misunderstandings.
6. Total Amount: Clearly state the total amount due, breaking it down into parts, labor, and additional fees. Make sure it’s easy for the customer to see how the final total is calculated.
7. Payment Method: Indicate how the customer paid, whether it was by cash, card, or check. Include any transaction details or receipt numbers if applicable.
8. Warranty or Guarantee: Mention any warranty or guarantee on parts or labor. This assures the customer that they are covered in case of issues post-service.
9. Footer: End with your business terms, return policies, or anything that may be helpful for future reference. A simple “Thank you for your business” can go a long way in customer relations.
By structuring your receipt this way, you ensure transparency, reduce misunderstandings, and create a professional impression with customers.
Designing a Clear Parts Breakdown for Receipts
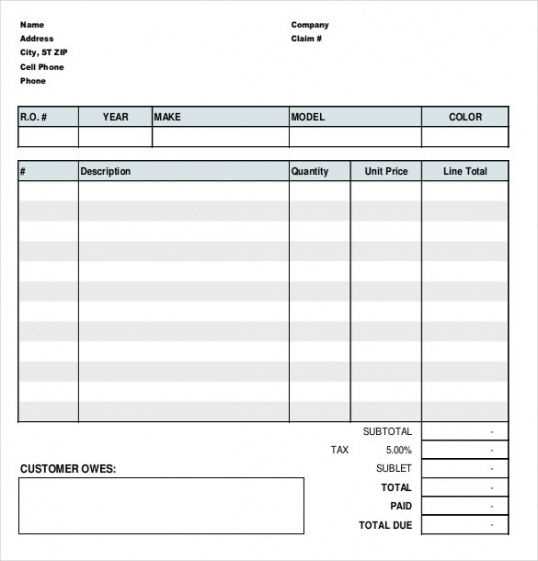
Provide a detailed and transparent list of parts used in the service to avoid confusion. Clearly separate each part’s description, quantity, unit price, and total cost. This helps customers understand exactly what they are paying for.
Structure of the Parts Breakdown
- Part Description: Use precise and concise names for each part. Include part numbers if available to prevent any ambiguity.
- Quantity: Specify how many units of each part were used. This is especially important for bulk materials or components purchased by weight or size.
- Unit Price: List the price of each individual part. Be transparent about any pricing models, like discounts or markups.
- Total Cost: Calculate the total for each part by multiplying the quantity by the unit price. Make this calculation visible for easy verification.
Additional Considerations
- Parts Grouping: Group related parts together to avoid confusion. For example, combine fasteners or gaskets into one section if they are part of a single assembly.
- Highlight Replacements: Clearly distinguish parts that replaced old components. This allows the customer to easily see what has been upgraded or fixed.
- Include Part Sources: If relevant, note where the parts were sourced from or indicate if they are custom-ordered. This builds trust in the service and pricing.
Structuring Labor Hours and Rate Entries for Transparency
Clearly display labor hours and rates to ensure both clarity and fairness. List each task separately with its corresponding hours and rate. This method prevents confusion and supports accurate billing. For example, if a technician spends 2 hours diagnosing an issue at $50 per hour, itemize this as:
- Diagnosis: 2 hours @ $50/hour
Breakdown by Task
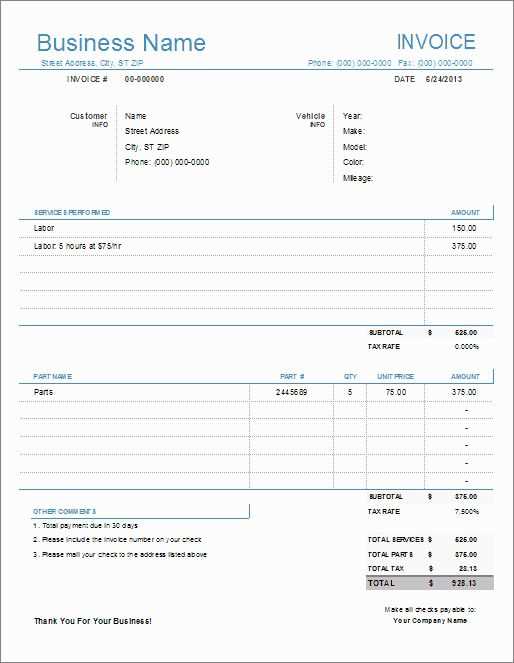
Divide labor into smaller tasks when applicable. For instance, if a repair involves multiple steps, each one should be listed separately with its own time and rate. This breakdown creates an easy-to-read format and demonstrates exactly where time is spent.
Incorporating Flat Fees
When a flat rate is applied to certain services, state this clearly next to the relevant task. For example:
- Service Call: $75 (Flat Fee)
By itemizing charges, both the customer and service provider maintain transparency, leading to a smoother transaction and better trust.
Using this structured approach simplifies billing, reduces disputes, and provides customers with a detailed understanding of their charges.
Ensuring Accurate Tax Calculations on Parts and Labor
To calculate taxes on both parts and labor correctly, always separate the taxable and non-taxable items on the receipt. Parts typically fall under taxable items, but labor charges can vary depending on local laws. Ensure that your system or template allows for clear distinctions between these two categories.
Next, apply the correct tax rate to the parts and labor charges. Use local or state tax rates, as these can differ significantly. Some regions apply a reduced tax rate on labor, while others may exempt it entirely. Double-check the rates regularly to avoid errors in tax calculations.
If offering bundled services that include both parts and labor, you may need to allocate the total price between the taxable and non-taxable components. This ensures each part of the transaction is taxed correctly according to the applicable laws.
Consider using a tax calculation tool or software integrated into your receipt system to avoid mistakes. This automation will help eliminate manual calculation errors and keep your receipts consistent and accurate.
Customizing the Template for Different Types of Services
Adapt your receipt template to suit various services by adjusting fields according to the task’s requirements. For labor-based jobs, such as mechanic work, focus on time tracking and rates. For parts or materials, include detailed descriptions, quantities, and unit costs. Custom fields for labor hours, itemized parts, and service descriptions improve clarity and accountability.
For example, if you provide diagnostics or inspection services, allocate space for diagnostic fees and additional charges. For part replacements, ensure that part numbers, brands, and warranty details are included for each item. Group these elements to streamline the review process for customers and technicians alike.
| Service Type | Key Fields to Include |
|---|---|
| Labor | Start/End time, hourly rate, technician name, task description |
| Parts Replacement | Part name, part number, quantity, unit price, total cost |
| Diagnostics | Diagnostic fee, issue description, technician notes |
| Inspection | Inspection items, cost per item, total inspection fee |
Keep the layout clean by allowing enough space for each item, service, and charge. Consistent formatting makes the receipt easy to read and understand for both customers and service providers. Adjust the template’s sections based on the complexity of the work involved.
Integrating Payment Methods and Terms into the Receipt
Clearly list accepted payment methods on the receipt. Specify options like credit/debit cards, cash, checks, or digital wallets. This helps avoid confusion and ensures transparency for both parties.
Payment Terms and Conditions
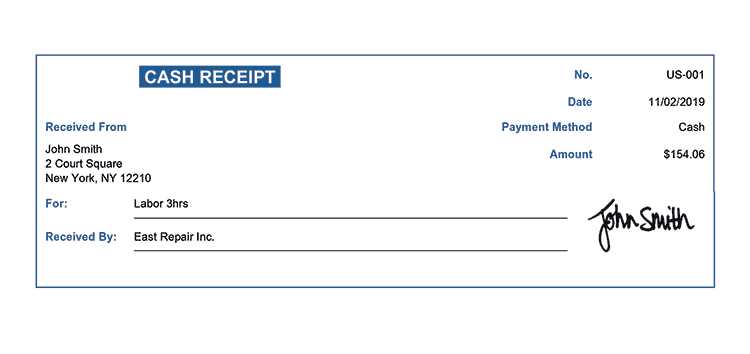
Outline payment terms, such as due dates or financing options, directly on the receipt. If a payment plan is used, indicate the installment amounts and due dates. Be specific about any late fees or penalties for missed payments to avoid misunderstandings later on.
Payment Confirmation and Method Details
Include payment confirmation for clarity. If a card is used, display the last four digits for reference. If a digital wallet is used, specify the platform or app (e.g., PayPal or Apple Pay). Always note the total amount paid and any discounts or taxes applied, so the receipt serves as a full financial record.
Providing Space for Customer and Vehicle Information
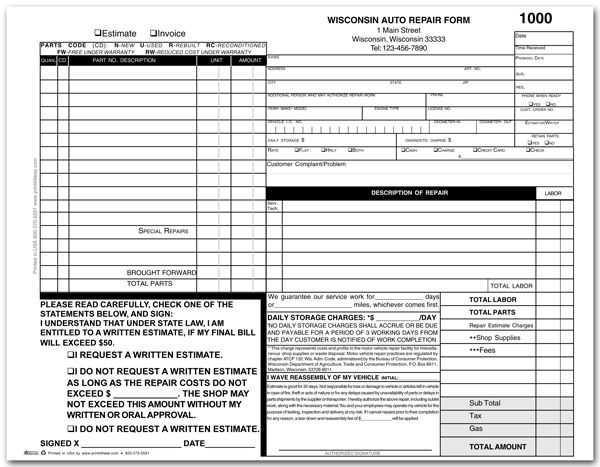
Ensure your receipt template includes dedicated fields for both customer and vehicle details. This approach helps streamline communication and ensures accurate records for future reference. Consider the following layout:
Customer Information
- Name: Create a space for the customer’s full name.
- Contact Information: Include fields for phone numbers and email addresses.
- Address: Offer a section for the customer’s billing or mailing address.
Vehicle Information
- Make and Model: Allow space for the vehicle’s make, model, and year.
- VIN (Vehicle Identification Number): Add a section for the vehicle’s VIN to track repairs and services.
- License Plate Number: Include a spot to record the license plate for quick reference.
By including these specific fields, you can maintain organized and accurate customer and vehicle records, helping to build trust and streamline future service interactions.


