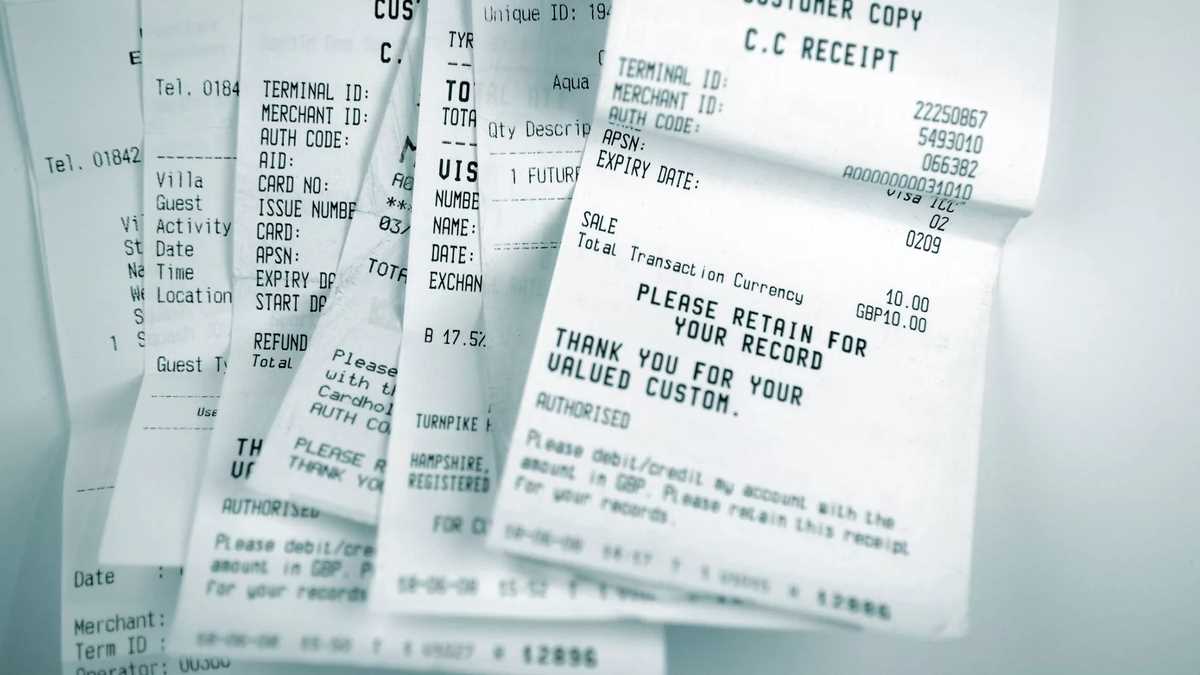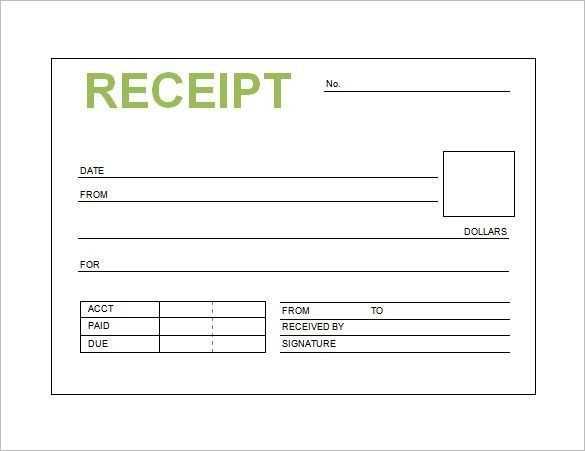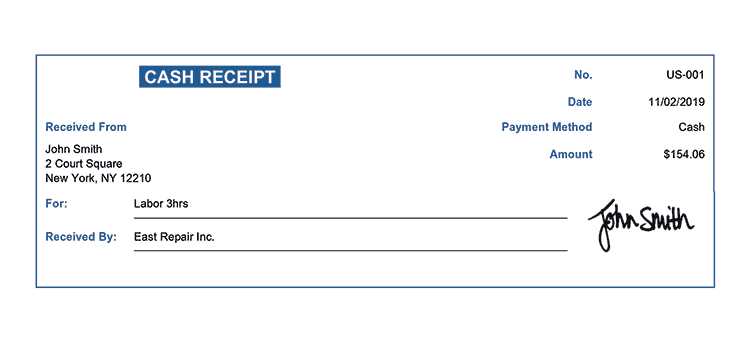
A merchant receipt template should clearly outline the details of the transaction, ensuring both the buyer and seller have a clear record. The template must include key components such as the transaction date, item descriptions, prices, taxes, and total amount due.
The layout should be simple and easy to understand. Use clear headers to categorize each section of the receipt. For instance, list the purchased items first, followed by any applicable discounts, taxes, and final amounts. This ensures that the customer can quickly verify the details of their purchase.
It’s also helpful to include payment method information, whether the transaction was made with cash, credit card, or another form of payment. If applicable, include a transaction number or reference code for easier tracking. Ensure the merchant’s contact information is visible in case of any future inquiries.
Additionally, consider offering a return or exchange policy on the receipt to reduce confusion and increase customer satisfaction. This small detail enhances transparency and strengthens the business’s trustworthiness.
Merchant Receipt Template: Detailed Guide
For creating a merchant receipt, the layout should prioritize clarity and provide all relevant transaction details. Start with the merchant’s information, including the business name, address, and contact details. This helps customers identify where the purchase took place, especially for returns or queries.
Required Information
Include the date and time of the transaction. This is key for both the customer’s records and for any potential refund or exchange processes. Next, list the items purchased with their individual prices. Each item should be followed by the quantity and total cost. You can also include tax information, such as the applicable tax rate and total tax paid.
Payment Method and Total
Clarify the payment method used, whether it’s cash, credit card, or mobile payment. This ensures transparency and confirms that the payment method corresponds with the purchase. Lastly, the total amount should be clearly visible, including any discounts or additional fees applied. Use bold text for this section to make it stand out, ensuring customers know exactly how much they paid.
Finally, provide space for any return policy or terms that are relevant, especially if the product is eligible for return or warranty. Include your customer service contact information so the customer knows how to reach you if needed.
Choosing the Right Format for Your Template
Opt for a format that ensures clarity and ease of use for both the customer and your team. Simple, well-structured templates are easier to customize and update as needed. Start with a clean layout that provides enough space for key details without overwhelming the reader.
Consider Your Business Needs

- If your transactions involve many items, opt for a format that includes a detailed list view with space for item descriptions and prices.
- If you process frequent returns or exchanges, a format with clear sections for return policies and item conditions will be helpful.
Compatibility and Accessibility
- Ensure the template is compatible with your point-of-sale (POS) system or accounting software for seamless integration.
- Choose formats that are easily accessible for customers, whether printed or digital. PDF and plain text formats are commonly used for their compatibility across devices.
Design Elements for Clear Merchant Receipts
Prioritize legibility with a clean, well-organized layout. Use a font size that’s easy to read without straining, typically between 10-12 points. Keep your font choice simple and professional–avoid decorative fonts that can be hard to decipher.
Text Hierarchy and Alignment

Establish clear visual hierarchy by differentiating headings, subheadings, and body text. Align text consistently to guide the reader’s eye and make information easy to find. For example, center-align headings and left-align transaction details for easy scanning.
Highlight Key Information
Bold or underline important elements, such as the total amount, transaction date, and payment method. Ensure the most critical information stands out without overwhelming the reader. This can reduce confusion and speed up the process when the receipt is reviewed later.
Use spacing wisely to separate different sections of the receipt. Group related details together, such as items purchased, taxes, and totals, to create a clear structure. Avoid clutter and allow enough white space around text to ensure everything feels organized and easy to follow.
Incorporating Payment Methods and Taxes
List all accepted payment methods clearly. Include credit cards, digital wallets, bank transfers, and other common options. Use recognizable icons or text to identify each method to avoid confusion.
Next, outline how taxes are applied to the total amount. Specify the tax rate, the regions it applies to, and any exemptions if relevant. If your service operates in multiple regions, consider showing tax breakdowns based on the customer’s location.
Make sure to indicate any additional fees such as service charges or processing fees. Transparency helps customers understand the total cost and ensures there are no surprises at checkout.
Provide a total price section that includes item costs, taxes, and fees for clarity. This helps both customers and accounting teams track payments efficiently.


