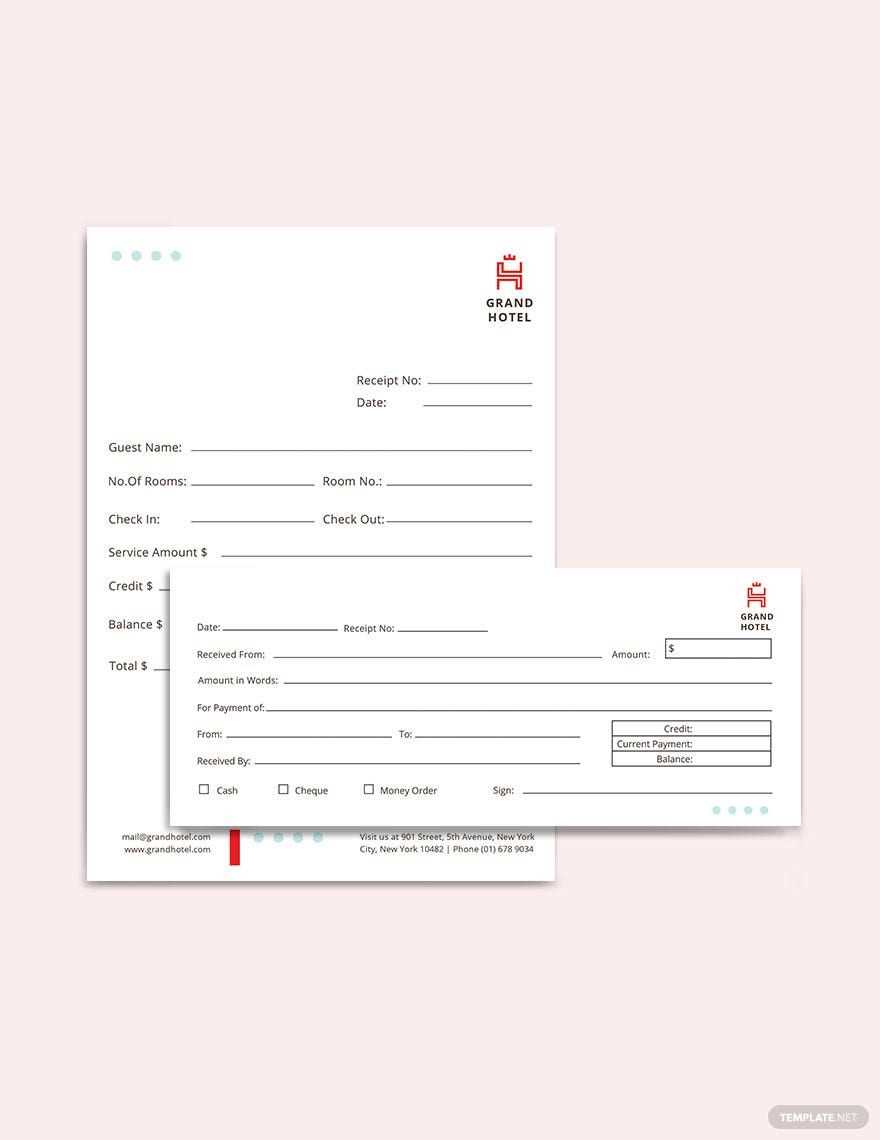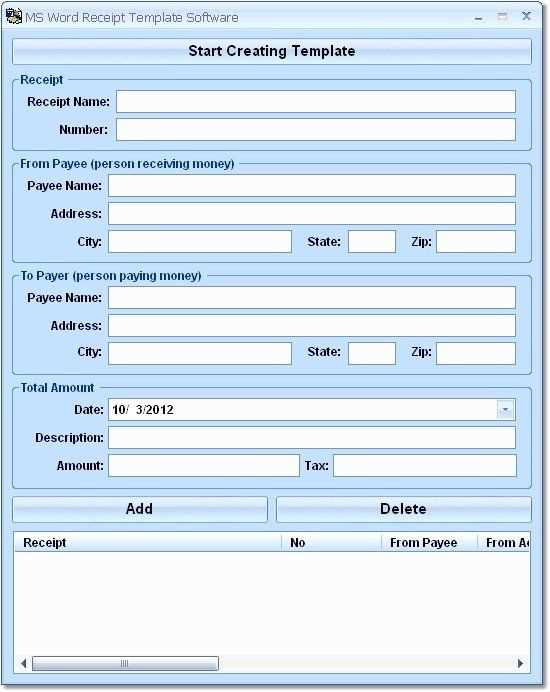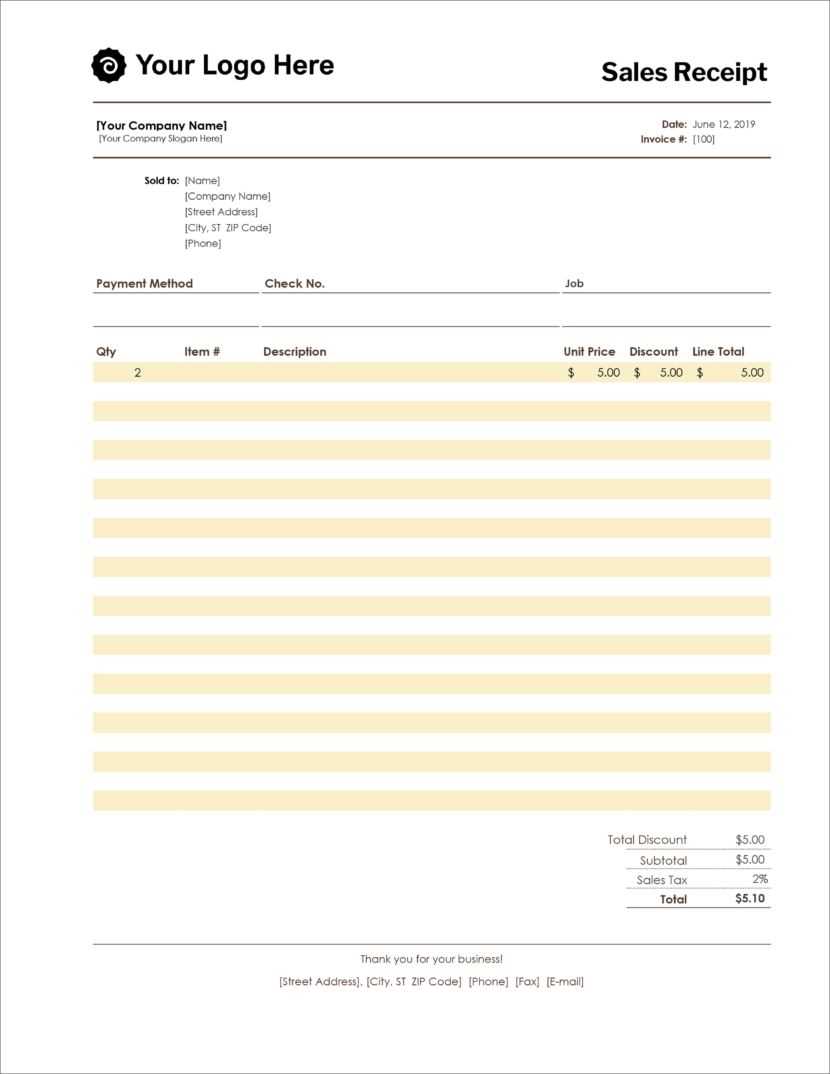
Need a professional and customizable receipt in minutes? MS Publisher offers an easy way to create detailed receipts with a structured layout, predefined fields, and seamless formatting options. Whether you’re running a small business or need a polished receipt for personal transactions, a well-designed template ensures accuracy and consistency.
Choose from built-in receipt templates or design one from scratch. MS Publisher allows you to add logos, adjust fonts, and modify color schemes to match your branding. With text boxes, tables, and alignment tools, structuring receipt details like date, amount, payment method, and itemized purchases is simple.
Save time by creating a reusable template. Instead of starting over each time, keep a standardized format that can be updated with new transaction details. Export the final receipt as a PDF or print directly from Publisher for a professional look.
Ms Publisher Receipt Template: Practical Guide
To create a clean, functional receipt in MS Publisher, open a new document and select the “Blank Document” option. Customize the page size according to your needs, typically a standard letter size (8.5″ x 11″). Next, add a header section with your business name and contact details. Position it at the top of the page for easy visibility.
Formatting the Receipt Details

Begin with a clear breakdown of the transaction. Create text boxes for the item description, quantity, unit price, and total cost. Use tables to organize this information neatly, ensuring that columns are evenly spaced. You can adjust font sizes and styles to make the details readable and professional.
Adding Payment Information
Include a section for payment details such as the method of payment (credit card, cash, etc.), the total amount paid, and the transaction date. A footer area should feature your business terms or a thank-you note to add a personal touch to the receipt. Save the template for future use to streamline your receipt generation process.
Customizing Fonts and Layout for Readable Receipts

Use simple, clear fonts that enhance legibility, such as Arial, Helvetica, or Times New Roman. Avoid decorative or overly stylized fonts that can make the text hard to read.
- Font Size: Ensure the text is large enough for easy reading, typically between 10pt and 12pt for body text. Larger sizes can be used for headings and important details.
- Font Weight: Use bold for key sections, like totals and dates, to make them stand out without overwhelming the overall design.
Organize the layout to make information easy to find. Keep key details like the item description, price, and total aligned for quick scanning. A simple grid layout works well for this purpose.
- Alignments: Left-align text for consistency and easy reading. Centered text can be used for headers or totals.
- Spacing: Increase line spacing to avoid clutter, and ensure there’s enough padding around the edges for a clean look.
For color schemes, use high-contrast combinations. Black text on a white background is always a safe choice, but adding accent colors for headings can improve clarity without distracting from the information.
- Consistency: Stick to a maximum of two or three colors to keep the design simple and readable.
- Highlighting: Use color to emphasize important details like totals, taxes, or contact information.
Adding Auto-Fill Fields for Quick Data Entry
To simplify data entry, add auto-fill fields to your receipt template. These fields automatically populate information such as dates, customer names, or addresses, reducing repetitive typing. Start by using MS Publisher’s built-in text fields and set them to pull data from a predefined source like a contact database or an Excel spreadsheet.
For quick date entry, use a dynamic text box that updates with the current date. You can set it to reflect a specific format, such as day, month, year. For customer-specific data, link the text fields to an external database. This way, as soon as a customer’s information is entered, all corresponding fields on the receipt will fill out automatically.
For addresses or frequently used phrases, create a dropdown menu. This allows you to select the appropriate text without typing it out each time. You can also use MS Publisher’s “Forms” feature to create a form-like layout where fields auto-fill based on your selections.
With these methods, entering data becomes a quicker, more seamless process, allowing you to focus on the unique aspects of each transaction while minimizing manual entry errors.
Exporting and Printing Receipts Without Formatting Issues

To avoid formatting issues when exporting and printing receipts in MS Publisher, ensure you choose the right export settings. Select “PDF” as the output format for consistent results across different printers and devices. This preserves the layout and text alignment, reducing any potential misalignment.
Before exporting, double-check the document’s page size and margins to match your printer’s specifications. If necessary, adjust the margins slightly to prevent elements from being cut off during printing. Preview your document using the “Print Preview” feature to catch any formatting errors that may have been overlooked.
When printing, ensure the correct paper size is selected in both the document settings and the printer’s print dialog box. For larger receipts, consider using a custom paper size option. If you’re using thermal or receipt printers, consult the printer’s manual for any recommended settings to avoid misprints or alignment issues.
Lastly, avoid embedding too many fonts or images that could complicate the export process. Keep the layout simple and functional, especially when handling multiple receipts at once. This reduces the risk of errors and ensures that your receipts appear correctly formatted every time.


