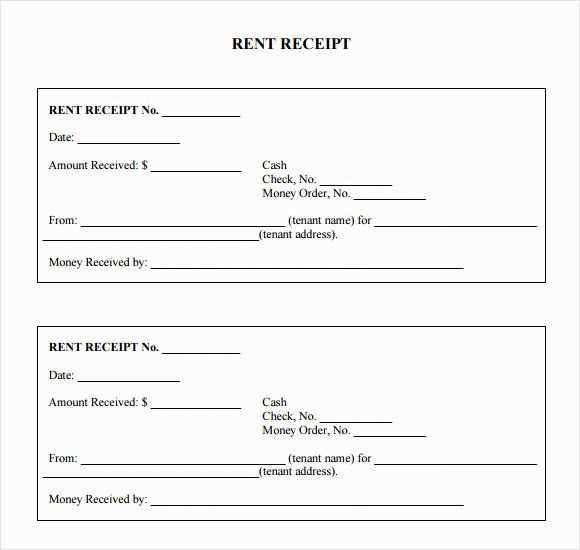
Designing an order receipt template in HTML requires a clear structure and the right balance of information. An effective order receipt shows customers all the key details, making it easy for them to track their purchases. The HTML template should be simple, yet comprehensive enough to cover all essential order components like customer details, product descriptions, and total amounts.
Start by ensuring the receipt has sections for the order number, date, and customer contact information. This makes it easier for both customers and support teams to quickly identify any necessary details. Use tables to organize the list of purchased items, including product names, quantities, and prices, for better readability.
Don’t forget to include a clear section for payment details, such as payment method, transaction ID, and total cost. A friendly closing message or a thank-you note can also enhance customer experience. A simple HTML template can make the order receipt clear and professional, while keeping it lightweight for easy loading and display.
Order Receipt Examples HTML Template
Create a clean and organized order receipt by using a simple HTML structure. Focus on clarity and easy navigation for users to quickly find essential information. Begin with a header displaying the receipt title and store name, followed by order details.
Use tables to organize items and prices clearly. Label columns like “Item Name,” “Quantity,” “Price,” and “Total.” Keep the design minimal to prevent clutter while ensuring every section is easy to read. Add a separate row for the subtotal, taxes, and total amount. A footer section can include payment methods and shipping details.
Incorporate responsive design with CSS to ensure your receipt looks great on mobile devices. Use media queries to adjust the layout when necessary, ensuring readability on smaller screens.
Include order number, customer name, and contact information near the top for quick reference. Ensure each section is separated with clear dividers, making it easier to follow. Don’t forget a thank you note at the end to encourage customer loyalty.
Example structure:
Store Name - Order Receipt
Order #12345
Date: 12/02/2025
Customer: John Doe
Item Name Quantity Price Total Product 1 2 $10 $20 Product 2 1 $15 $15 Subtotal: $35
Tax (5%): $1.75
Total: $36.75
Payment Method: Credit Card
Shipping Method: Standard
This approach ensures your order receipt is not only informative but also user-friendly and visually appealing across all devices. Adjust content and style according to the needs of your business and branding guidelines.
Creating a Basic Order Receipt Layout with HTML
Design the order receipt by structuring key details: customer information, order items, and payment summary. Start by organizing the layout with a table to keep everything aligned and readable. Use basic HTML tags like <table>, <tr>, and <td> for rows and cells.
Structure the Receipt
Begin with the header section. Display the store name and address clearly at the top. Below, include the order number and customer details. Align these in separate rows within the table for neatness. Here’s a simple example:
| Store Name: Example Shop | Order #: 123456 |
| Customer: John Doe | Order Date: 2025-02-12 |
Order Items Section
Below the header, list all purchased items. Use a separate table to keep it structured, including product names, quantities, and prices. It’s helpful to provide a subtotal row at the bottom of this section. This ensures clarity in pricing:
| Product | Quantity | Price |
| Item A | 2 | $20.00 |
| Item B | 1 | $15.00 |
| Subtotal | $55.00 |
Below the items section, provide the final payment information, including taxes, discounts, and total cost. This will help the customer confirm the total amount for the order.
| Tax: | $5.50 |
| Discount: | -$2.00 |
| Total: | $58.50 |
Keep the layout clean with proper spacing. You can adjust the design by using simple CSS, but the HTML structure itself is key for organizing the information.
Customizing Receipt Design with CSS
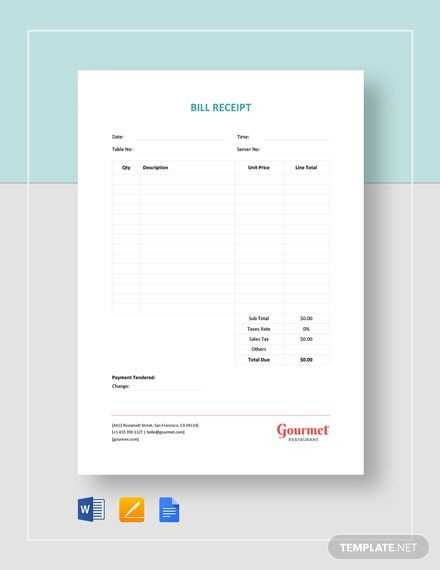
Customize your receipt’s look by adjusting colors, fonts, spacing, and more through CSS. Focus on creating a clean, user-friendly design that aligns with your brand and enhances readability.
1. Adjusting Font Styles
Start by selecting fonts that are easy to read. Use font-family to apply web-safe or custom fonts to your receipt:
- For headers, choose a bold and clear font like
ArialorVerdana. - For item details, use a more neutral font like
HelveticaorTimes New Roman.
Set font sizes with font-size to create a clear hierarchy. Larger sizes for the header and smaller sizes for item descriptions work best.
2. Using Colors for Emphasis
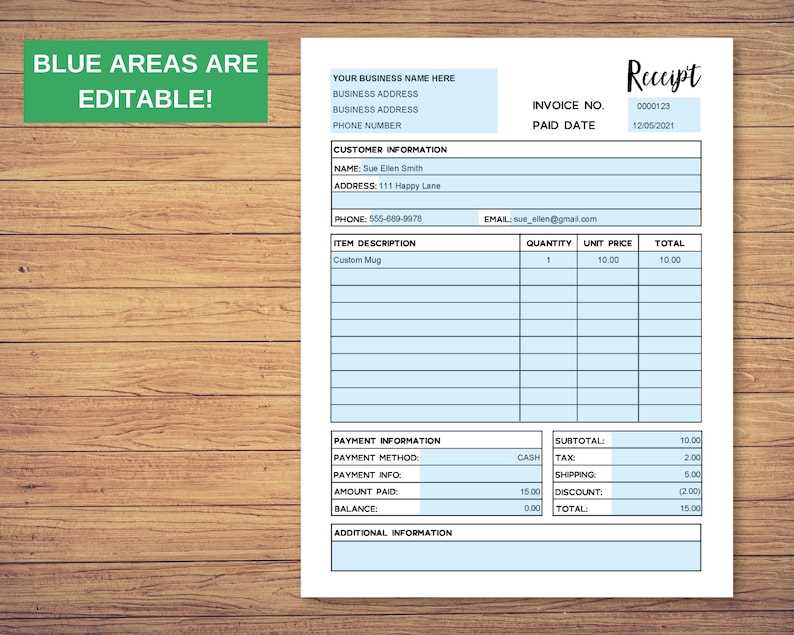
CSS allows you to use color and background-color to highlight important information. Consider the following:
- Highlight the total amount with a strong color like
#ff5733to draw attention. - Use subtle colors for background areas to keep the receipt looking clean, such as
#f5f5f5.
Be mindful of contrast–ensure text stands out against the background for legibility.
3. Spacing and Alignment
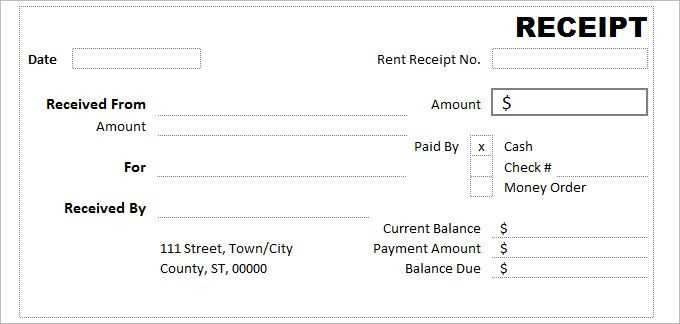
Use padding and margin properties to control the spacing between elements. Proper spacing helps make the receipt more organized:
- Set
padding: 10px;for item rows to give them room to breathe. - Use
margin-bottom: 20px;to separate sections like the total amount from the rest of the receipt.
For alignment, text-align: right; works well for numbers, while text-align: left; suits item descriptions and headers.
4. Adding Borders and Dividers
Separate sections of your receipt with borders or dividers using border or border-bottom:
- Apply a thin border to the bottom of item rows for clarity:
border-bottom: 1px solid #ccc;. - Use
borderfor the receipt’s outer edge to define the boundaries clearly.
5. Responsive Design

Ensure your receipt looks good on all devices by using media queries. For smaller screens, adjust font sizes and layout:
- Use
@media (max-width: 600px)to adjust text size and stacking of sections for better readability. - Consider reducing padding and margins on mobile devices to maximize space.
By applying these CSS techniques, your receipt design will be both functional and aesthetically pleasing, improving the user experience.
Implementing Dynamic Data in Order Receipts Using JavaScript
Use JavaScript to dynamically populate an order receipt with relevant details. This allows for a personalized and up-to-date user experience. Begin by structuring the order receipt with placeholders for items like product names, prices, and quantities. These placeholders will be filled by JavaScript based on the data you retrieve from the order system or a database.
For instance, assume you have a basic HTML structure for the receipt:
<div id="receipt">
<h3>Order Receipt</h3>
<p>Order Number: <span id="order-number"></span></p>
<p>Customer: <span id="customer-name"></span></p>
<p>Total: $<span id="order-total"></span></p>
</div>
Next, write a script to populate these fields with actual data. You can retrieve data from a backend API or a predefined object in JavaScript:
This code assigns values from the orderData object to the corresponding elements in the receipt, updating the content dynamically.
For a more complex receipt with items and quantities, you can loop through an array of products and display each one:
To add this to the HTML structure, include a container for the product list:
<div id="receipt">
<h3>Order Receipt</h3>
<p>Order Number: <span id="order-number"></span></p>
<p>Customer: <span id="customer-name"></span></p>
<p id="product-list"></p>
<p>Total: $<span id="order-total"></span></p>
</div>
This method dynamically generates the list of ordered products and calculates the total price based on quantity and unit price. JavaScript allows the receipt to reflect changes made to the order instantly, ensuring that customers see accurate details without page reloads.
