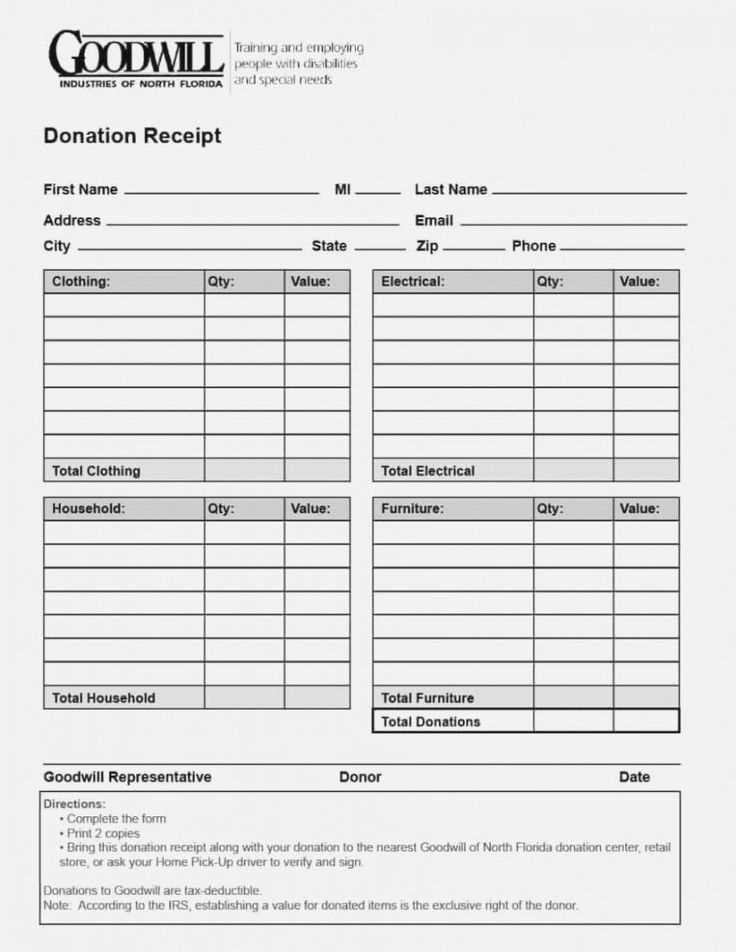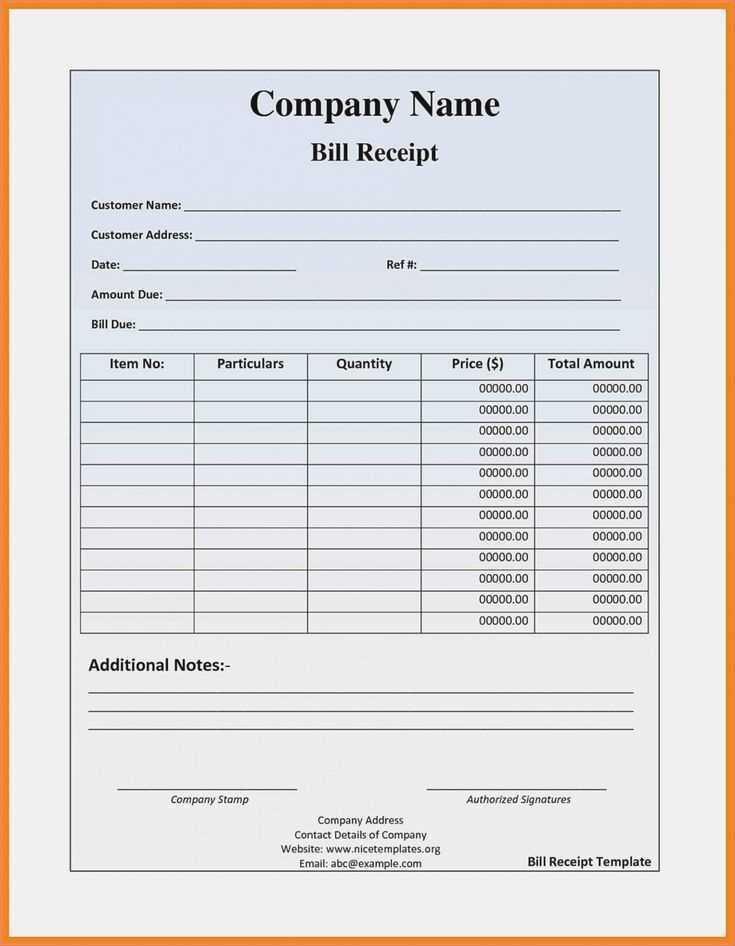
To ensure that your package receipt provides all the necessary details, include clear sections for key information. Start with a date and sender’s information to quickly establish the context of the transaction. Follow this with a brief description of the contents, ensuring each item is listed with relevant specifications like quantity and description. This helps avoid any confusion about what was included in the package.
Make sure the recipient’s name and address are properly displayed. For added clarity, incorporate a section for tracking number and any delivery method details. These elements allow both the sender and recipient to reference specific details regarding the package’s transit and condition. Lastly, provide a space for the signature of the person who received the package, confirming that all contents are accounted for.
With these elements in place, the template offers a simple but organized way to document package receipts. By maintaining consistency in format and providing precise details, you ensure that the template is practical for both business and personal use.
Package Receipt Template
Make sure your package receipt includes the following details for clarity and accuracy:
Receiver’s Information: Include the full name, address, and contact details of the recipient to confirm the package’s delivery destination.
Sender’s Information: Provide the sender’s name, address, and contact details to allow for any necessary follow-up.
Package Details: List a description of the contents, including any item numbers, quantities, and condition of the package. This ensures both parties are clear about what is being received.
Delivery Date: Clearly mark the date when the package was received. This serves as proof of delivery and helps with any tracking inquiries.
Signature Field: Include a signature line for the recipient to acknowledge receipt. This will provide confirmation of the transaction.
Additional Notes: If applicable, note any special delivery instructions or issues encountered during the delivery process, such as damage or delays.
Having these details organized in the receipt ensures smooth verification and accountability. It’s a simple but powerful way to manage package transactions effectively.
Creating a Clear Header with Package Details
Place key package information in the header for easy identification. Use bold text for important details like package ID, recipient name, and shipping address. Organize the data in a logical order to enhance readability.
Key Elements to Include
- Package ID: Display this prominently for quick reference.
- Recipient Name: Include the full name of the person receiving the package.
- Shipping Address: Ensure the complete address is listed, including any suite or apartment numbers.
- Shipping Method: Specify the service used (e.g., standard, expedited).
- Delivery Date: Show the expected or actual delivery date clearly.
Formatting Tips
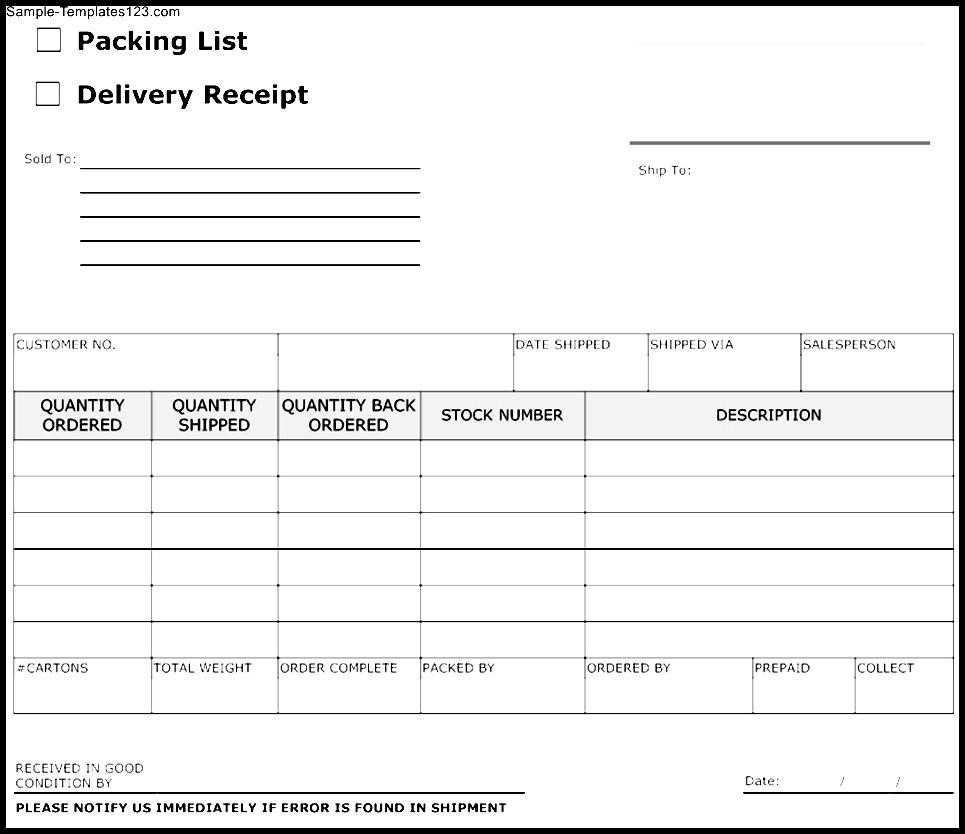
- Keep the header concise and uncluttered to focus attention on critical details.
- Use a larger font size for the package ID to make it stand out.
- Ensure all text is legible by choosing high-contrast colors for the background and text.
Organizing Package Identification Information
Place clear identifiers on the package, such as tracking numbers, item codes, or purchase order references. These details help reduce confusion during processing and ensure quick retrieval. A printed label should be visible and legible from all angles, ideally on the top or front. This makes scanning and reading easier without handling the package too much.
Utilizing Barcode or QR Code Technology
Incorporate barcode or QR code systems to streamline the process. Ensure that the barcodes are placed in a consistent location, preferably at the top-right corner, to facilitate easy scanning. This reduces manual entry errors and speeds up package tracking, especially in busy environments.
Including Shipment and Return Details
Always include the sender’s and receiver’s names, addresses, and contact information. This minimizes the chances of lost packages and improves the return process if needed. Clear return instructions should be visible and formatted similarly to avoid confusion. Additionally, noting any fragile or special handling instructions on the outside can prevent mishandling.
Designing a Section for Receiver’s Information
Ensure the receiver’s information section is clear, concise, and easy to navigate. Position this area prominently on the template, allowing the recipient to quickly identify key details. Use labels like “Receiver Name”, “Address”, and “Phone Number” to guide users in providing the correct data.
Labeling and Formatting
Be precise with labeling fields. Use clear text, such as “Full Name” instead of just “Name”, to avoid confusion. For the address, break it into manageable sections: street, city, state, and zip code. If needed, add tooltips or short instructions near each field to assist users.
Data Validation
Incorporate validation checks to ensure the information entered is complete and accurate. Use simple validation rules like confirming that the phone number contains only digits and is the correct length. Highlight any errors immediately, making corrections easy for the user to spot.
Incorporating Date and Time Stamps for Accuracy
Include a date and time stamp on every package receipt to ensure accurate record-keeping. Use automated systems that capture this information at the moment of receipt, reducing the risk of errors. Ensure the date format matches your internal standards, such as MM/DD/YYYY, for consistency across records.
Best Practices for Time Stamps
Choose a timestamp system that aligns with your business operations. If your team works in multiple time zones, consider using UTC for universal clarity. This prevents confusion when collaborating across regions and ensures uniformity in tracking receipts.
Integration with Inventory Systems
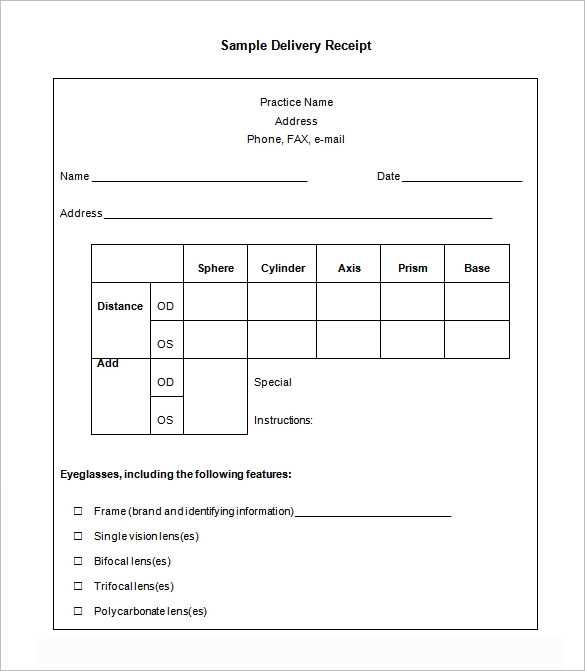
Integrate your date and time stamps directly into your inventory management software. This allows for automatic updates, preventing manual entry errors and streamlining processes. Connecting this data to alerts or notifications can help your team stay on top of critical events, like missing packages or late deliveries.
Adding a Signature Field for Confirmation
To ensure the authenticity of the package receipt, include a designated signature field. This serves as formal proof that the package has been delivered and accepted. A signature confirms that the recipient has reviewed and received the contents of the package. Use a clear space with an inviting label such as “Recipient’s Signature” to prompt action.
Placement and Layout
Position the signature field at the bottom or right corner of the document for easy accessibility. Ensure there is enough space for the recipient to sign without overlapping other fields. Consider placing additional lines beneath the signature space to collect relevant details like the date and time of receipt.
Visual Elements
Use a clean, simple line for the signature field to maintain readability. Avoid complex backgrounds or designs that may distract from the key information. If a handwritten signature is required, include instructions or a note indicating that an electronic signature is acceptable for digital documents.
| Field | Description |
|---|---|
| Signature | Space for the recipient’s signature to confirm receipt. |
| Date | Provide space for the date of receipt. |
| Time | Optionally include a field to note the time the package was received. |
Customizing the Template for Specific Needs
Begin by adjusting the layout to match the nature of your transactions. If you handle multiple items per package, create additional rows for detailed item descriptions. Ensure each section is clearly defined with enough space for all necessary information, such as product details, shipping dates, and delivery instructions.
Adding Custom Fields
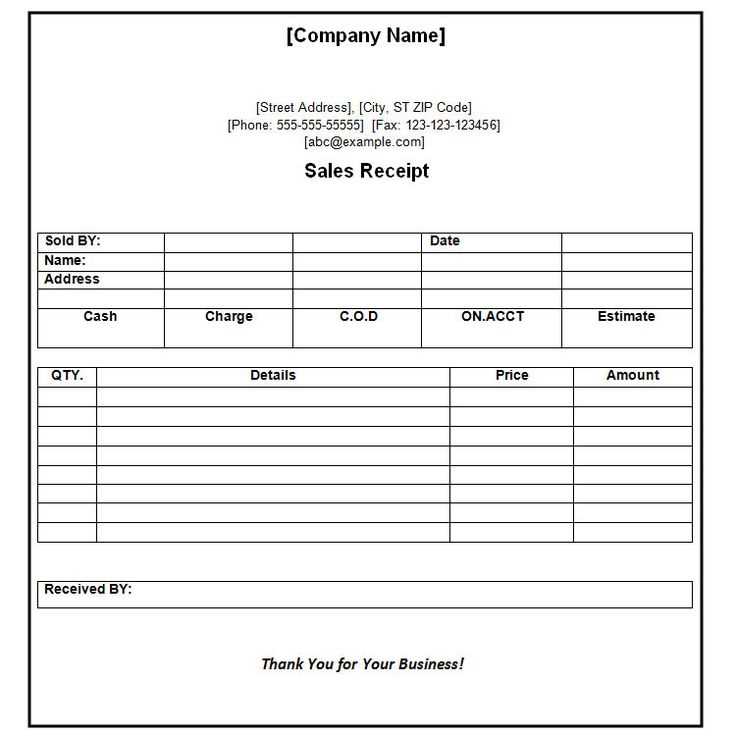
Incorporate custom fields to capture specific data that aligns with your business processes. These could include order number, client reference, or special handling instructions. Position these fields where they won’t clutter the template but remain easily accessible for quick data entry.
Incorporating Branding
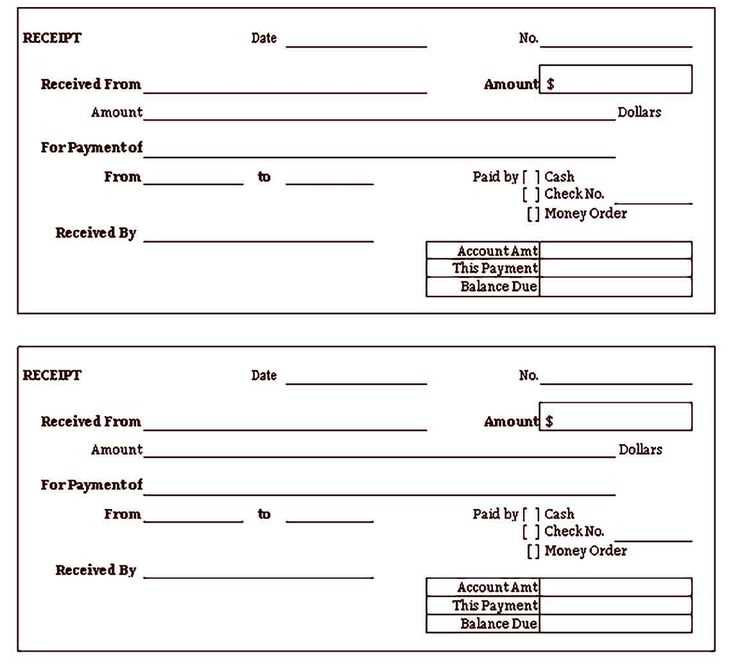
Include your company’s logo and colors to maintain consistency with your branding. Keep the design simple and professional–too much decoration can detract from the clarity of the document. Ensure that contact information and other essential details are easy to locate and read.
