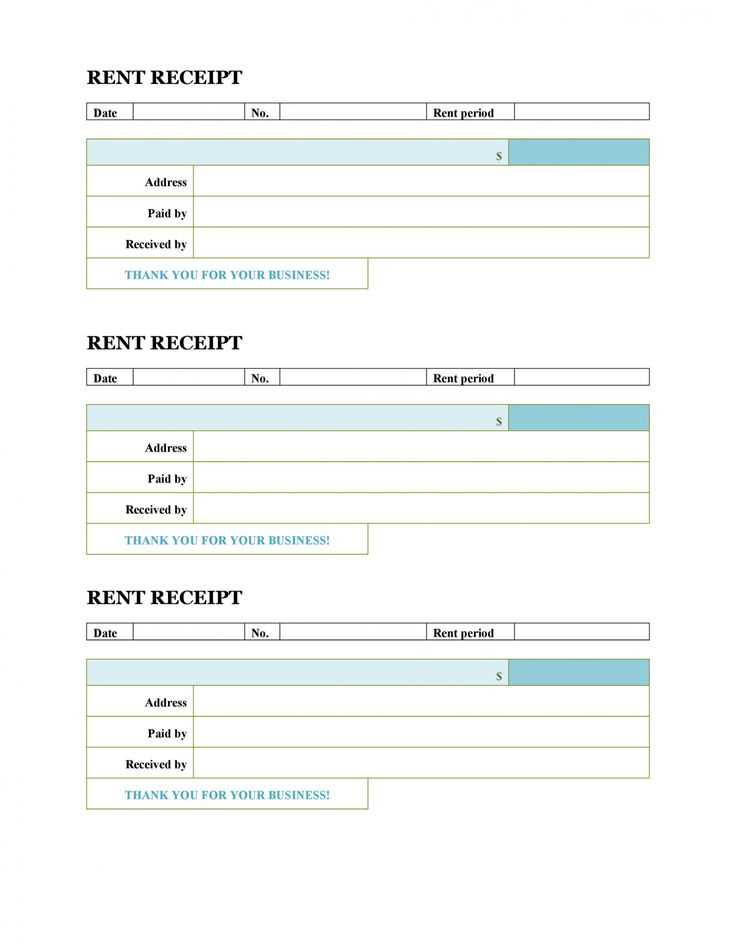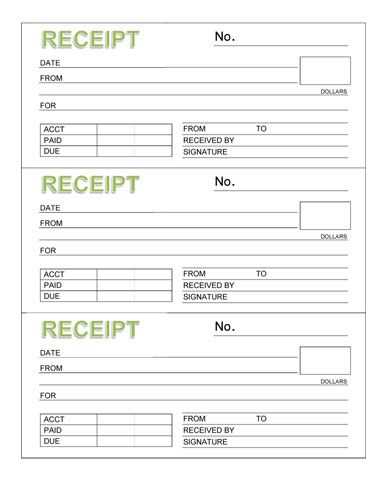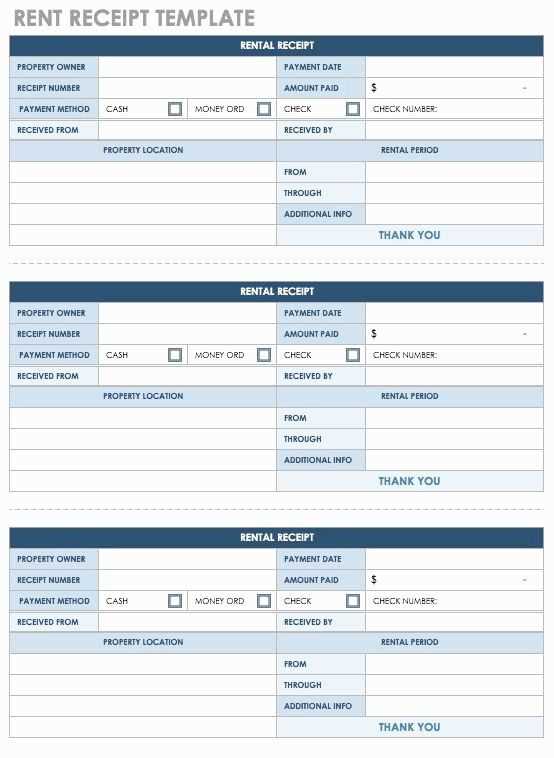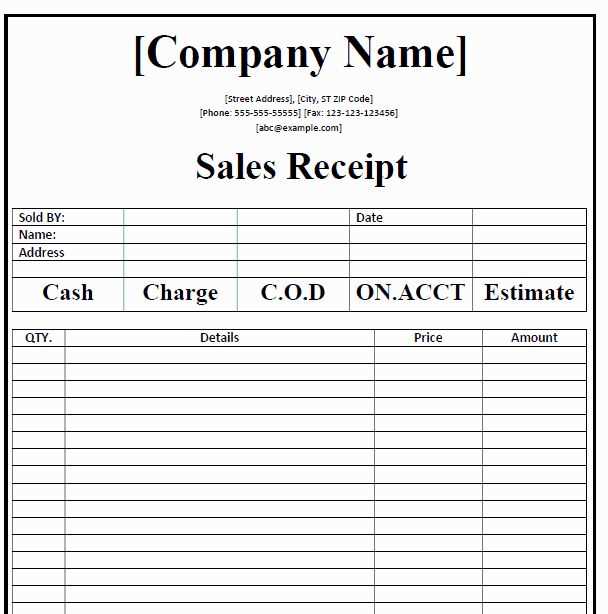
A well-structured receipt template can streamline your business transactions. Create a clean, organized layout with all necessary fields, like date, amount, payment method, and items purchased. This ensures that customers have clear documentation of their purchases, which is essential for both your records and theirs.
Begin with the basics: Include a clear header with your company name, logo, and contact information. This establishes professionalism right from the start. Next, design a table that includes a description of the items or services, quantity, price per unit, and total cost. Ensure that the subtotal, tax, and final amount are easily distinguishable, making it simple for your customers to understand their payment.
Don’t forget the footer: Add a section for your company’s return policy or customer support details. This not only helps with transparency but also enhances customer satisfaction. Consider offering a thank-you message to leave a positive impression on the buyer.
Detailed Guide to Pages Receipt Template

To create a professional and clear receipt template in Pages, begin by selecting a clean layout that supports your brand’s style. Customize the header with your business name, logo, and contact details, ensuring that it’s easily identifiable. This initial step sets the tone for your receipt’s appearance and provides customers with key information.
Customizing the Layout
Choose a layout that best suits your needs. Pages offers several pre-designed templates, but you can modify them as required. Adjust margins, fonts, and alignment to ensure readability. Include sections for the transaction details such as the date, itemized list of products or services, and total amount. Keep the layout simple to avoid overwhelming the recipient.
Adding Necessary Fields
Incorporate fields that cover all transaction details: date, receipt number, items purchased, taxes, and payment method. Ensure these fields are properly aligned for easy reading. You can add a tax field for countries with VAT requirements and provide a space for additional notes like return policies or terms of service.
Once you’ve customized the template, save it for future use. This streamlined approach will save time and maintain consistency across receipts.
Customizing Layout and Design in Pages
To create a personalized and functional receipt template in Pages, focus on adjusting margins, text alignment, and the use of tables. Here’s how:
- Adjust Margins: Go to the “Document” setup and change the margins to suit your needs. Wider margins provide a cleaner layout, while narrower ones maximize space.
- Text Alignment: Align text to the left for the main content and to the right for the amounts or totals. This improves readability.
- Tables: Use tables to organize the receipt items. Customize row height, column width, and cell borders for a cleaner, more structured layout.
- Fonts and Colors: Choose clear, professional fonts for readability. Select contrasting colors for headings and totals to draw attention to important sections.
By adjusting these elements, your receipt template will not only look more polished but also be functional and user-friendly for both creators and receivers of the document.
Adding Key Information to Your Receipt Template
Include the following details in your receipt template to make it both clear and professional:
1. Business Information
Ensure that your business name, address, and contact details are easily visible. This allows customers to reach out if needed.
2. Transaction Details
List the purchased items, their prices, any taxes, discounts, and total cost. Include the transaction date and unique receipt number for reference.
3. Payment Method

Clearly state how the payment was made (cash, card, online) along with the payment confirmation details, such as card type or transaction ID.
4. Return Policy
If applicable, include your return or refund policy to set clear expectations for customers.
| Item | Price | Quantity | Total |
|---|---|---|---|
| Product Name | $10.00 | 2 | $20.00 |
| Service Charge | $2.00 | 1 | $2.00 |
| Total | $22.00 | ||
Exporting and Printing Your Completed Receipt
To export your receipt, click on the “Export” button located at the top of the page. Choose your preferred file format, such as PDF or CSV, from the available options. After selecting the format, click “Download” to save the file to your device.
Printing Your Receipt
For printing, click the “Print” button directly below the receipt. Ensure your printer is connected and selected in the print dialog box. Adjust any necessary print settings, such as page orientation and margins, then click “Print” to finalize the process.
Exporting Multiple Receipts

If you need to export several receipts at once, use the batch export feature. Select the receipts you want to include, then click the “Export” button. Choose the desired format for the batch and download the files as a compressed zip folder for easier management.


