Create a Simple Receipt Template

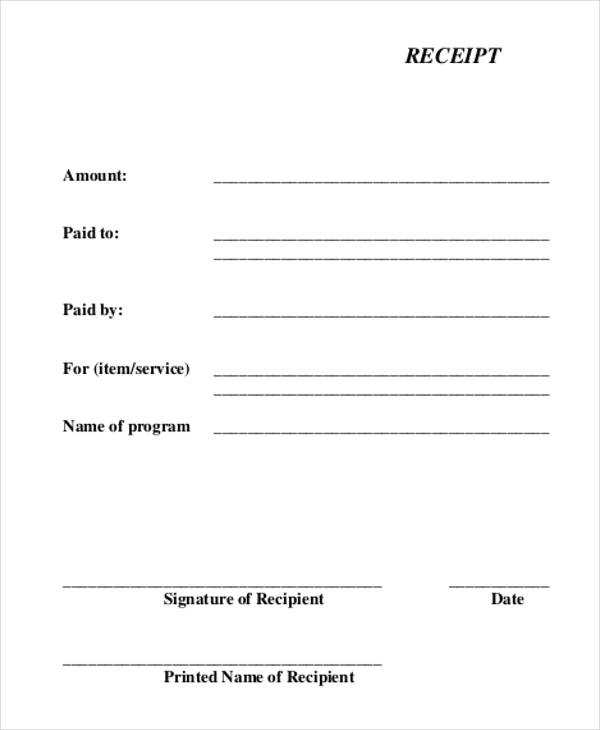
To design a clean, functional receipt on your iPad, start by opening the Pages app. Choose a blank document and set up your layout with clear sections for the details you want to include, such as date, item descriptions, and prices.
Step 1: Adjust the Page Setup

Ensure that the margins are appropriate to avoid any text being cut off. Go to the document settings and customize the page size if needed, depending on whether you’re printing or sending the receipt digitally.
Step 2: Add Key Details
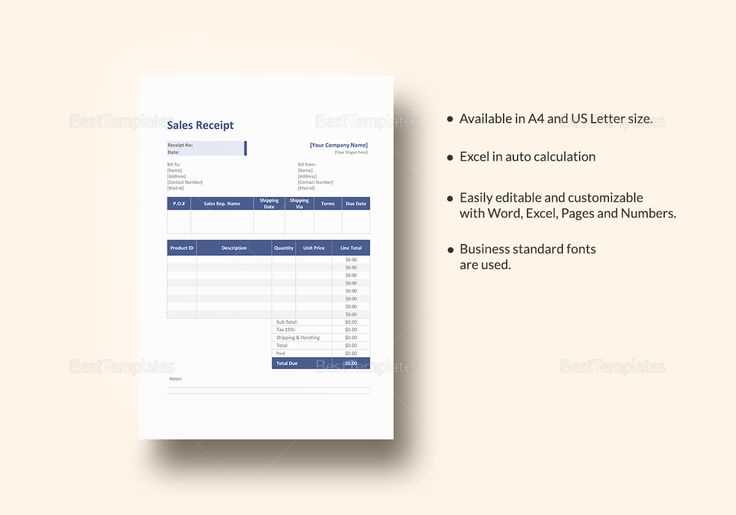
At the top of the page, include your business name and contact information. Below that, add a section for the receipt number and date. Create distinct lines for items, quantities, and price details. Use bold fonts for headings and section labels to make them stand out.
Step 3: Organize and Format Content

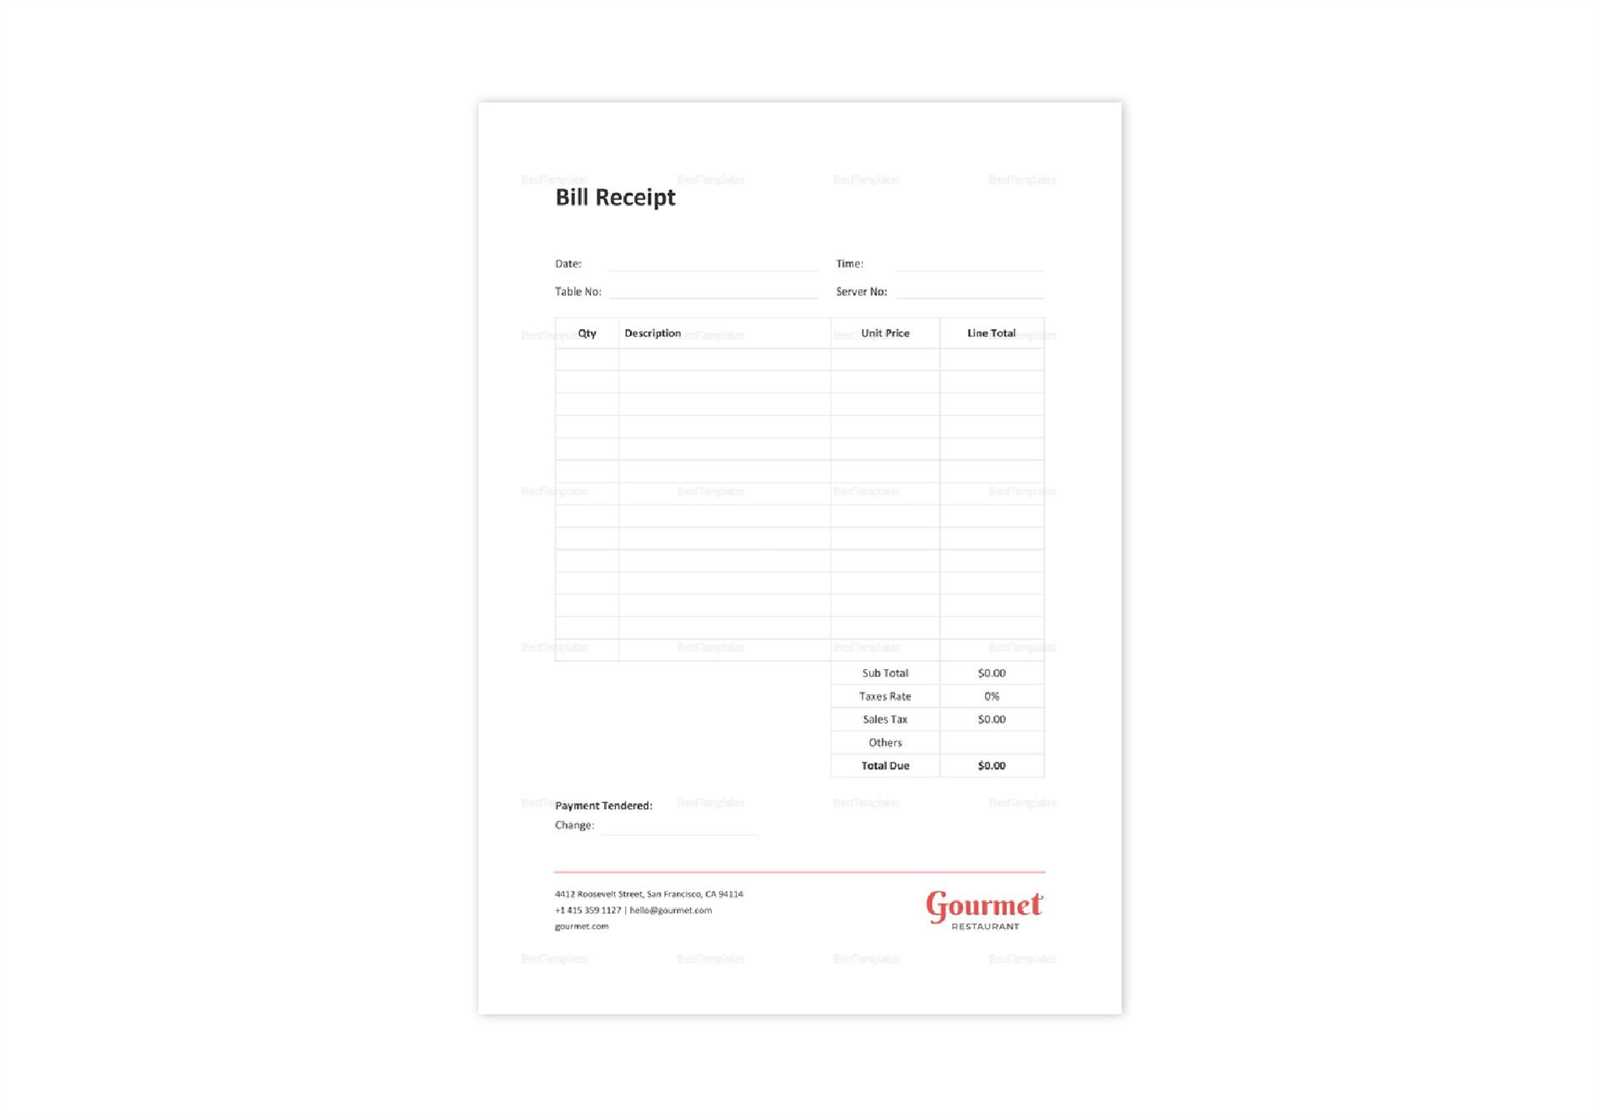
Use tables to neatly align the items and prices. For example, create a three-column table for descriptions, quantity, and cost. Keep the fonts simple and readable, like Arial or Helvetica, and use sufficient spacing between rows for clarity.
Step 4: Add Custom Notes

Leave a section at the bottom for any special notes, return policies, or thank-you messages. This is a great place to add a personal touch to your receipts.
Step 5: Save or Share the Template
Once your template is set, save it as a reusable document. If you need to send receipts regularly, use the same template and fill in the details for each new transaction. Export the file as a PDF for easy sharing or printing.
Final Tip

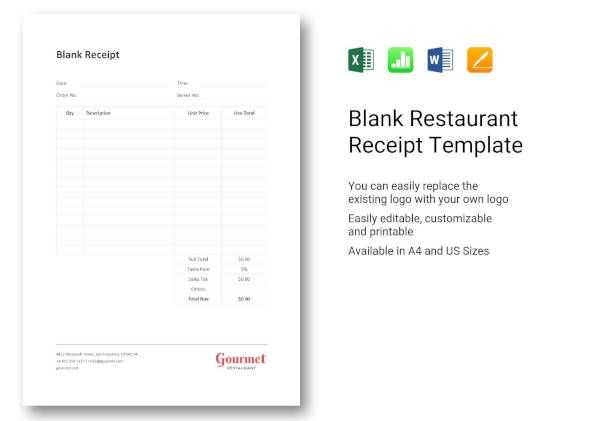
For a more polished look, incorporate your business logo and branding elements. Keep the receipt template simple but professional to enhance the customer experience.
Pages Receipt Template on iPad
How to Create a Basic Invoice in Pages on iPad
Customizing Layout for Your Business Template
Adding Logo and Contact Details to Your Receipt
Incorporating Itemized Lists with Costs and Totals
Saving and Sharing the Completed Invoice from Pages
Using Pages Templates for Frequent Transactions
Open the Pages app and choose the ‘Invoice’ template from the template chooser. This template already includes basic placeholders for key information such as the company name, address, and transaction details. Edit the text fields to include your details, such as your business name and contact information.
To customize the layout, adjust the alignment and spacing of text boxes and tables. You can resize and move elements to match your preferred format. For instance, you might want to make the company name larger or reposition the invoice number for better visibility.
To add your logo, tap the image icon and select your logo file from the Photos app. Resize the logo and place it in a prominent position, usually at the top of the invoice. Ensure the logo’s proportions are maintained to keep it looking professional.
For detailed itemization, use the table feature in Pages. Add rows for each product or service, then fill in the corresponding columns for description, quantity, unit price, and total cost. Pages will automatically calculate totals for each line item when you enter the necessary data.
Once your invoice is complete, tap the three dots in the top-right corner and select ‘Export’. Choose your preferred format, such as PDF, and share it via email or save it to cloud storage for easy access later.
For recurring transactions, use the template to save time. Simply modify the fields for each new invoice, and you won’t need to start from scratch every time. This ensures consistency across all your invoices while reducing preparation time.


