Setting Up a Structured Layout

Open Pages and start with a blank document. Adjust the page size under File > Page Setup to match standard receipt dimensions, such as A5 or Letter. Use text boxes to organize key sections: business name, contact details, receipt number, and itemized charges.
Using Tables for Itemized Listings

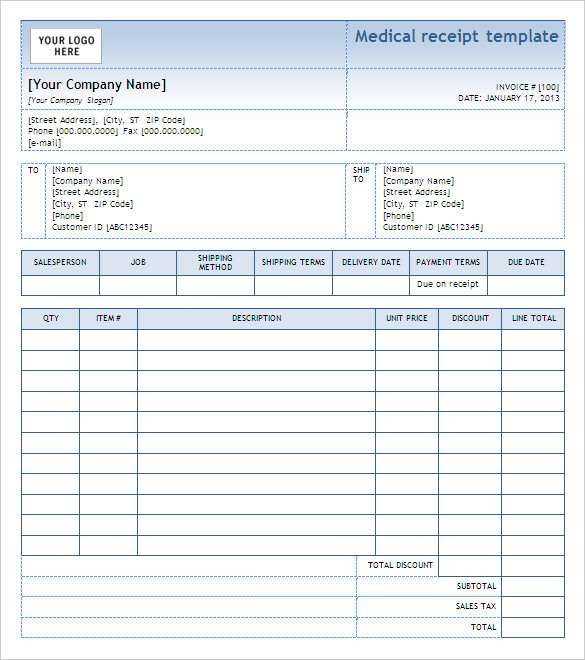
Insert a table with columns for Item Description, Quantity, Unit Price, and Total. Set the header row to bold for clarity. Format currency fields by selecting the cells, clicking Format > Cell, and choosing the currency format.
Adding Auto-Calculations
While Pages lacks built-in formulas like Numbers, total amounts can be calculated manually or linked from an embedded Numbers sheet. Alternatively, use placeholders for manual input.
Enhancing Readability and Branding
Choose a professional font like Helvetica or Arial. Set alignment for clear separation of details. To add branding, insert a logo using Insert > Choose and position it at the top.
Exporting and Printing
Save the receipt as a template by selecting File > Save as Template. When ready to issue, enter transaction details, then export as a PDF via File > Export To > PDF. For printing, ensure margins are set correctly to prevent cutoff.
With these steps, Pages on Mac can generate professional and structured receipts tailored to your business needs.
Pages Receipt Template on Mac: Useful Instructions
Selecting an Optimal Layout for Your Document
Adjusting Text Styles, Hues, and Brand Features
Inserting Auto-Fill Fields for Time, Sums, and Charges
Saving and Printing in Various File Types
Streamlining Input with Ready-Made Designs
Syncing and Archiving via iCloud and External Services
Selecting an Optimal Layout for Your Document
Choose a layout that fits the type of receipt you need. Open Pages, select “New Document,” and browse the available templates under “Invoices & Receipts.” Opt for a design with clearly defined sections for itemized charges, totals, and payment details. Resize table columns and add space for notes if needed.
Adjusting Text Styles, Hues, and Brand Features

Modify fonts, colors, and logos to align with your branding. Use the “Format” panel to adjust text size, apply bold or italic styles, and set a professional color scheme. Insert a company logo by dragging an image file into the header and adjusting its position.
For consistency, save your customized settings as a template. Click “File” > “Save as Template” and store it in “My Templates” for future use.
Inserting Auto-Fill Fields for Time, Sums, and Charges
Speed up data entry by using formulas and automatic date fields. Select a cell in a table, click “Cell” in the “Format” panel, and choose “Date & Time” for automatic timestamping. For calculated totals, select a column, click “Insert” > “Formula,” and apply the “SUM” function.
Saving and Printing in Various File Types
Export the final document in multiple formats based on your needs. Click “File” > “Export To” and choose PDF for universal compatibility, Word for further edits, or Excel if tabular data needs to be reused. Adjust page margins and preview the document before printing.
Streamlining Input with Ready-Made Designs
Reduce manual work by duplicating a completed receipt and modifying only key details. Use “Duplicate” under “File” or create a master template with pre-filled fields. If sending multiple receipts, consider batch-processing with AppleScript.
Syncing and Archiving via iCloud and External Services
Ensure secure storage by saving receipts to iCloud. Enable automatic sync in Pages settings to access files from any Apple device. For external backups, export receipts to Google Drive, Dropbox, or OneDrive. If compliance requires long-term retention, organize files into dated folders for easy retrieval.


