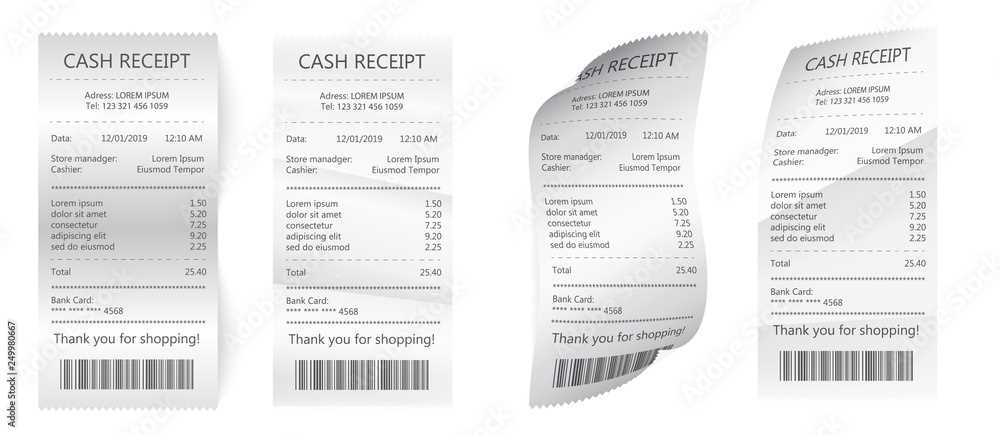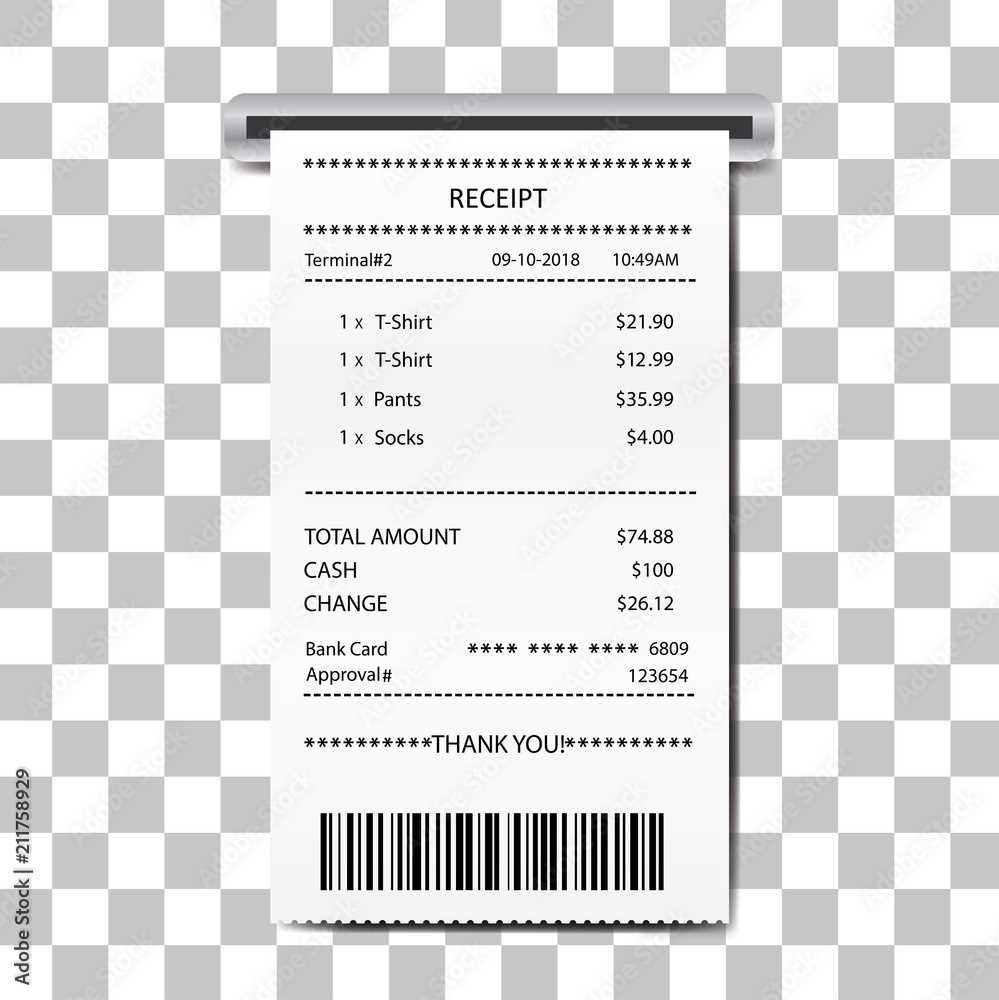
Choose a clear, structured format that includes all essential details: date, transaction ID, purchased items, prices, taxes, and total amount. Use a simple, legible font and ensure sufficient spacing between sections for easy readability.
Include business information at the top: company name, address, contact details, and tax identification number. This not only enhances credibility but also helps customers with record-keeping and potential returns.
List purchased items in a table format with columns for item name, quantity, unit price, and subtotal. This makes calculations transparent and allows quick verification. If applicable, add discounts or promotions separately to avoid confusion.
Clearly display the total amount, tax breakdown, and payment method at the bottom. If the transaction involves a warranty or return policy, summarize it briefly. A short thank-you message or branding element can leave a positive impression.
For handwritten receipts, use a pre-printed template with structured fields to maintain consistency. Carbon copy paper can provide an instant duplicate for both the business and the customer.
Paper Receipt Template: Key Aspects and Practical Considerations
Use a clear, structured layout that separates essential details. Include the business name, address, contact information, and transaction date at the top. Align prices, taxes, and totals in an easy-to-read column to prevent confusion.
Itemized Breakdown

List purchased items with descriptions, quantities, and unit prices. Use consistent formatting to enhance readability. If applicable, include discount details and subtotal calculations before displaying the final amount.
Legibility and Durability
Choose high-contrast fonts to ensure clarity, even on thermal paper. Avoid excessive text or unnecessary elements that clutter the receipt. For long-term record-keeping, consider using coated or archival-quality paper to reduce fading.
End with a thank-you message or return policy to enhance customer experience. If receipts include sensitive data, ensure compliance with privacy regulations before printing.
Structuring Mandatory and Optional Details on a Paper Receipt
Include legally required elements first. The receipt must display the business name, address, and contact details. A unique transaction number helps with record-keeping, while the date and time confirm when the purchase occurred. Clearly list each item or service, including quantity, unit price, and total cost. Tax breakdowns are essential where applicable.
Ensure payment details are clear. Indicate the payment method, whether cash, card, or another option. If a card was used, include the last four digits for reference. Refund policies or return conditions should be easily visible.
Add optional details for customer convenience. Personalized messages, promotional offers, or loyalty program points enhance customer engagement. Including a QR code for digital copies or feedback collection makes the receipt more useful.
Keep formatting simple and readable. Use consistent spacing, clear headings, and logical alignment. Avoid clutter by balancing required and optional information.
Choosing the Right Format and Layout for Readability
Use a clear font. Select a typeface like Arial or Helvetica, ensuring at least 10pt size for sharp legibility. Avoid decorative fonts that reduce clarity.
Structure information logically. Group details into sections: store name, date, itemized list, subtotal, taxes, and total. Align numbers to the right for quick scanning.
Prioritize spacing. Add white space between sections to separate key details. Use at least 1.2x line spacing to enhance readability.
Limit excessive elements. Keep only necessary information. Avoid cluttering receipts with lengthy disclaimers or excessive branding.
Ensure contrast. Black text on white paper works best. If using color, maintain a strong contrast between text and background to prevent strain.
Include bold highlights. Use bold formatting for totals, discounts, or due amounts. This draws attention to critical figures instantly.
Standardize margins. Keep side margins at least 5mm wide to prevent text from being cut off. A well-balanced layout improves scanning speed.
Common Printing Challenges and How to Address Them
Faded or Blurry Text
Ensure the paper is compatible with the printer. Low-quality or improperly stored paper absorbs excess ink, leading to smudging. Check toner or ink levels and clean the printhead if necessary. If using thermal paper, confirm it’s loaded correctly and that the heating element is functioning.
Misaligned or Cut-Off Prints
- Verify the paper size settings in both the printer and the software.
- Ensure margins and scaling settings match the intended layout.
- Clean the feed rollers to prevent uneven paper movement.
Paper Jams

Remove jammed sheets carefully to avoid damaging internal components. Fan fresh paper before loading to reduce static buildup. Keep the tray within its capacity limits, and regularly check for debris inside the printer.
Uneven Print Density
- For inkjet models, run a nozzle check and clean the printhead.
- For thermal units, inspect the heating element for dust or wear.
- Use high-quality paper that maintains uniform ink absorption.
Connectivity Issues
- Restart the printer and verify it’s properly connected via USB, Bluetooth, or network.
- Update firmware and drivers to maintain compatibility with current systems.
- Ensure no other processes are interfering with print queues.


