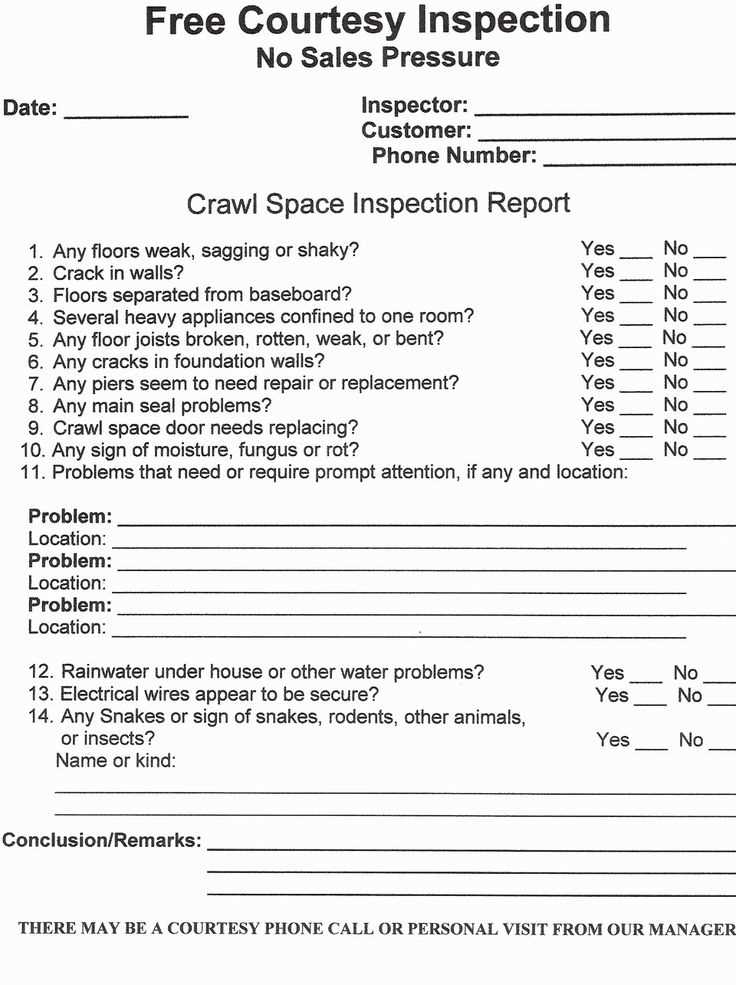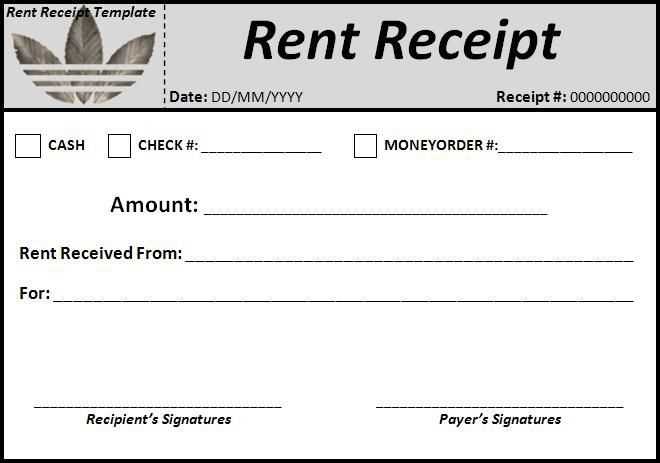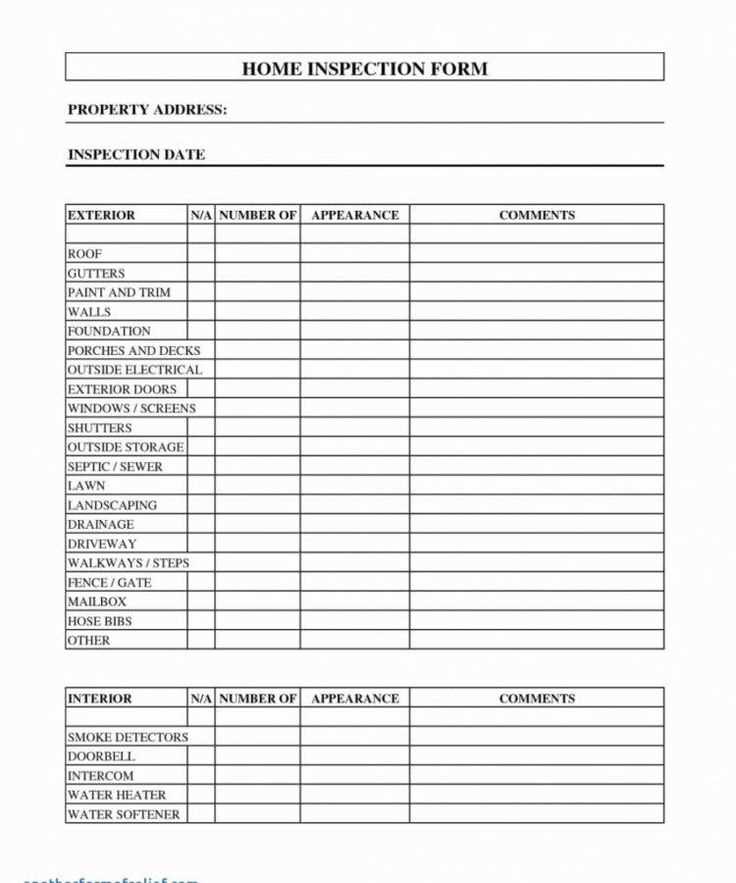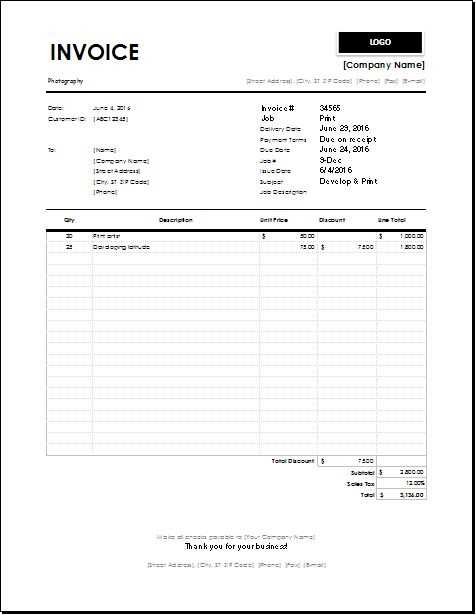
To create a reliable pest control receipt, include the service details clearly and concisely. Ensure the customer’s information, including their name, address, and contact details, is accurately listed. The receipt should also feature the date of the service and a breakdown of the treatment provided, including materials used, labor charges, and any applicable taxes.
Provide a detailed description of the service rendered, specifying the pest control methods used and the areas treated. This helps customers understand the value of the service and ensures transparency. For repeat clients, include the previous service date and any follow-up treatments scheduled.
Make the payment section straightforward by listing the total amount due, payment method, and any applicable discounts. This allows customers to easily reference the cost and confirm the transaction. A clear and well-structured receipt ensures professionalism and trust in your pest control services.
Pest Control Receipt Template
To create a clear and professional pest control receipt, follow these key points:
- Header: Include your business name, logo, and contact details at the top of the receipt.
- Date of Service: Specify the exact date when the pest control service was performed.
- Customer Information: List the customer’s name, address, phone number, and email for reference.
- Service Description: Provide a brief description of the pest control service, including the type of pests dealt with, the method used, and any treatments applied.
- Itemized Charges: Break down the cost for each service performed. Include materials, labor, and any additional fees (e.g., travel charges).
- Total Amount Due: Clearly indicate the total amount the customer owes after adding up all charges.
- Payment Method: Specify how the customer paid (credit card, cash, check, etc.).
- Terms and Conditions: Include any warranties or guarantees related to the pest control service.
- Follow-Up: Mention any required follow-up actions, such as further treatments or monitoring visits.
This template ensures your receipt is transparent, informative, and easy to understand for your customers.
How to Structure a Pest Control Invoice

Start by listing your business name, address, and contact details at the top of the invoice. Include a unique invoice number for easy reference and a clear date of issuance. This ensures that clients can track and reference the invoice later.
Client Information
Include the client’s name, address, and phone number. This section ensures that both parties are correctly identified for payment and follow-up purposes.
Services Provided
Detail the pest control services performed. Break down the charges for each service, such as inspection, treatment, and follow-up visits. Clearly describe what was done, including any special treatments or methods used. This transparency helps avoid confusion and builds trust with the client.
Pricing Breakdown
Provide a breakdown of the pricing for each service and product used. This helps clients understand exactly what they are paying for and eliminates ambiguity. Include any applicable taxes and indicate the total amount due at the bottom of the invoice.
Payment Terms
Specify the payment terms, including the due date and any penalties for late payments. Consider offering different payment methods, such as credit cards, checks, or bank transfers, for added convenience.
Additional Notes
Lastly, include any additional notes that may be helpful, such as reminders for follow-up visits or seasonal pest control advice. Offering this added value will improve customer satisfaction and keep them coming back.What other aspects of pest control invoicing would you like to explore further?
Including Service Dates and Payment Terms
Always include the exact service dates on your receipt. This ensures clarity for both parties and serves as a record of the work done. Include the date of the initial service and any follow-up visits if applicable. For ongoing services, specify the frequency of visits and the duration of the contract.
Service Dates
List the date when the pest control service was performed. If the service involves multiple visits, each date should be clearly outlined. This helps prevent any confusion regarding the schedule and provides a clear timeline for the customer.
Payment Terms

Clearly outline the payment terms on the receipt. Specify whether the payment is due upon completion or if it is split into installments. Include any late fees or interest charges if payment is not made on time. Provide details on acceptable payment methods, whether it’s credit card, bank transfer, or check. Being transparent about payment expectations helps build trust and prevents misunderstandings.
Customizing the Template for Specific Pest Control Services

Adjust the template to match the specific services you offer. For rodent control, include fields for details such as type of rodent, treatment method, and bait used. For termite inspections, highlight sections to specify areas treated and the type of treatment applied. Customization ensures the template reflects the precise service provided, making it clear and easy for both you and the client to track.
Incorporate space for special conditions or client requests. For example, if the service is for a specific location, like a kitchen or attic, make sure these areas are noted. Also, include a section to outline any follow-up visits or recommendations, so the client knows what to expect next. This improves communication and prevents confusion about ongoing treatments.
If you provide seasonal pest control, include a checkbox or date fields to specify the time of year the service applies. This allows for clear tracking of recurring treatments, such as quarterly or monthly services. Adding this detail personalizes the receipt and helps clients understand the service timeline.


