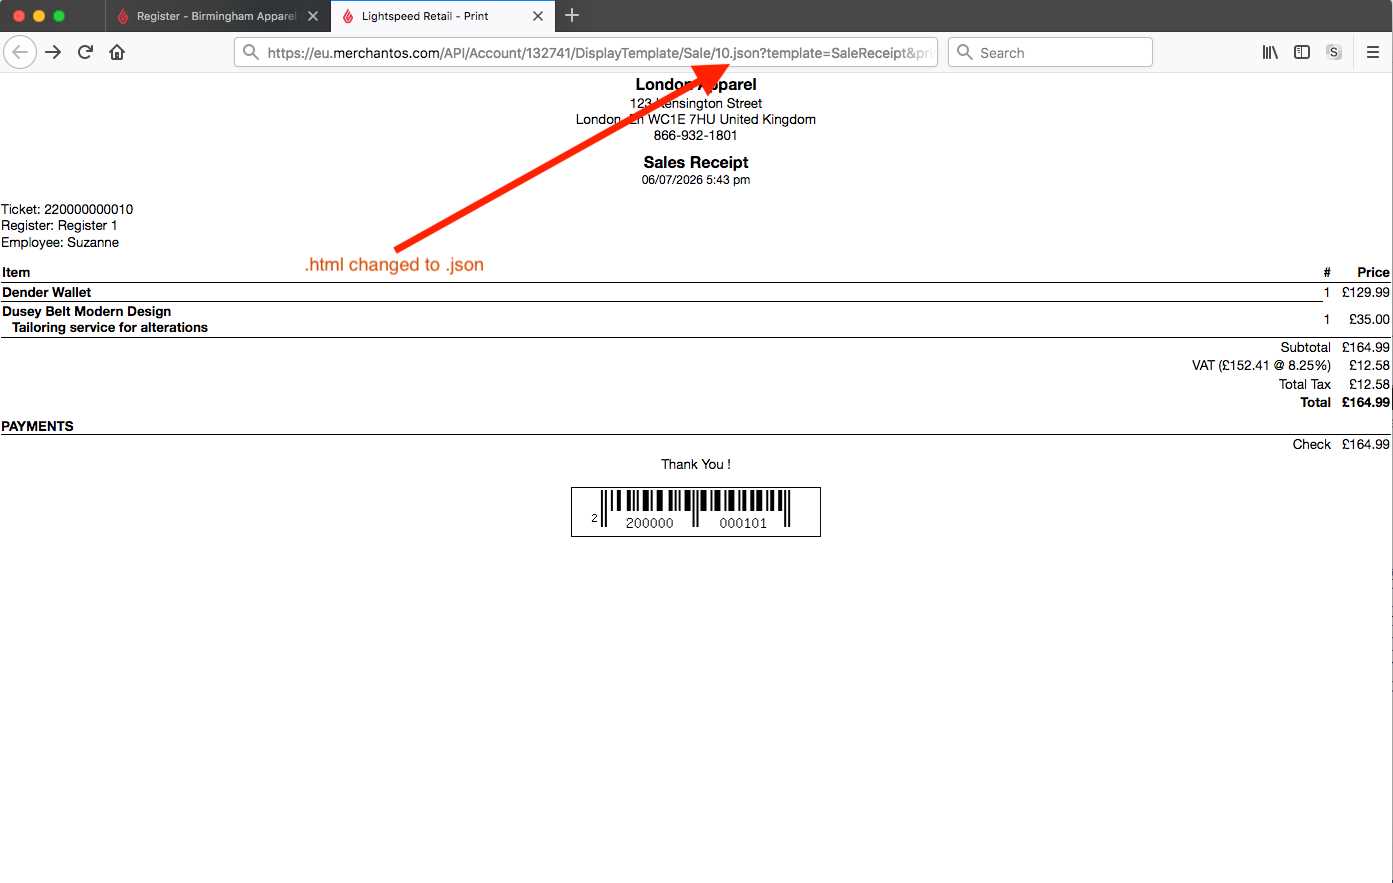
To design a basic POS receipt, start by focusing on the structure with HTML. Define key elements like the store name, items purchased, prices, and totals. Using semantic tags will ensure your template is both readable and organized. For example, use <header> for the store name and <section> to group the purchased items.
Next, style your receipt with CSS. Keep it simple and professional–avoid cluttering the design with unnecessary elements. Set up margins, padding, and borders to create a clear layout. For the font, choose a monospaced typeface to mimic the traditional look of printed receipts. Use flexbox or grid to align the elements neatly and ensure that the information is easy to scan.
Incorporate responsive design practices. Use media queries to adjust the layout for different screen sizes, ensuring your receipt is displayed properly across various devices. This flexibility is crucial if you’re planning to print or display the receipt on multiple platforms. Keep in mind that POS systems often have specific requirements for format and style, so make adjustments as needed to meet those standards.
POS Receipt Template: HTML & CSS Guide
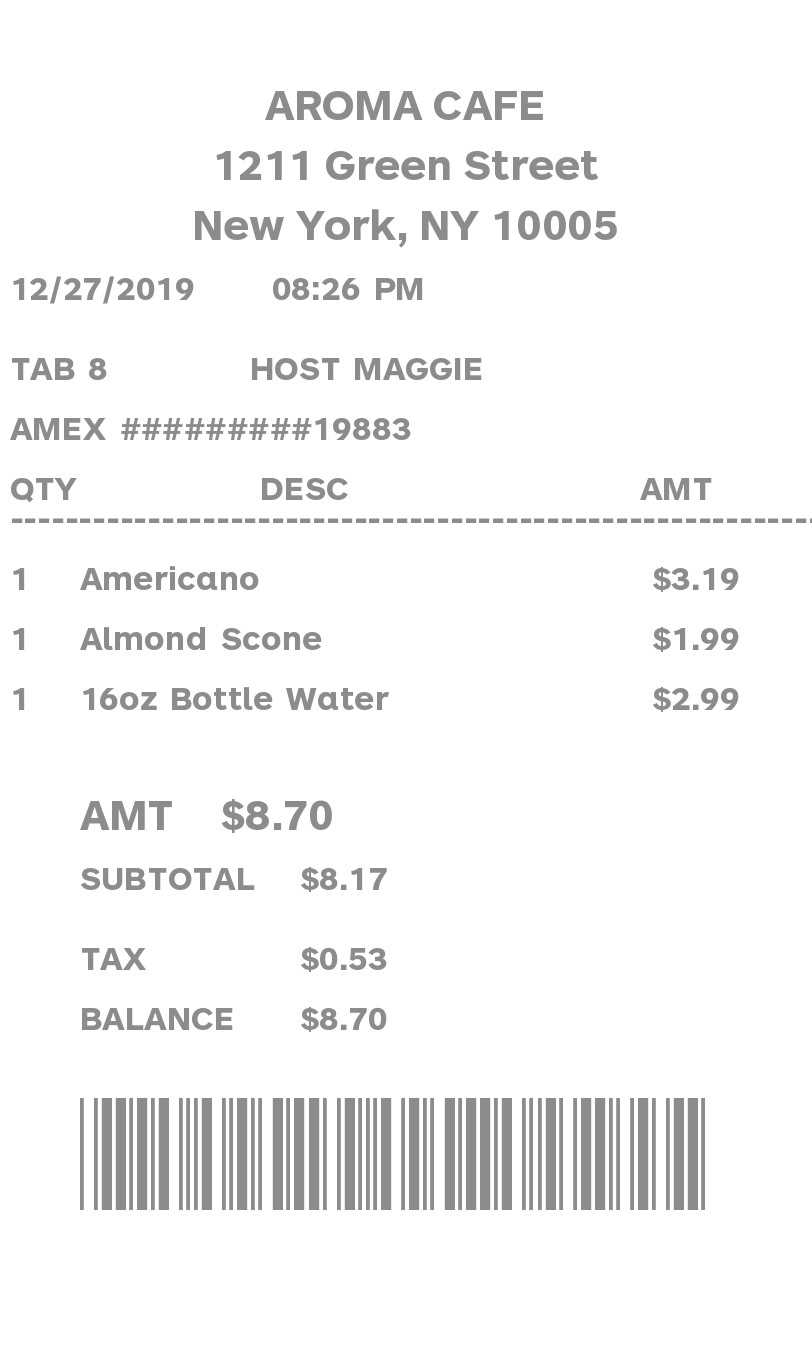
Create a simple and clean POS receipt template using HTML and CSS by focusing on structure and styling. This layout can be adjusted for various business types with minimal adjustments.
Start by organizing the content within clear sections. For example:
- Business Information: Store name, address, and contact details.
- Transaction Details: Date, time, and receipt number.
- Item List: Product names, prices, and quantities.
- Payment Summary: Total, taxes, and payment method.
- Footer: Thank you note or additional information.
Use HTML to define each of these sections:
<div class="receipt-header">
<h1>Store Name</h1>
<p>Address, Phone</p>
</div>
<div class="transaction-details">
<p>Date: 01/01/2025 </p>
<p>Receipt #: 12345</p>
</div>
<div class="items-list">
<ul>
<li>Item 1 - $10.00</li>
<li>Item 2 - $20.00</li>
</ul>
</div>
<div class="payment-summary">
<p>Total: $30.00</p>
<p>Tax: $2.50</p>
<p>Payment Method: Credit Card</p>
</div>
<div class="footer">
<p>Thank you for your purchase!</p>
</div>
Then, style the layout using CSS to improve readability and design. Consider the following:
.receipt-header {
text-align: center;
margin-bottom: 20px;
}
.transaction-details, .items-list, .payment-summary, .footer {
margin-bottom: 15px;
}
ul {
list-style-type: none;
padding: 0;
}
ul li {
display: flex;
justify-content: space-between;
}
.footer {
text-align: center;
font-size: 0.9em;
}
Test the receipt template by previewing it in different screen sizes and printing it to ensure that the layout adapts properly. Adjust margins, padding, and font sizes as needed to create a consistent and professional-looking result.
Creating a Basic HTML Structure for a Receipt
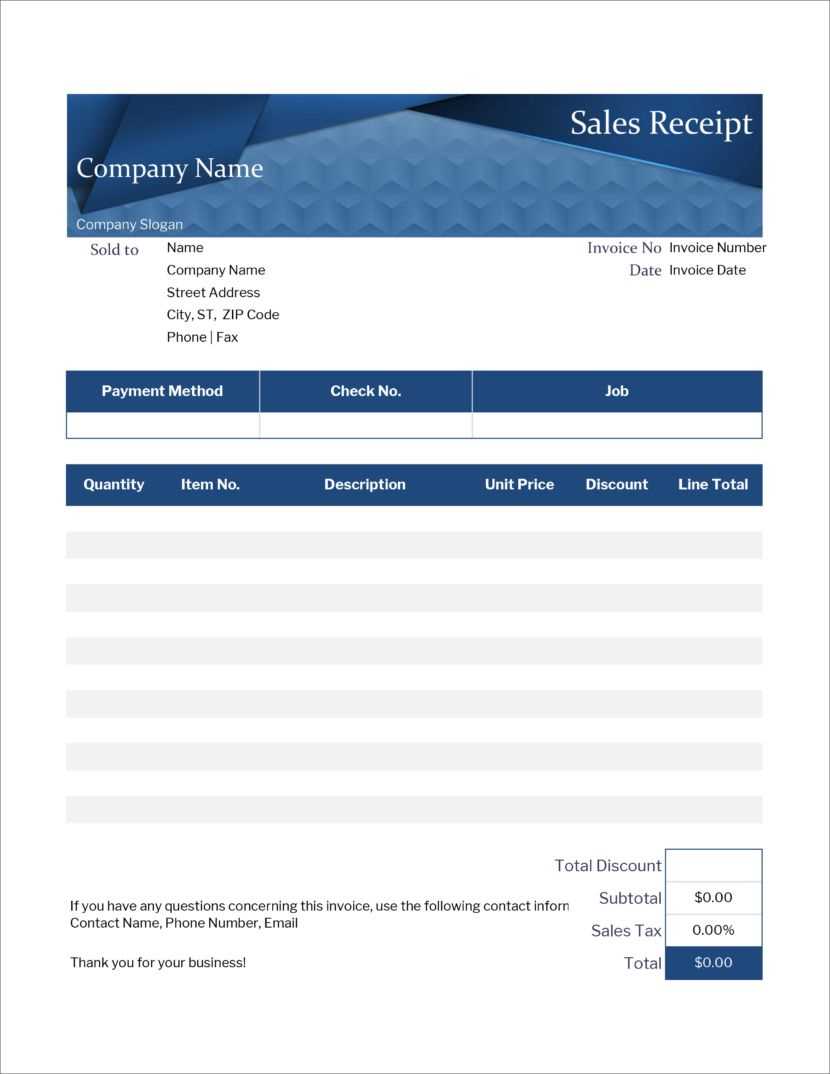
Begin by structuring the layout with a simple container for the receipt. Use a <div> element to wrap the entire content, giving it a clear boundary for styling. This makes it easier to manage the design in CSS.
Setting Up the Header
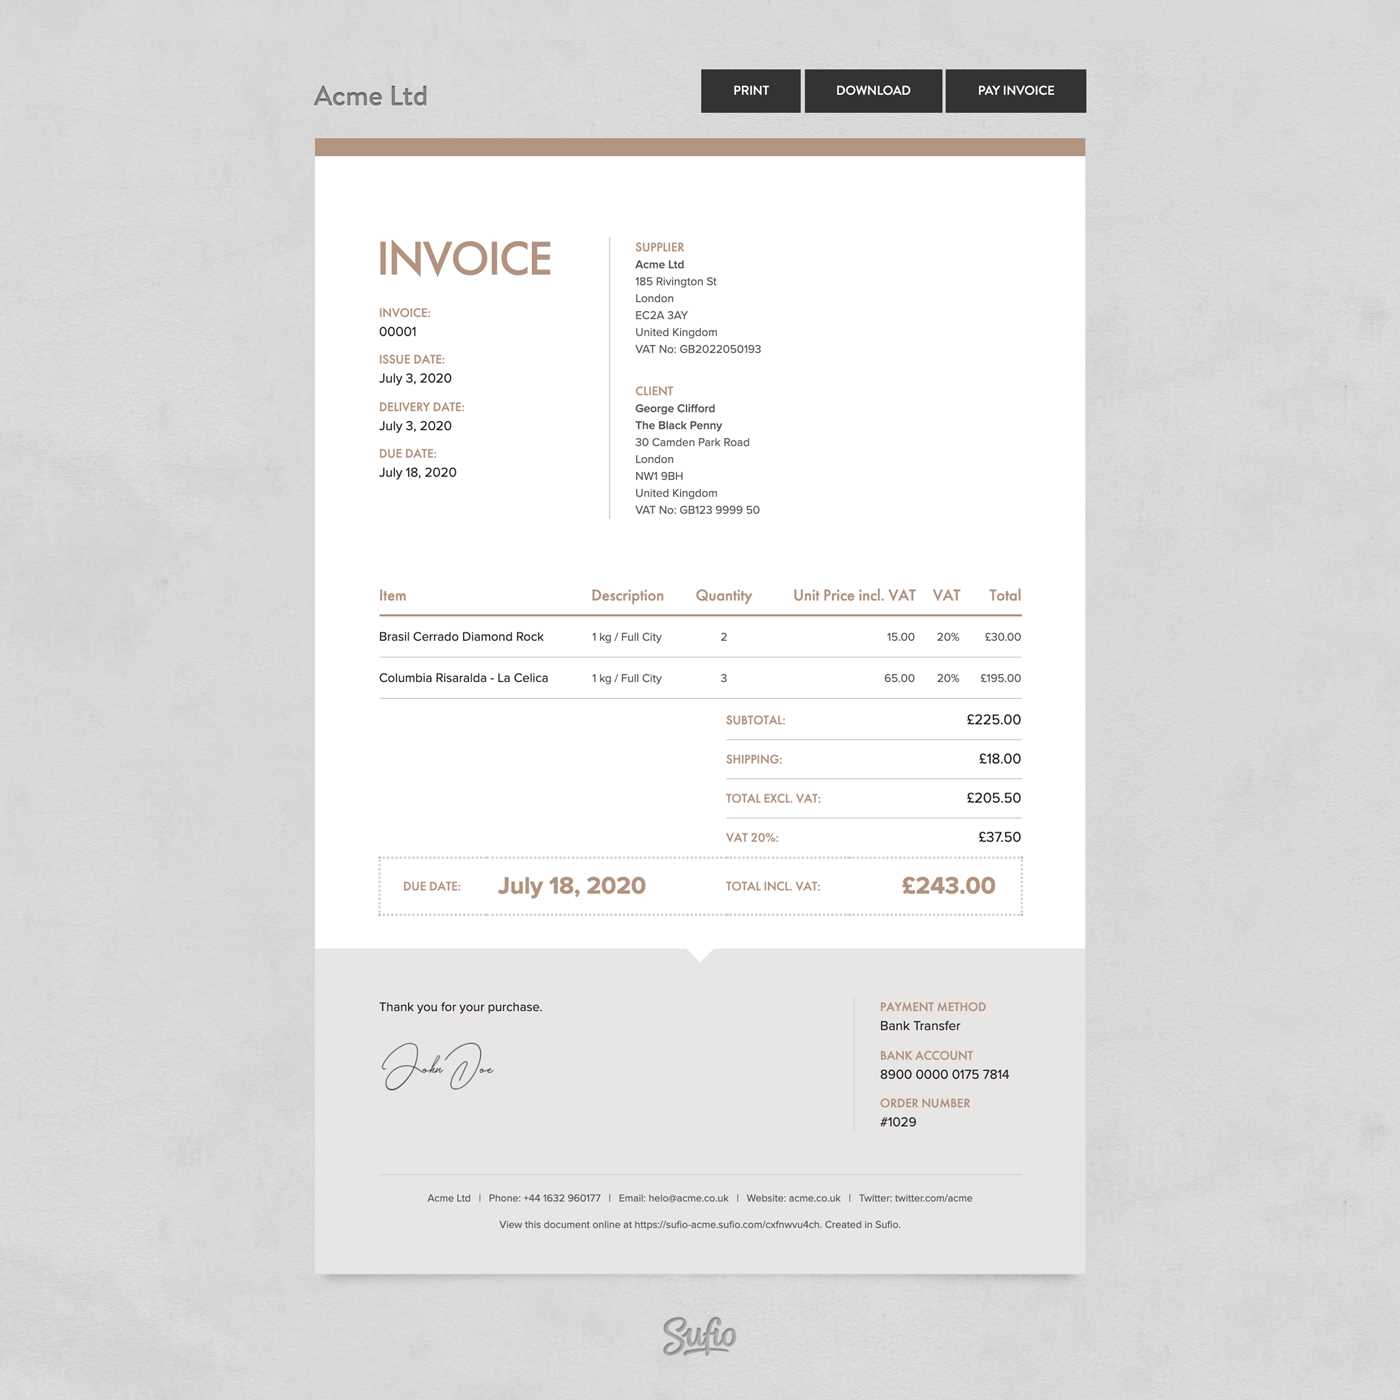
Include basic store details in the header section. Use <h1> for the store name and <p> for the address, phone number, or any other essential contact info. These elements provide clarity and order to the receipt layout.
List the Purchased Items
Below the header, create a <table> to display the items. Each row should contain the item name, quantity, unit price, and total cost. Utilize <tr> for rows, <td> for data, and <th> for headers. This structure ensures that the receipt is easy to read and keeps the information organized.
End the structure by adding a total section at the bottom, using a <div> to display subtotal, tax, and final amount. Ensure the layout is clear and simple for readability.
Styling the Receipt Layout Using CSS
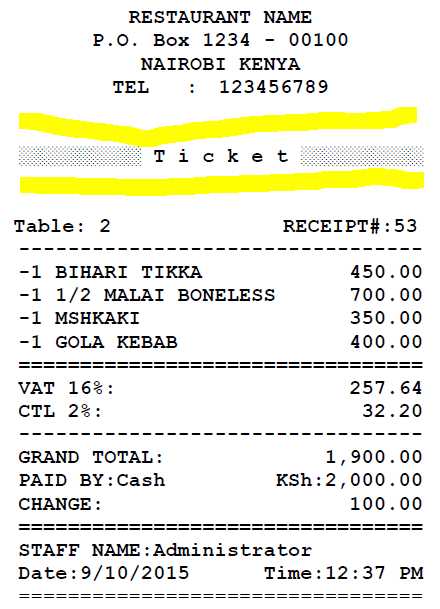
Set clear structure with simple CSS grids. Begin by defining the receipt as a grid container with a defined width to simulate the size of a real receipt. Use `grid-template-columns` to create sections such as the header, items list, and footer. For example, set columns for the company logo and address, followed by item descriptions and pricing.
Adjust text alignment using `text-align: left;` for item names and `text-align: right;` for prices to create a neat, readable format. Set font sizes for hierarchy, with larger fonts for headers and smaller for details. Use `font-family` to choose an easily readable typeface like Arial or sans-serif.
For itemized lists, employ `border-bottom` to separate each item clearly. You can also add subtle spacing between the rows using `padding` to enhance readability. Ensure the price columns are aligned to the right, using `padding-right` for consistent spacing between numbers and the right edge.
In the footer, center the text and include small fonts for totals, taxes, and disclaimers. Use `display: flex; justify-content: center;` to center align footer text. Add bottom borders to separate it from the rest of the content, ensuring the footer stands out but still fits cohesively with the overall design.
Apply background colors to distinguish sections without overwhelming the layout. Use light shades for the background, like `#f4f4f4`, and darker text colors for contrast. Ensure the text is legible against these backgrounds with sufficient color contrast using `color` property.
Keep margins and padding consistent to prevent clutter. Space out sections such as the header, items, and footer evenly using `margin-top` and `margin-bottom`. This creates a clean, professional layout that mimics real-world receipt formatting.
Adding Dynamic Elements with JavaScript for Interactive Receipts
Incorporate JavaScript to make receipts more interactive. You can add elements like live item quantity updates, totals recalculation, and personalized messages based on customer input. Here are some practical ways to implement these dynamic features:
1. Real-Time Total Calculation
Allow the user to modify item quantities and instantly update the total price using JavaScript. Here’s a simple way to achieve this:
2. Customizable Discount Application
Add a discount field where users can input a discount percentage, and dynamically adjust the final amount:
3. Interactive Payment Methods
Make your receipt more dynamic by offering payment method options with real-time input fields. Update the amount due based on the payment method selected.
These dynamic elements provide a more engaging experience for the customer while also streamlining the receipt process.
Integrating Barcode or QR Code into the Template
To add a barcode or QR code to your receipt template, use the appropriate image source element or generate them dynamically using JavaScript libraries. For a simple approach, you can generate QR codes using an external service like Google’s Chart API or libraries such as `qrcode.js` for barcode generation.
Generating a QR Code
Integrate a QR code by including the following code snippet inside your receipt template:

Replace “YourDataHere” with the actual data you want to encode in the QR code. The URL will dynamically generate a QR code, and you can adjust the size by changing the `chs` parameter.
Generating a Barcode
To include a barcode, you can use libraries like `JsBarcode`. Install the library via a CDN and use the following code:
This script creates a barcode for the provided text, with adjustable settings for width and height to fit your design needs. Replace `”YourBarcodeData”` with the desired barcode information.
Both methods allow seamless integration of barcode or QR code elements into your HTML receipt template. Be sure to adjust the size and positioning to match the overall layout of your receipt.
Customizing Fonts and Colors for Brand Identity
Choose fonts and colors that mirror your brand’s personality. Fonts should be legible, professional, and reflect your brand’s tone. For instance, if your brand aims for a sleek, modern look, opt for sans-serif fonts like Helvetica or Arial. If a more classic or formal look is desired, serif fonts such as Times New Roman or Georgia are suitable. Consistency is key–limit font usage to two or three styles to avoid visual clutter.
Selecting the Right Fonts
Fonts speak volumes about your brand. Serif fonts project professionalism and reliability, while sans-serif fonts are modern and clean. Consider pairing a bold font for headings with a lighter font for body text. This contrast helps with hierarchy and readability.
Choosing Brand Colors
Colors carry psychological weight. Red, for example, conveys urgency or excitement, while blue is often associated with trust and stability. Select a color palette that aligns with your brand values and audience expectations. Stick to a primary color, then choose a secondary and accent color to provide variety without overwhelming the design.
| Color | Meaning | Best for |
|---|---|---|
| Red | Energy, urgency | Sales, promotions, food industry |
| Blue | Trust, professionalism | Financial services, tech brands |
| Green | Health, eco-friendly | Environmental, wellness brands |
| Yellow | Optimism, creativity | Startups, art-based industries |
Once you’ve selected your fonts and colors, apply them consistently across all touchpoints, from receipts to website design. This consistency reinforces your brand identity and builds recognition.
Ensuring Compatibility Across Different Devices and Print Formats
Test templates on various devices before finalizing any design. Different devices have distinct screen sizes, resolutions, and color profiles that can impact how the receipt appears. Keep margins and padding consistent to avoid truncation or overlap. Use responsive design techniques like media queries to adjust the layout for mobile phones, tablets, and desktops.
Testing Across Different Printers
Print templates should be tested on various printers, including thermal and inkjet printers, as they render receipts differently. Ensure that text is legible, images are clear, and all elements fit within the printer’s printable area. Be mindful of printer settings like paper size and margins, which can vary by device.
Optimizing for PDF and Paper Formats
For receipts intended for printing, consider using PDF format for consistency. PDFs preserve layout and styling across devices, ensuring that the design remains intact whether viewed on-screen or printed. When designing for paper receipts, use fixed-width fonts and avoid complicated graphics that may not render well on smaller formats.
