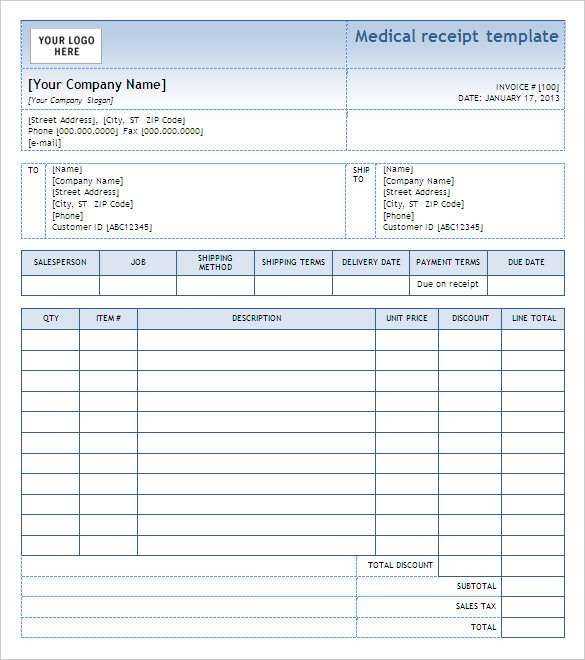
Designing a receipt bill template is an effective way to keep track of transactions. It should be clear, concise, and easy to understand. Here’s how to structure your template for better organization and clarity.
Key Components of a Receipt Bill
- Receipt Number: A unique identifier for each transaction.
- Business Information: Include the business name, address, contact information, and logo.
- Customer Information: Add the customer’s name and contact details (optional but helpful for follow-up).
- Date and Time: The exact time and date when the transaction occurred.
- Itemized List: List of items or services purchased with quantities, unit prices, and total amounts.
- Total Amount: The total cost of the transaction, including any taxes and fees.
- Payment Method: Indicate the payment method used (e.g., credit card, cash, etc.).
- Terms and Conditions: Any return policies or disclaimers related to the purchase.
Designing the Template
Use a simple, organized layout. The business name should be prominent at the top. Below that, place the receipt number and date for easy reference. Keep the itemized list clean, using columns for item descriptions, quantities, and prices. At the bottom, display the total amount clearly, with the payment method specified directly below it.
Best Practices for Customization
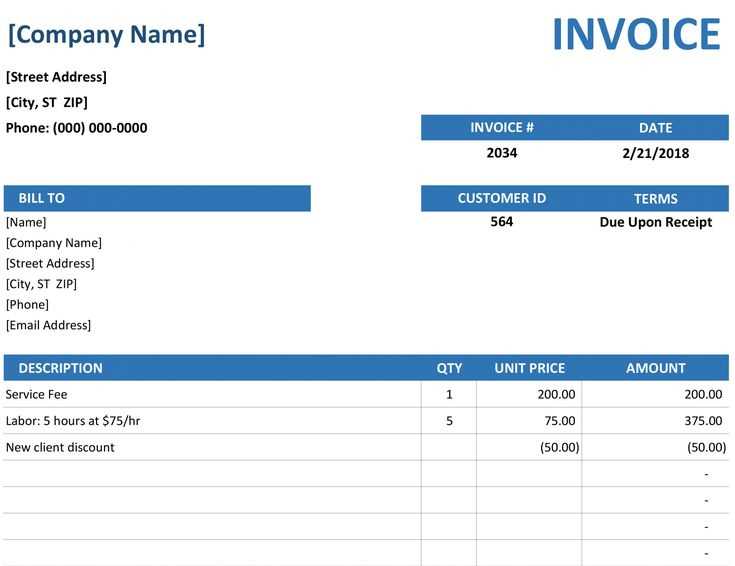
- Adjustable Fields: Make the template customizable for different transaction types.
- Include Logos: Add the company logo to enhance brand recognition.
- Keep it Simple: Avoid clutter. Limit the use of additional colors or styles unless necessary.
- Clear Instructions: If applicable, provide instructions for returns, refunds, or exchanges.
Once you’ve customized your receipt template, save it as a reusable document to streamline future transactions. Make sure it aligns with your business requirements, and always ensure customers can easily understand the breakdown of their purchases. A well-designed receipt reflects professionalism and helps build trust with customers.
Receipt Bill Template Guide
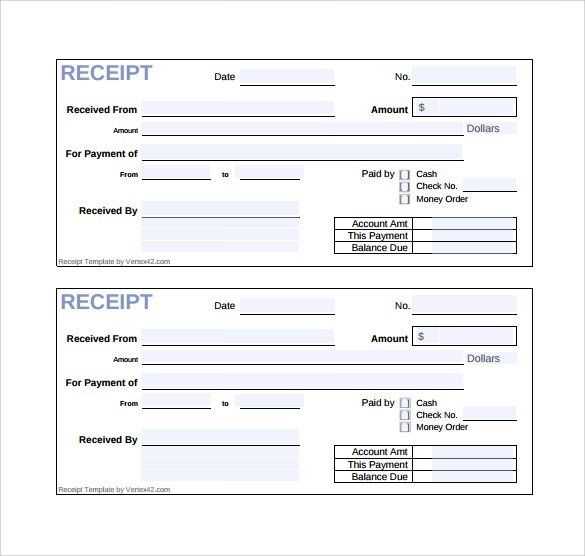
How to Create a Simple Receipt for Small Businesses
To create a simple receipt, begin by including your business name and contact information at the top. Make sure it is clear who issued the receipt. Follow this with the date of the transaction and a unique receipt number to help you track each sale. Then, list the purchased items with their descriptions, quantities, and prices, along with any applicable taxes. Finally, provide the total amount paid and the method of payment used (e.g., cash, credit card). A simple receipt layout improves clarity and ensures that your customer knows exactly what they paid for.
Customizing Your Template for Different Payment Methods
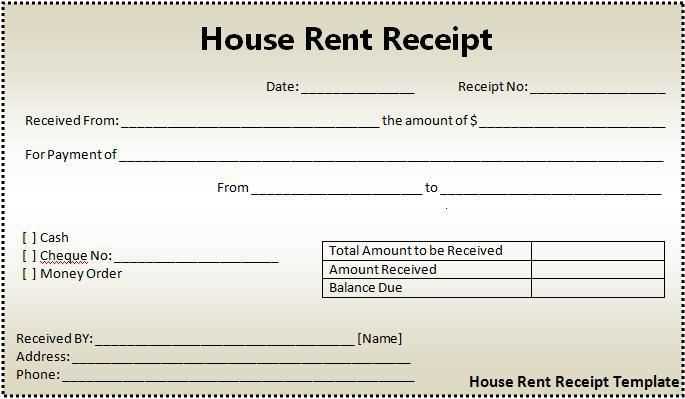
Different payment methods may require slight modifications to your receipt template. For cash payments, just list the total amount, while for credit or debit card payments, include the last four digits of the card number or any transaction reference. If the payment is through a mobile wallet or another digital method, ensure you add any relevant transaction IDs. This customization helps maintain accurate records of various payment methods and adds a professional touch to your receipts.
Key Elements to Include in a Professional Receipt
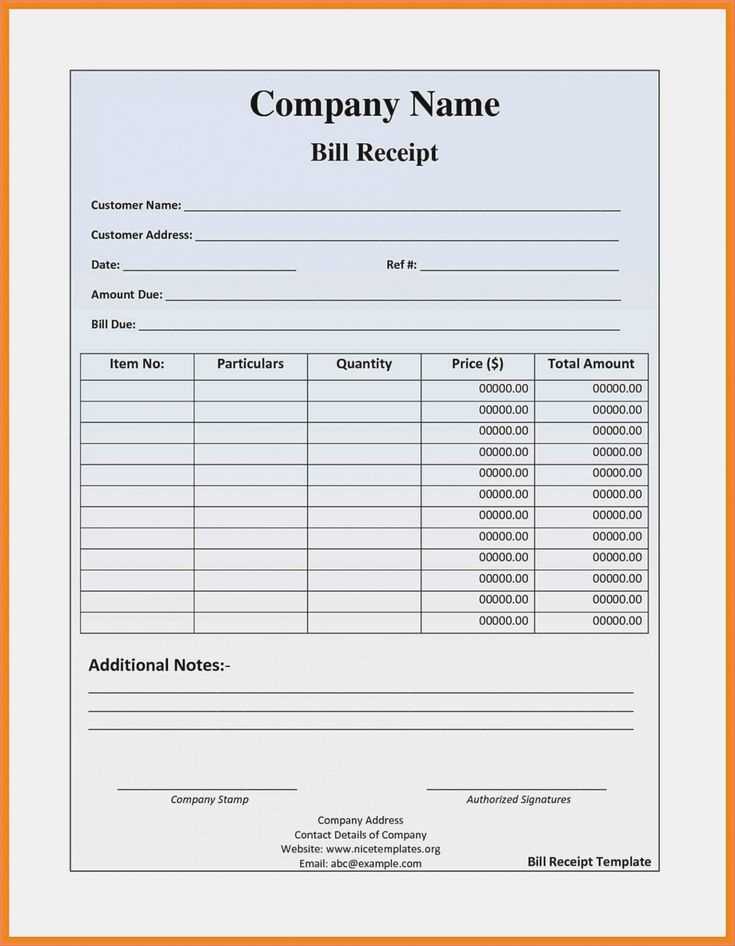
A professional receipt should contain a few critical elements: business details, receipt number, date, list of items, tax breakdown, total amount, payment method, and a return policy if necessary. Additionally, make sure the font is legible and the layout is organized, so customers can quickly identify key information. A clean and straightforward format shows that your business is both reliable and transparent.


