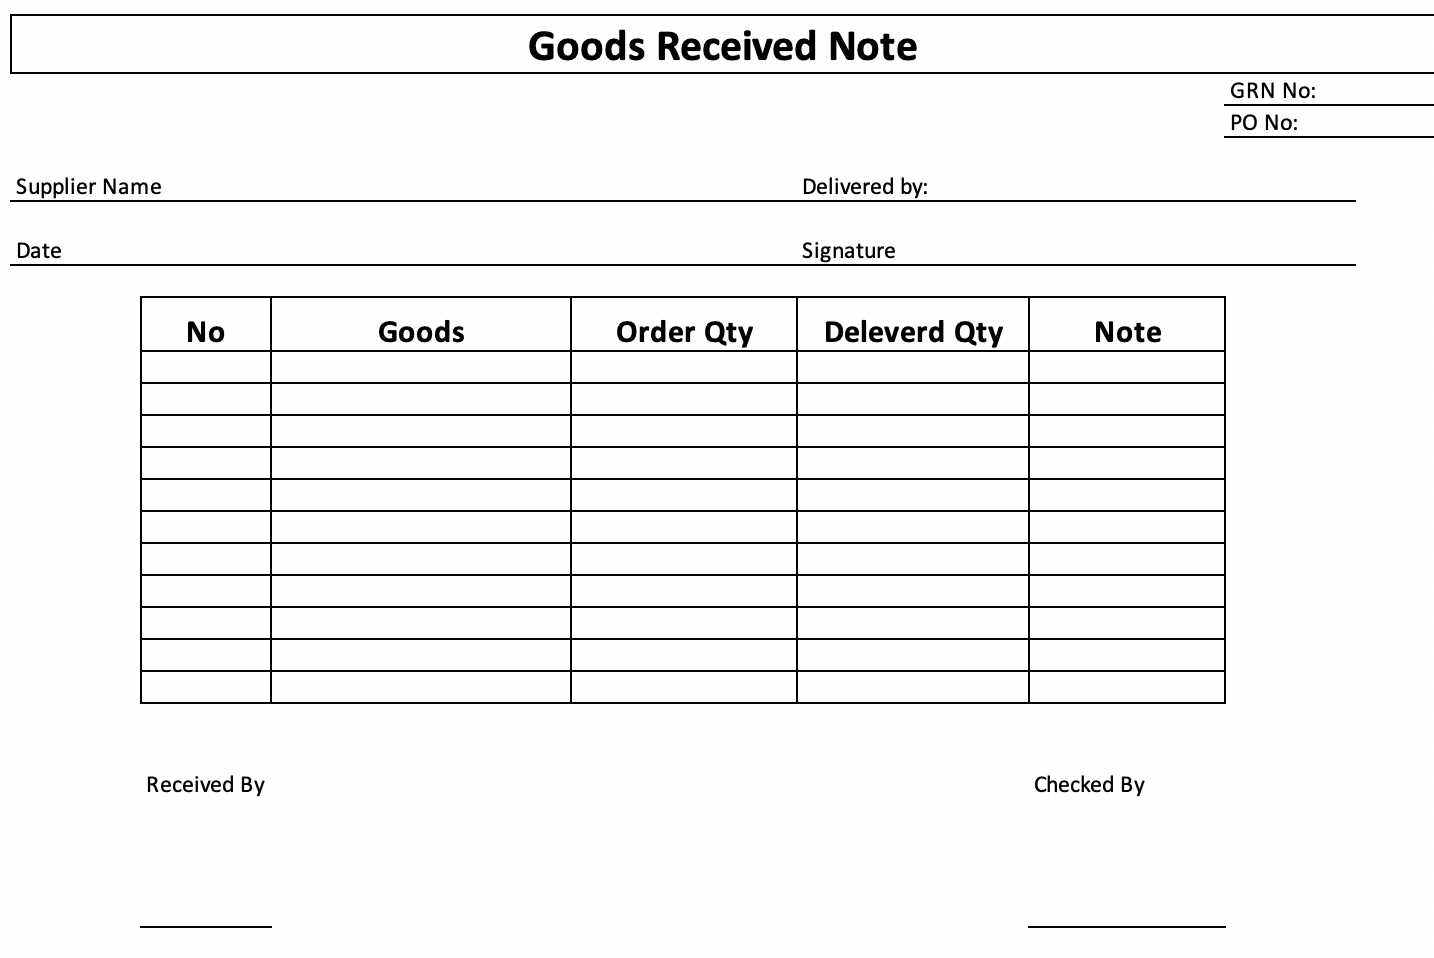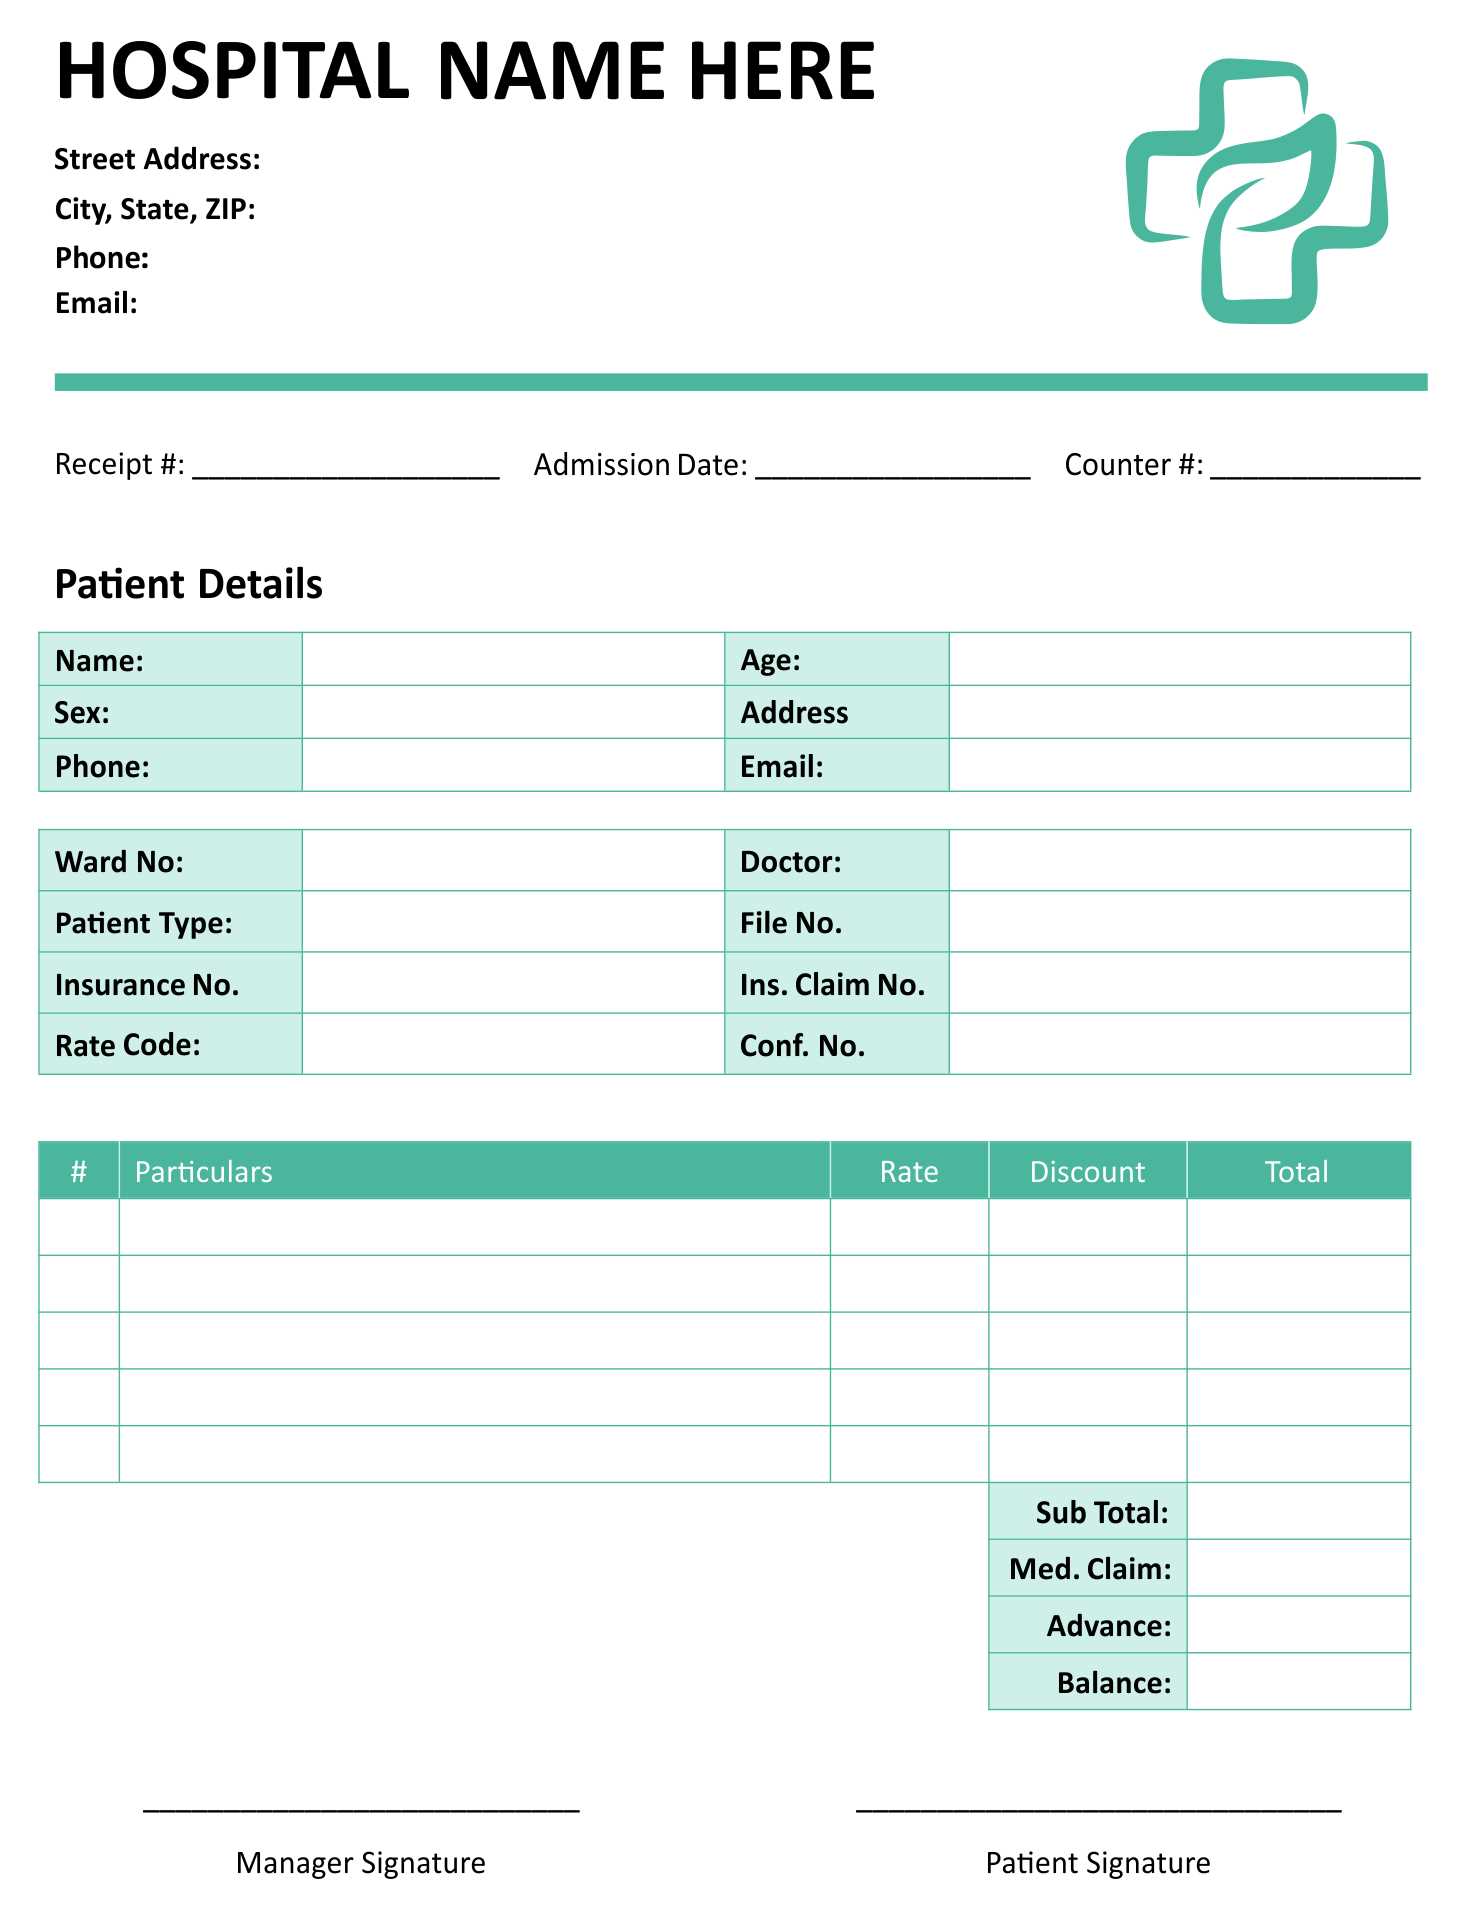
For a clean and professional receipt design, use CSS to create an elegant and easy-to-read layout. This simple template structure can make your receipt standout with minimal effort. Set up the necessary components such as header, item list, and footer using grid or flexbox for quick alignment.
Start with the basics: Begin with a simple container that holds all the elements. Apply padding to ensure there’s space between the content and the edges. For a neat header, style the title with larger fonts and bold text to make it easy to identify. Use box-shadow to create subtle depth, which adds a polished look without complicating the design.
Organize the items: Each line of the receipt should be clearly distinguishable. Use flexbox or grid layout to align the item descriptions, quantities, and prices in a clean row. Consider alternating background colors for every other item to improve readability.
End with a neat footer: The footer section should include payment details or a thank you message. Apply a small font size to keep it unobtrusive yet legible. Use border-top to separate the footer from the item list, maintaining a structured feel.
Receipt CSS Template: Practical Guide
Focus on clarity and structure when building a receipt template with CSS. Start by using a simple layout with a container that holds the entire receipt content. This container can be styled with a fixed width to maintain uniformity across various screen sizes. For example, set a max-width of 600px to ensure readability on both desktop and mobile devices.
Next, divide the content into clear sections: header, body, and footer. The header should include your logo and company information. Style it using a flexbox layout for easy alignment. This layout will allow for horizontal distribution of elements, making it easier to manage spacing between your logo and text.
In the body section, focus on listing items clearly. Use a table for structured data like item names, quantities, and prices. Style the table with border-collapse to make the rows and columns appear more seamless. Add padding inside each cell for better readability and use alternating row colors to enhance visual appeal.
For the footer, include the total amount and any necessary disclaimers. Use bold text for totals and ensure the font size is slightly larger than the rest of the text to draw attention to important information. A dashed line or a subtle background color can help separate the footer from the rest of the receipt.
Finally, ensure that your receipt template is printable by using a media query targeting the print layout. This will hide unnecessary elements (like navigation bars) and adjust the styling to fit the page better. Use CSS properties like `@page` to control margins and page size for print, ensuring your receipt fits neatly on A4 or letter-sized paper.
How to Create a Simple Receipt Layout with CSS
Design a receipt layout by defining the structure with HTML elements first. Use <div> elements to separate different sections like the header, items list, and footer. This helps keep the content organized and accessible for styling.
Step 1: Basic HTML Structure
Create a container <div> to hold the entire receipt. Inside this container, include <div> tags for the header, item list, and footer. For example:
<div class="receipt">
<div class="header">Store Name</div>
<div class="items">
<div class="item">Product 1 - $10</div>
<div class="item">Product 2 - $15</div>
</div>
<div class="footer">Total: $25</div>
</div>
Step 2: Add Styling with CSS
Now style the receipt using CSS. Set basic padding and margin for clarity, and apply borders to distinguish different sections. Start by centering the receipt on the page and ensuring readability.
.receipt {
width: 300px;
margin: 20px auto;
padding: 15px;
border: 1px solid #ccc;
font-family: Arial, sans-serif;
background-color: #f9f9f9;
}
.header, .footer {
text-align: center;
font-size: 18px;
font-weight: bold;
}
.items {
margin-top: 10px;
}
.item {
padding: 5px 0;
border-bottom: 1px dashed #ddd;
}
This simple CSS setup ensures that the receipt looks clean and easy to read. You can adjust the widths, borders, and fonts based on your needs. For more sophisticated designs, consider adding logos or QR codes to the header, or adjusting the spacing between items in the list.
Customizing Fonts and Colors for Better Readability in Receipts
Choose fonts that are clear and legible. Stick to sans-serif fonts like Arial or Helvetica for easy reading, as they maintain clarity even at small sizes. Ensure the font size is large enough for all information to be visible, typically between 12px and 16px for receipts. Avoid overly decorative fonts, as they can distract from important details.
Font Weight and Style
Use bold for headings, totals, or key amounts to draw attention. Regular text should remain standard weight to avoid visual clutter. Italics can be used for supplementary details like item descriptions or terms, but overuse can reduce readability.
Color Choices
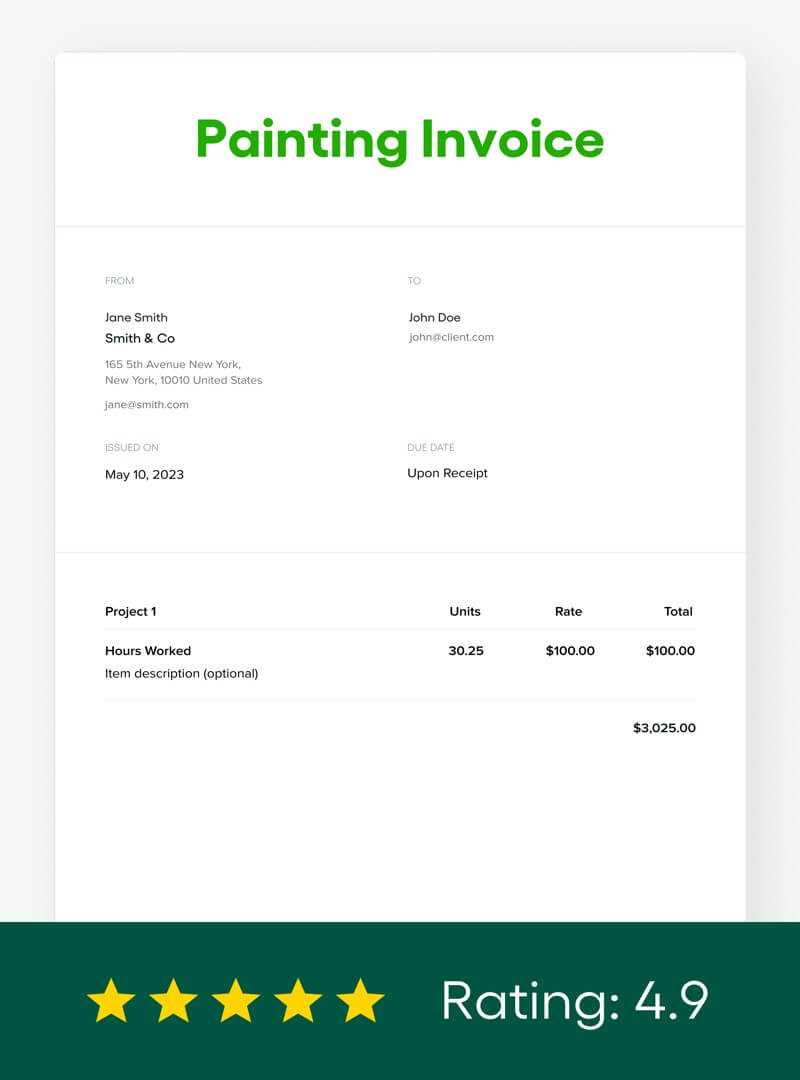
Stick with a high contrast between text and background for maximum legibility. Black text on a white or light gray background is a solid choice. Avoid using too many colors; keep the palette minimal to maintain a professional look. Reserve accent colors for important highlights like totals or discounts.
Ensure the colors you choose comply with accessibility guidelines, especially for colorblind users. High contrast between background and text colors aids in readability for everyone.
Adding Dynamic Elements to Your Receipt Template Using CSS
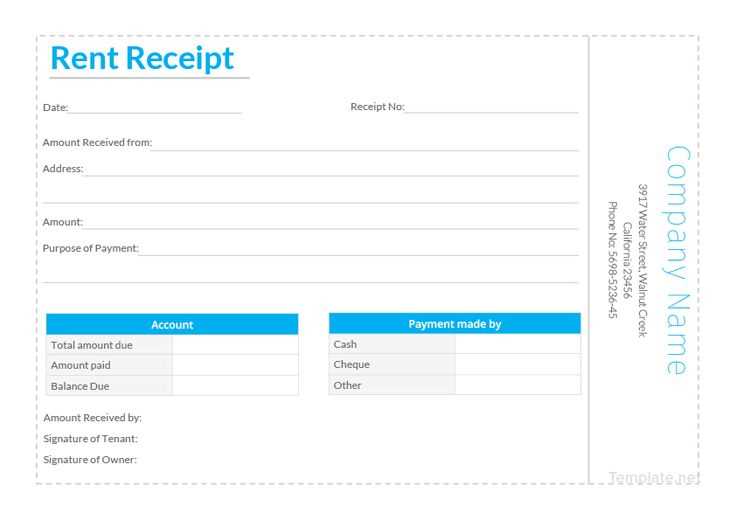
To make your receipt template interactive and visually engaging, CSS can be leveraged to add dynamic elements that respond to user actions or adjust automatically based on content. Here are a few practical approaches you can use:
- Hover Effects: Apply hover effects to buttons or items on the receipt. This can be done by targeting the
:hoverpseudo-class, changing colors or adding subtle animations. - Animations for Highlighting: Animate certain elements such as discounts or totals to draw attention. For example, use the
@keyframesrule to create a fade-in effect for important figures. - Custom Checkboxes: Style checkboxes next to purchased items to change visually when selected. This can be done using the
:checkedpseudo-class to toggle the appearance of checkboxes. - Dynamic Date and Time: Although CSS alone can’t generate dates, it can style them dynamically when updated through JavaScript. Use CSS to ensure the displayed date and time look clean and readable.
- Responsive Layouts: Make sure the receipt adapts to different screen sizes. Use media queries to adjust font sizes, layout arrangements, or hide unnecessary details on smaller screens.
- Conditional Styling: Style the receipt based on specific conditions, such as applying a special background color if a discount has been applied. This can be achieved by utilizing specific classes or IDs added via JavaScript.
These dynamic CSS features will make your receipt template stand out and offer a more user-friendly experience. Experiment with these techniques to enhance your template’s interactivity.
