Creating a clear and well-organized receipt docket can simplify financial tracking and improve customer service. Use a template that fits your needs to save time and avoid confusion. A well-designed receipt includes the transaction details, including the date, amount, and payment method.
Include key details like the business name, logo, and contact information at the top. This provides your customers with the necessary reference details in case of future inquiries. Ensure the recipient’s name, purchase items, and any applicable taxes are clearly visible.
Design for readability. Use bold text for important details such as the total amount and transaction number. Clear separation between sections helps customers quickly locate specific information. Make sure there’s enough white space to avoid clutter, especially on more detailed receipts.
Adjust the template based on the type of transaction–whether it’s a simple sale, return, or service. For recurring business needs, consider using automated templates to streamline the process and maintain consistency.
How to Create a Custom Receipt Template

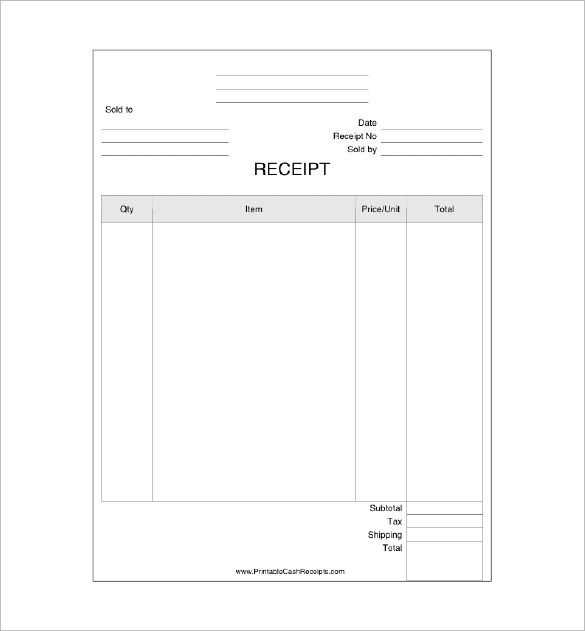
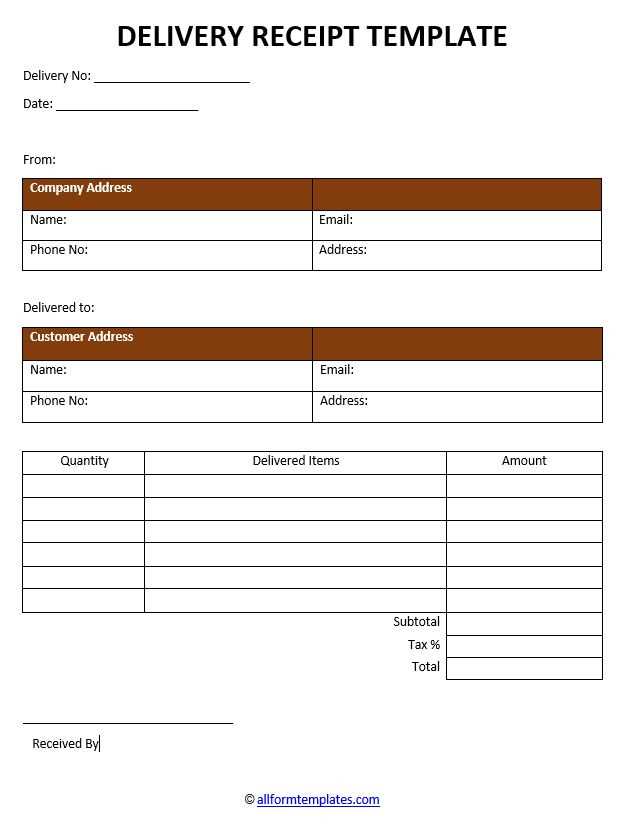
Begin by defining the key elements that should appear on your receipt: the business name, transaction date, itemized list of products or services, prices, taxes, and total amount due. Keep the layout clean and easy to follow, ensuring there’s enough space between each section for readability.
Use a word processor or a graphic design tool like Canva or Adobe InDesign. Start with a simple template or create one from scratch by inserting text boxes for each element. Place your business logo at the top, followed by the contact details and transaction information.
For the itemized list, organize each product or service with a clear description, quantity, unit price, and total amount. Ensure the font is legible and the numbers are aligned. Don’t forget to include a subtotal, taxes, and the final total at the bottom.
Consider adding customizable fields, like customer name or payment method, which can be filled in manually or automatically if you use a software system. Make the design adaptable for both paper and digital receipts, ensuring it prints clearly and looks polished on screens.
Once the design is complete, save the template in a format that suits your needs, such as PDF or JPG. If you’re using a POS system, check if it allows importing your template for seamless integration into your checkout process.
Key Information to Include in a Receipt Docket
Ensure every receipt docket contains the following core elements:
Transaction Details
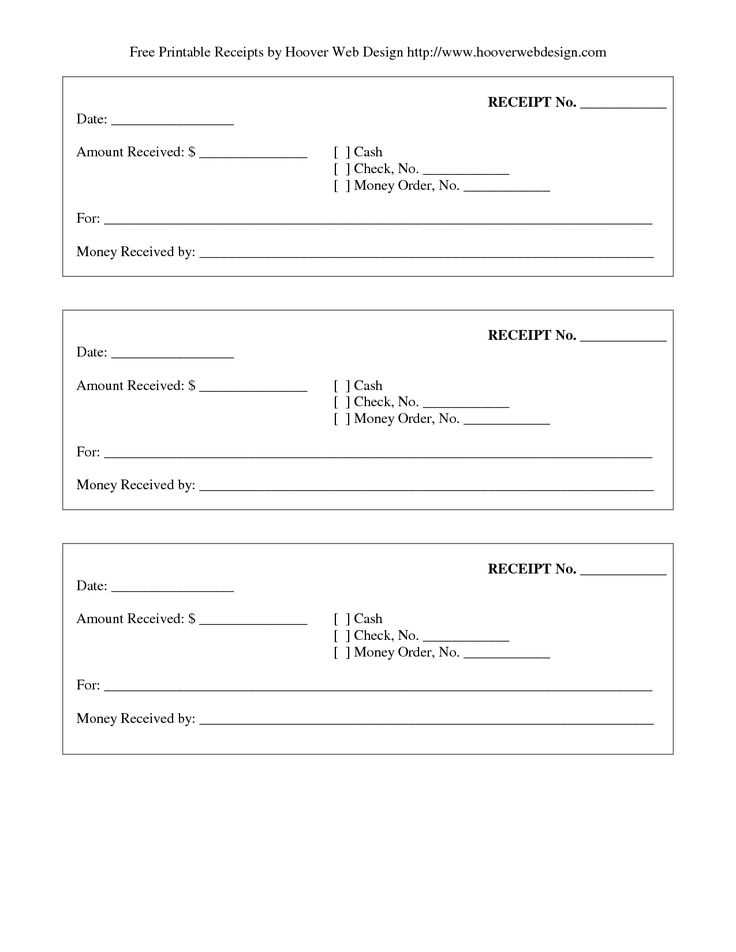
Clearly display the date and time of the transaction. This will help with future reference and serve as proof of purchase. Include a unique transaction or receipt number for easy identification in case of inquiries or returns.
Merchant Information

Provide the merchant’s name, address, and contact information. This allows the customer to reach out in case of any issues or questions. Include the business registration number, if applicable, to confirm authenticity.
Itemized List
List each item purchased along with the corresponding price. This transparency helps customers track their spending and verify that they were charged correctly. Include any discounts or special promotions applied to the items.
Total Amount
Clearly show the total amount paid, including taxes. Make sure this total is easy to spot, with any adjustments such as tips or additional charges clearly listed.
Payment Method

Indicate the payment method used (e.g., credit card, cash, mobile payment) and, if applicable, the last four digits of the payment card for verification.
Return Policy
It’s helpful to include a brief note on your return or refund policy, especially if it differs from the standard procedure. This can prevent misunderstandings in the future.
Tips for Making Your Receipt Template User-Friendly
Prioritize clarity in your layout. Place key details like the total amount, date, and transaction number in prominent spots. Ensure these elements are easy to locate at a glance, reducing the need for users to search for information. Use larger font sizes for important figures to make them stand out.
Include clear section labels. Label each part of the receipt–such as items, discounts, taxes, and total–so users can quickly understand the breakdown. Avoid clutter by keeping the labels simple and easy to read.
Keep it simple with fonts. Choose readable fonts like Arial or Helvetica. Use one or two font styles to maintain a clean look. Too many different fonts can create confusion and disrupt the flow of information.
Provide a brief summary at the bottom. A short recap of the purchase, including the total and any relevant transaction numbers, can be helpful. This recap should serve as a final confirmation, easy to review without needing to re-read the whole receipt.
Make space for contact information. Include your company’s phone number, email, and website in an unobtrusive location. If any issues arise, this gives users an immediate way to reach you.
Ensure consistency with design elements. Use uniform margins, spacing, and alignment to make your receipt look professional. Consistent design helps the receipt feel organized and balanced.
Test on different devices. If you’re using an electronic format, check how your receipt looks on various devices. Ensure it’s readable and well-structured on phones, tablets, and computers.


